
Looking for a great way to repurpose wood scraps that are lying around from leftover past projects? This DIY wood riser is the perfect quick, easy, and useful project to help use up that extra wood.
I’m always looking for easy, fun, and creative ways to use up wood leftover from past projects on the farm. By now, y’all know that I only take on easy DIYs. This DIY wood riser is about as easy as it gets. You can make the riser over a weekend and once it’s sealed, you can use it in so many ways throughout your home including as a charcuterie board.
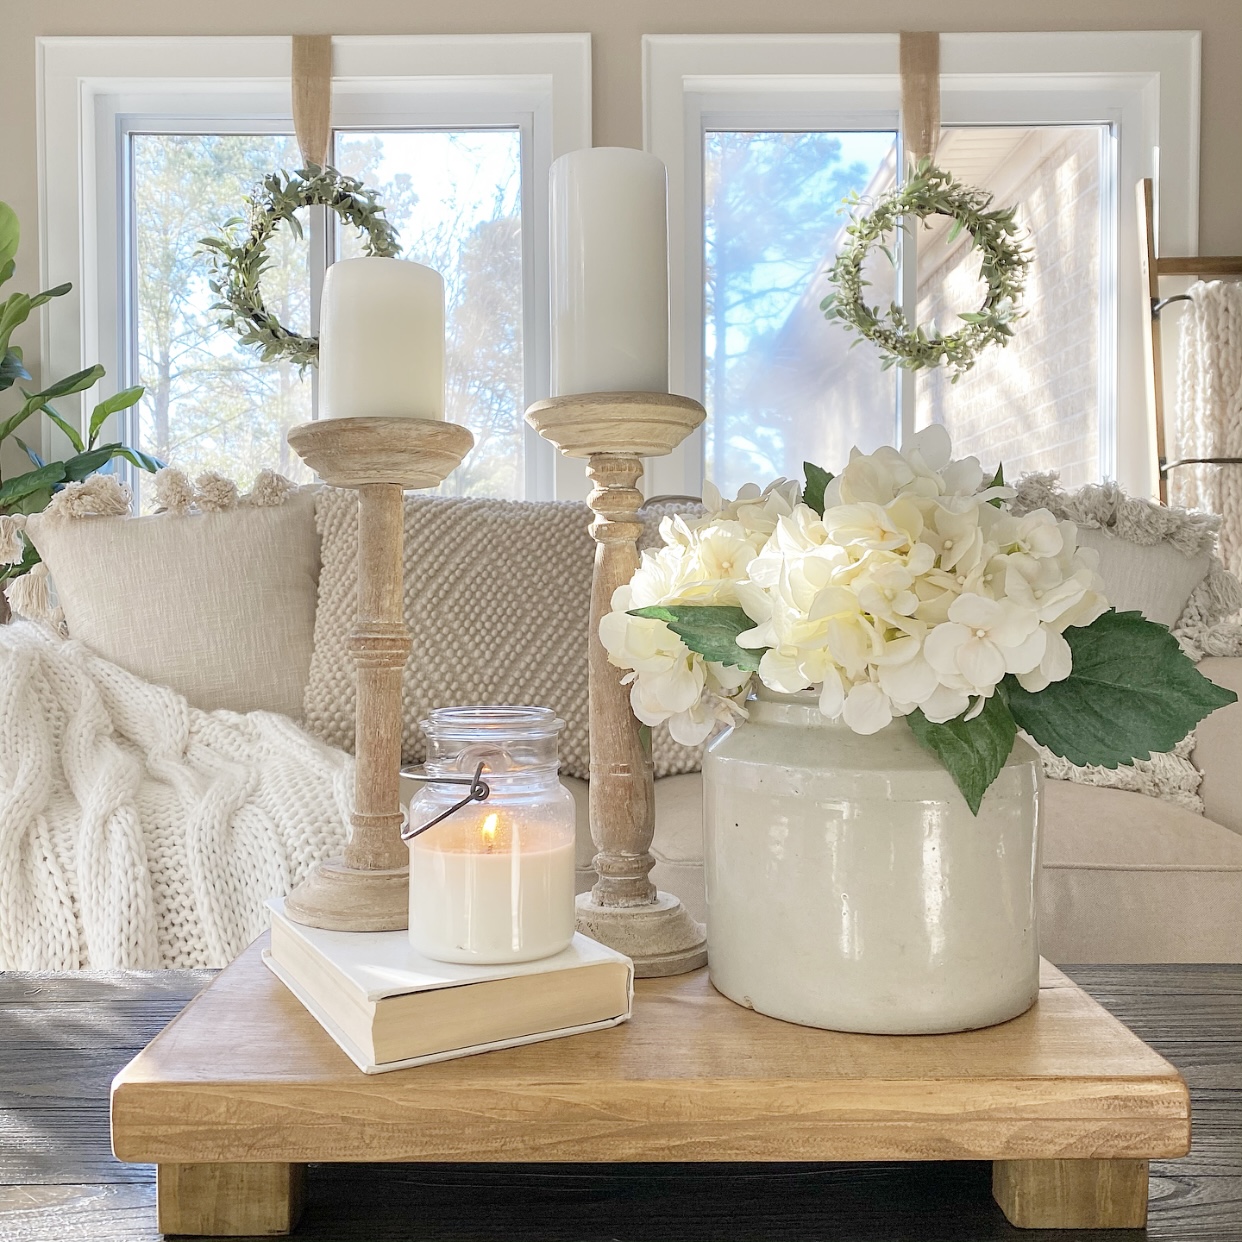
Wood risers are beautiful and useful home decor pieces.
Wood risers come in all different shapes and sizes. Therefore, the beauty of this DIY is that creativity can run wild. Make your riser in any shape or size you want. Depending on the wood you have on hand you can determine your design based on how you plan on using it.
There are many ways to use a wood riser in the home. It can be a raised platform for displaying beautifully styled vignettes that include a pitcher full of seasonal flowers, a candle, and a bowl of fruit on the kitchen island or the coffee table. It can also be a lovely way to display cookbooks on the kitchen counter. Wood risers are also great for giving potted plants a lift on a table or a shelf.
Not only can wood risers be great decor pieces, but they can also be functional pieces in the kitchen. They make the perfect charcuterie board to display meats, cheese, olives, nuts, and fruit.
Items needed to make a DIY wood riser:
- Wood (I used a 1 in. X 12 in. X 4 ft. pine board that I cut into two 20 inch lengths for the top of the riser.)
- Wood glue
- Clamps
- 220 grit sandpaper
- Stain and/or sealer
Your eyes do not deceive you! The list of items needed to make a DIY wood riser is very short. If you don’t have leftover wood scraps laying around, you can get a wood board and some wood remnant pieces from your local home improvement store. I’ve also seen wood risers made from beautiful slabs of wood found at antique auctions or vintage markets.
Note: Don’t have a saw to cut wood? Don’t worry! Most home improvement stores will cut the wood for you, free of charge. All you have to do is ask.
How to make a DIY wood riser:
Measure twice, cut once.
Determine the desired size and height of your DIY wood riser and cut the wood accordingly. The top (surface) of my riser is twelve inches by twenty inches. After measuring twice, I cut my four-foot board into two twenty-inch lengths.


If the top of the riser is not as thick as you’d like, consider gluing boards together to achieve the desired thickness.
I wanted the top of my wood riser to be at least an inch and a half thick. To achieve this, I used wood glue and glued together two (1 in. X 12 in. X 20 in.) boards. Once the boards were lined up evenly, I attached clamps to make the seam between the two boards as tight as possible while the glue dried.

To achieve the desired height for your riser, cut four pieces of wood that will achieve that height, these will be the “feet” of your riser. I used wood scraps for the feet of my riser, they measure 1.5″W x 1.5″H x 2.5″L making my riser (surface plus feet) just over three inches tall.
Sand.
Using 220 grit sandpaper, sand the top and the feet of the riser to smooth the corners and edges.

Glue.
Once you’ve sanded the top and the feet to your wood riser, use a lint-free cloth to clean any sawdust off them. Determine the location for the feet of your riser. Be sure to measure their position from the edges of your riser so they are even. Once the feet are in position, apply wood glue and clamps to ensure the feet stay secure while the glue dries.

Stain and/or seal.
With the top and the feet of the wood riser secure, it’s time to stain or seal the DIY wood riser. If you love the look of the wood you used for your riser, you don’t need to stain it though I do recommend sealing it so that it’s protected from wear and tear. I chose to stain my riser using Varathane, Golden Oak stain. It’s my favorite medium/warm wood stain. Using a clean cloth (and gloves) stain the entire riser. After allowing the stain to dry twenty-four hours, seal the riser with polyurethane or shellac.

If necessary, fill cracks/gaps with plastic wood.
Use plastic wood to fill any gaps or unwanted cracks on your DIY wood riser. By using plastic wood, I was able to make the top of my riser look like one thick plank of wood rather than two boards glued together by filling the gap between the boards.
Enjoy the fruits of your labor.
Now that your DIY wood riser is complete, enjoy using it as a decor piece throughout the home or put together a beautiful charcuterie board on your riser to celebrate your successful DIY project.
However you use your DIY wood riser, I hope you enjoy it. Be proud of what you made and don’t be afraid to try another easy decor DIY… Maybe a wood farmhouse tray!?
I look forward to working on another easy DIY project with you soon. Until then, join me on Pinterest and Instagram for inspiration from the farmhouse and the farm.


LINDO E MUITO BEM EXPLICADO! OBRIGADA!
[…] DIY Wood Riser […]
[…] the farmhouse today, the early Fall vignette in the porch (pictured above) is styled on a handmade wood riser I made last year. On the riser is a crock filled with mustard yellow florals, concrete pumpkins […]
[…] I used is no longer available. This one is similar and I love that you get three sizes or, you can make your own riser. They can be used throughout the whole year. A riser provides a little height to the centerpiece, […]
[…] options are endless. There are rectangular trays, round trays, raised trays, oval trays, square trays, tiered trays (my nemesis), and more. Here are some of my favorite ways […]
[…] DIY Wood Riser […]
[…] all, I have made plenty of trays before including a wood farmhouse tray and a wood riser. Why not try my hand at making a tiered jewelry tray?! Guess what? I’m proud to say I was […]
[…] DIY Wood Riser […]
[…] cutting board added to the kitchen when I used it as a riser or tray, I tried my hand at making a wood riser and wood farmhouse tray of my own. They were surprisingly easy to make and they turned out […]
[…] DIY Wood Riser […]