
Tray styling through the seasons is a beautiful and festive way to celebrate winter, spring, summer, or fall in the home.
One of my favorite ways to decorate the farmhouse throughout the year is tray styling. Winter, spring, summer, and fall the variations of tray styling are endless and it’s a fun way to exercise your creativity. I can safely say that the love I once had for dressing up my dolls in different outfits as a little girl has been replaced by tray styling in my adult years. Goodbye Barbie, hello trays!
Variety is the Spice of Life
To begin styling a tray for your home, you first need a tray. There are many different styles of trays to choose from and finding the right one for your space can be tricky. Don’t worry though, I am here to help!
Tray options are endless. There are rectangular trays, round trays, raised trays, oval trays, square trays, tiered trays (my nemesis), and more. Here are some of my favorite ways to style a round tray. Trays are also made of all different types of material: wood, wicker, metal, plastic, glass, and the list goes on. I personally love using trays as an added element of texture for a room. I often use wood, metal, and wicker (great for the summer) in the farmhouse. 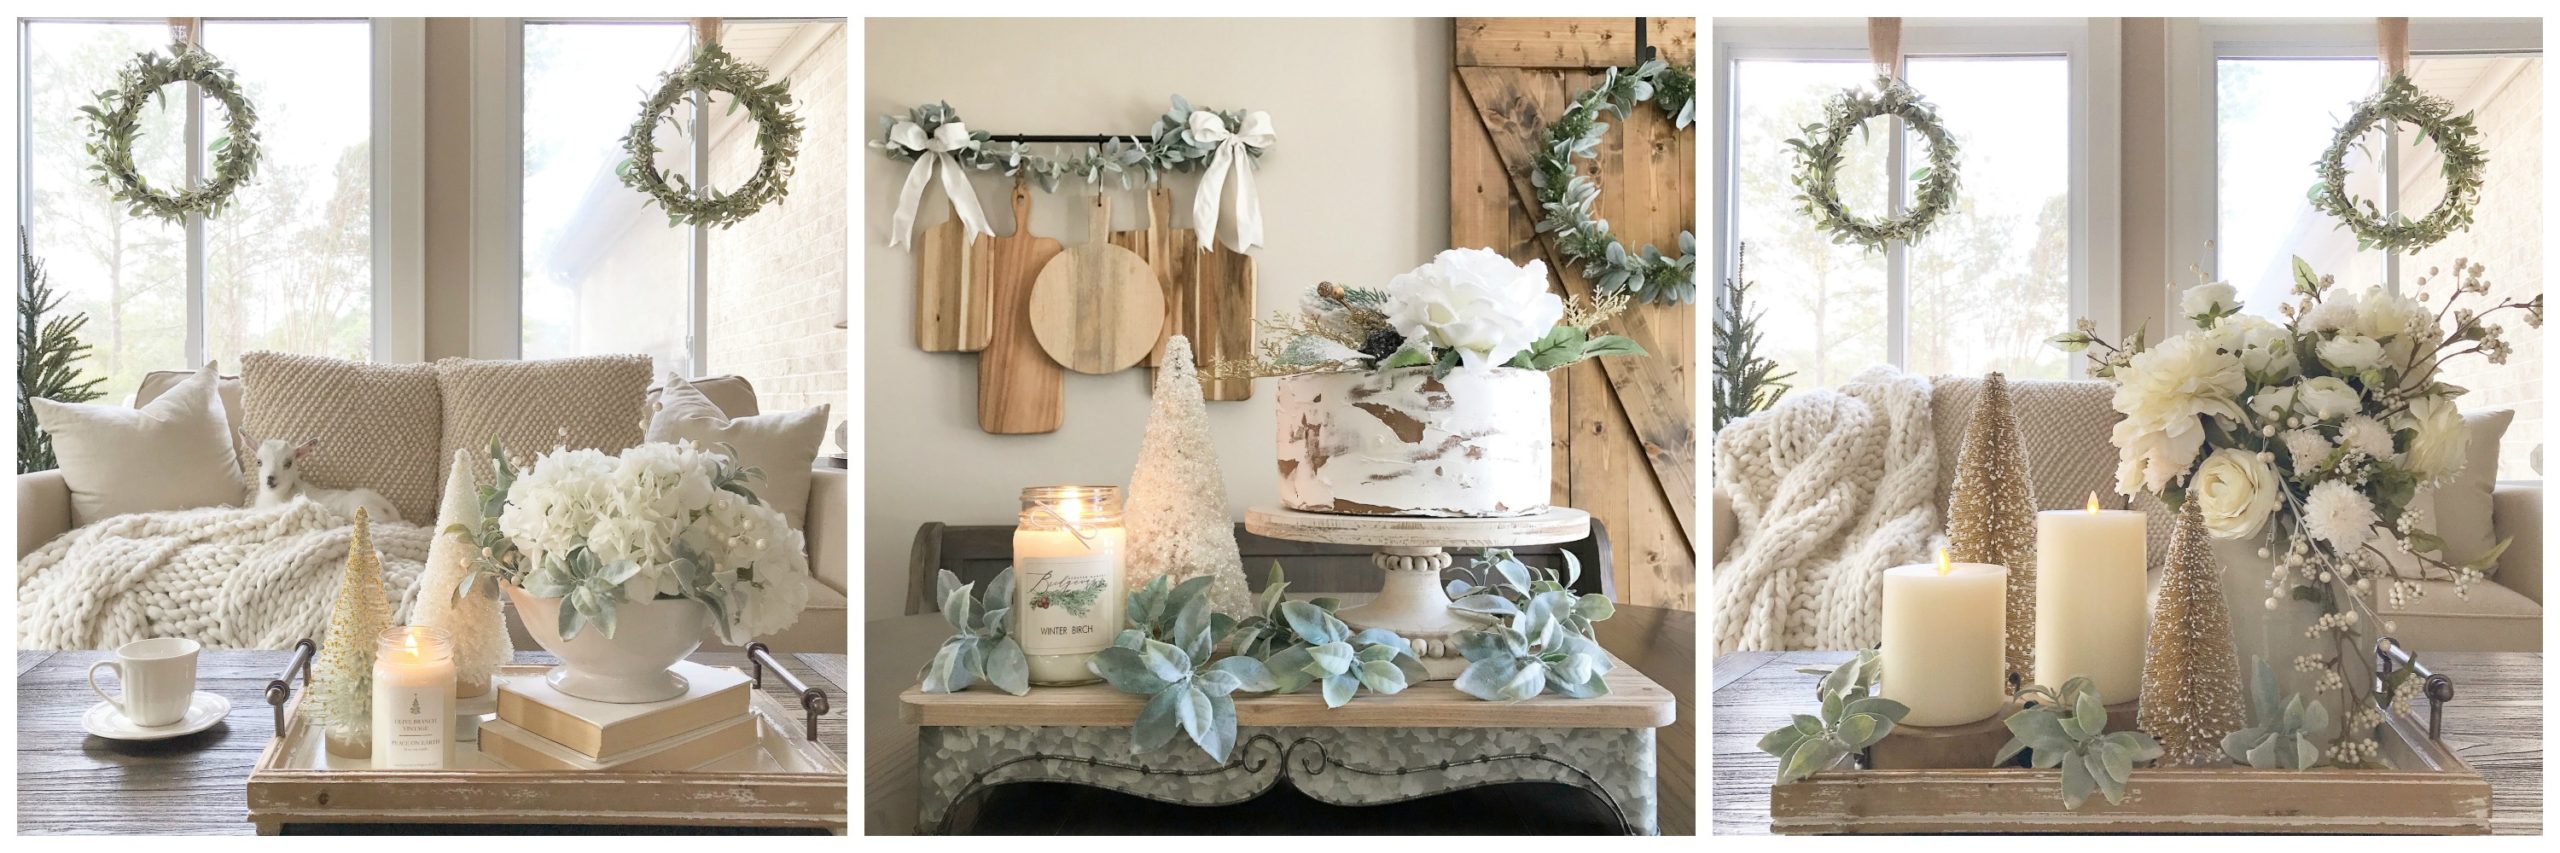
Tips for Tray Styling
Balance:
The number one rule in tray styling is balance. When choosing a tray, consider where it’s going. Will it be on a coffee table, a dining table, or maybe a kitchen island? Why does this matter? Thank you for asking. This matters because the size and shape of the tray should complement the space. You don’t want a tiny tray on a large kitchen island or a ginormous tray on a small coffee table.
Generally speaking, round trays look best on round or oval tables. Keeping with that same school of thought, rectangular and square trays look best on rectangular and square tables. Nope, it’s not rocket science. I believe the kitchen island is an exception to this rule. In my opinion, I think any type of tray looks great on a kitchen island (even my nemesis, the tiered tray). 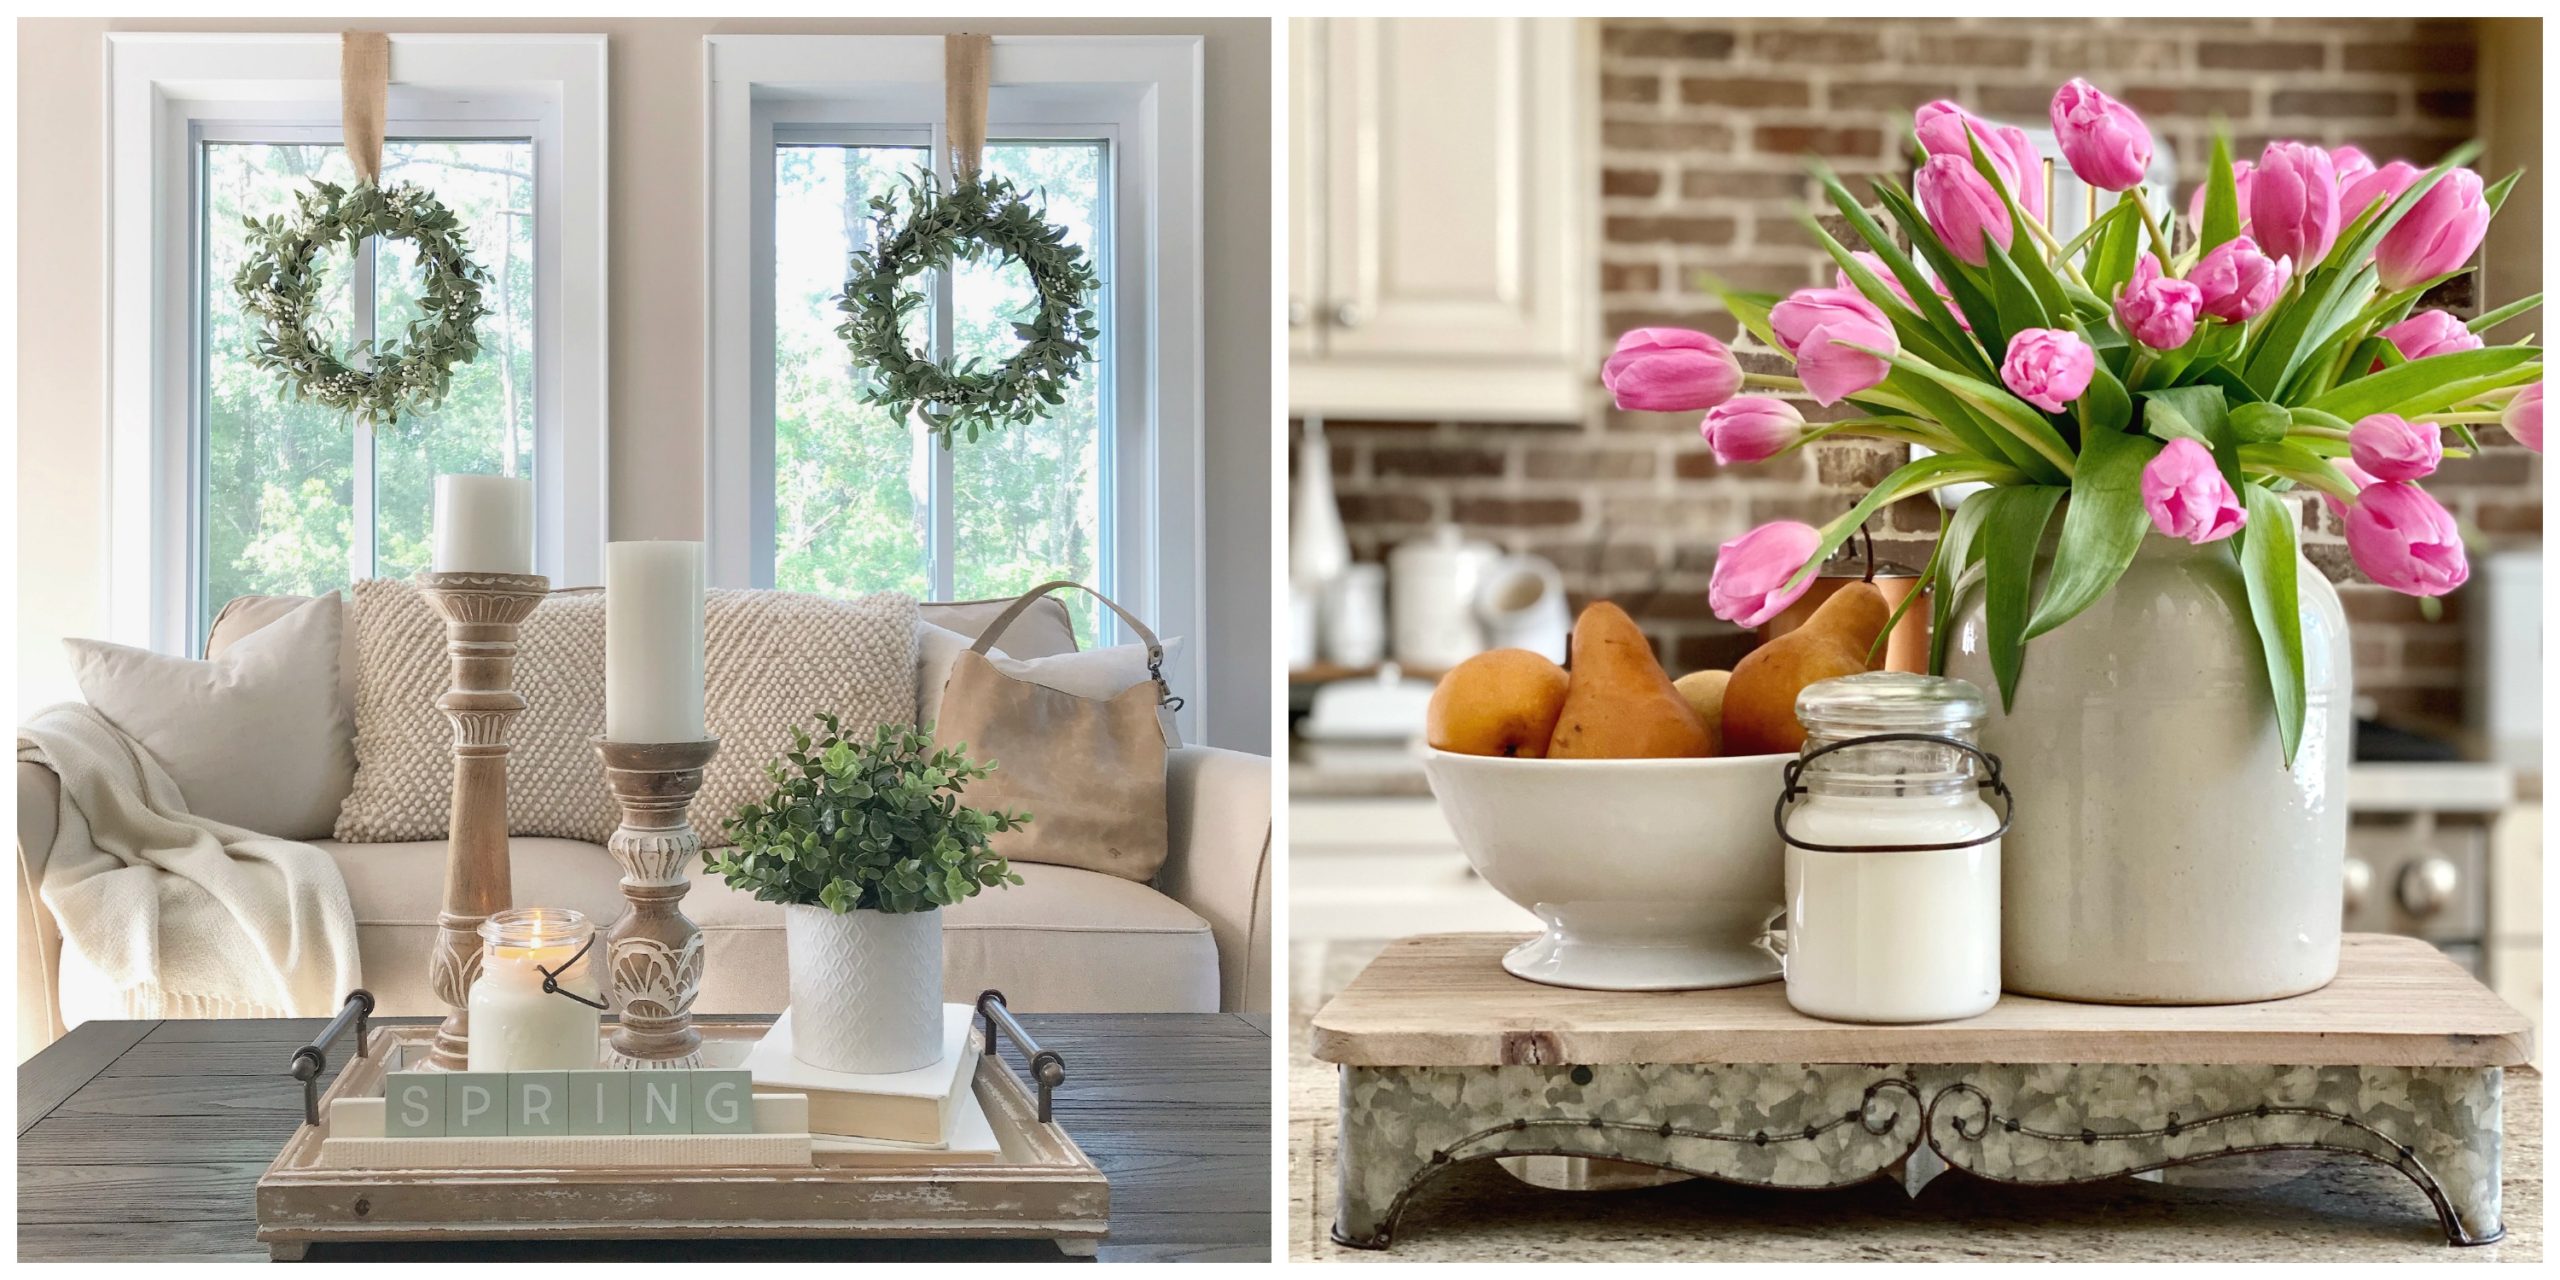
Keep it Simple:
Now that you found your perfect tray it’s time for my favorite part, the styling! This is a great time to start shopping your home. Tray styling does not require you to go out and spend money. Seasonal tray styling is a wonderful way to decorate your home for each season without breaking the bank. Tell all hubbies I said, “You’re welcome!” If you notice, I typically use the same elements on my trays and substitute one or two pieces on them for each season. My “go-to” pieces for tray styling are:
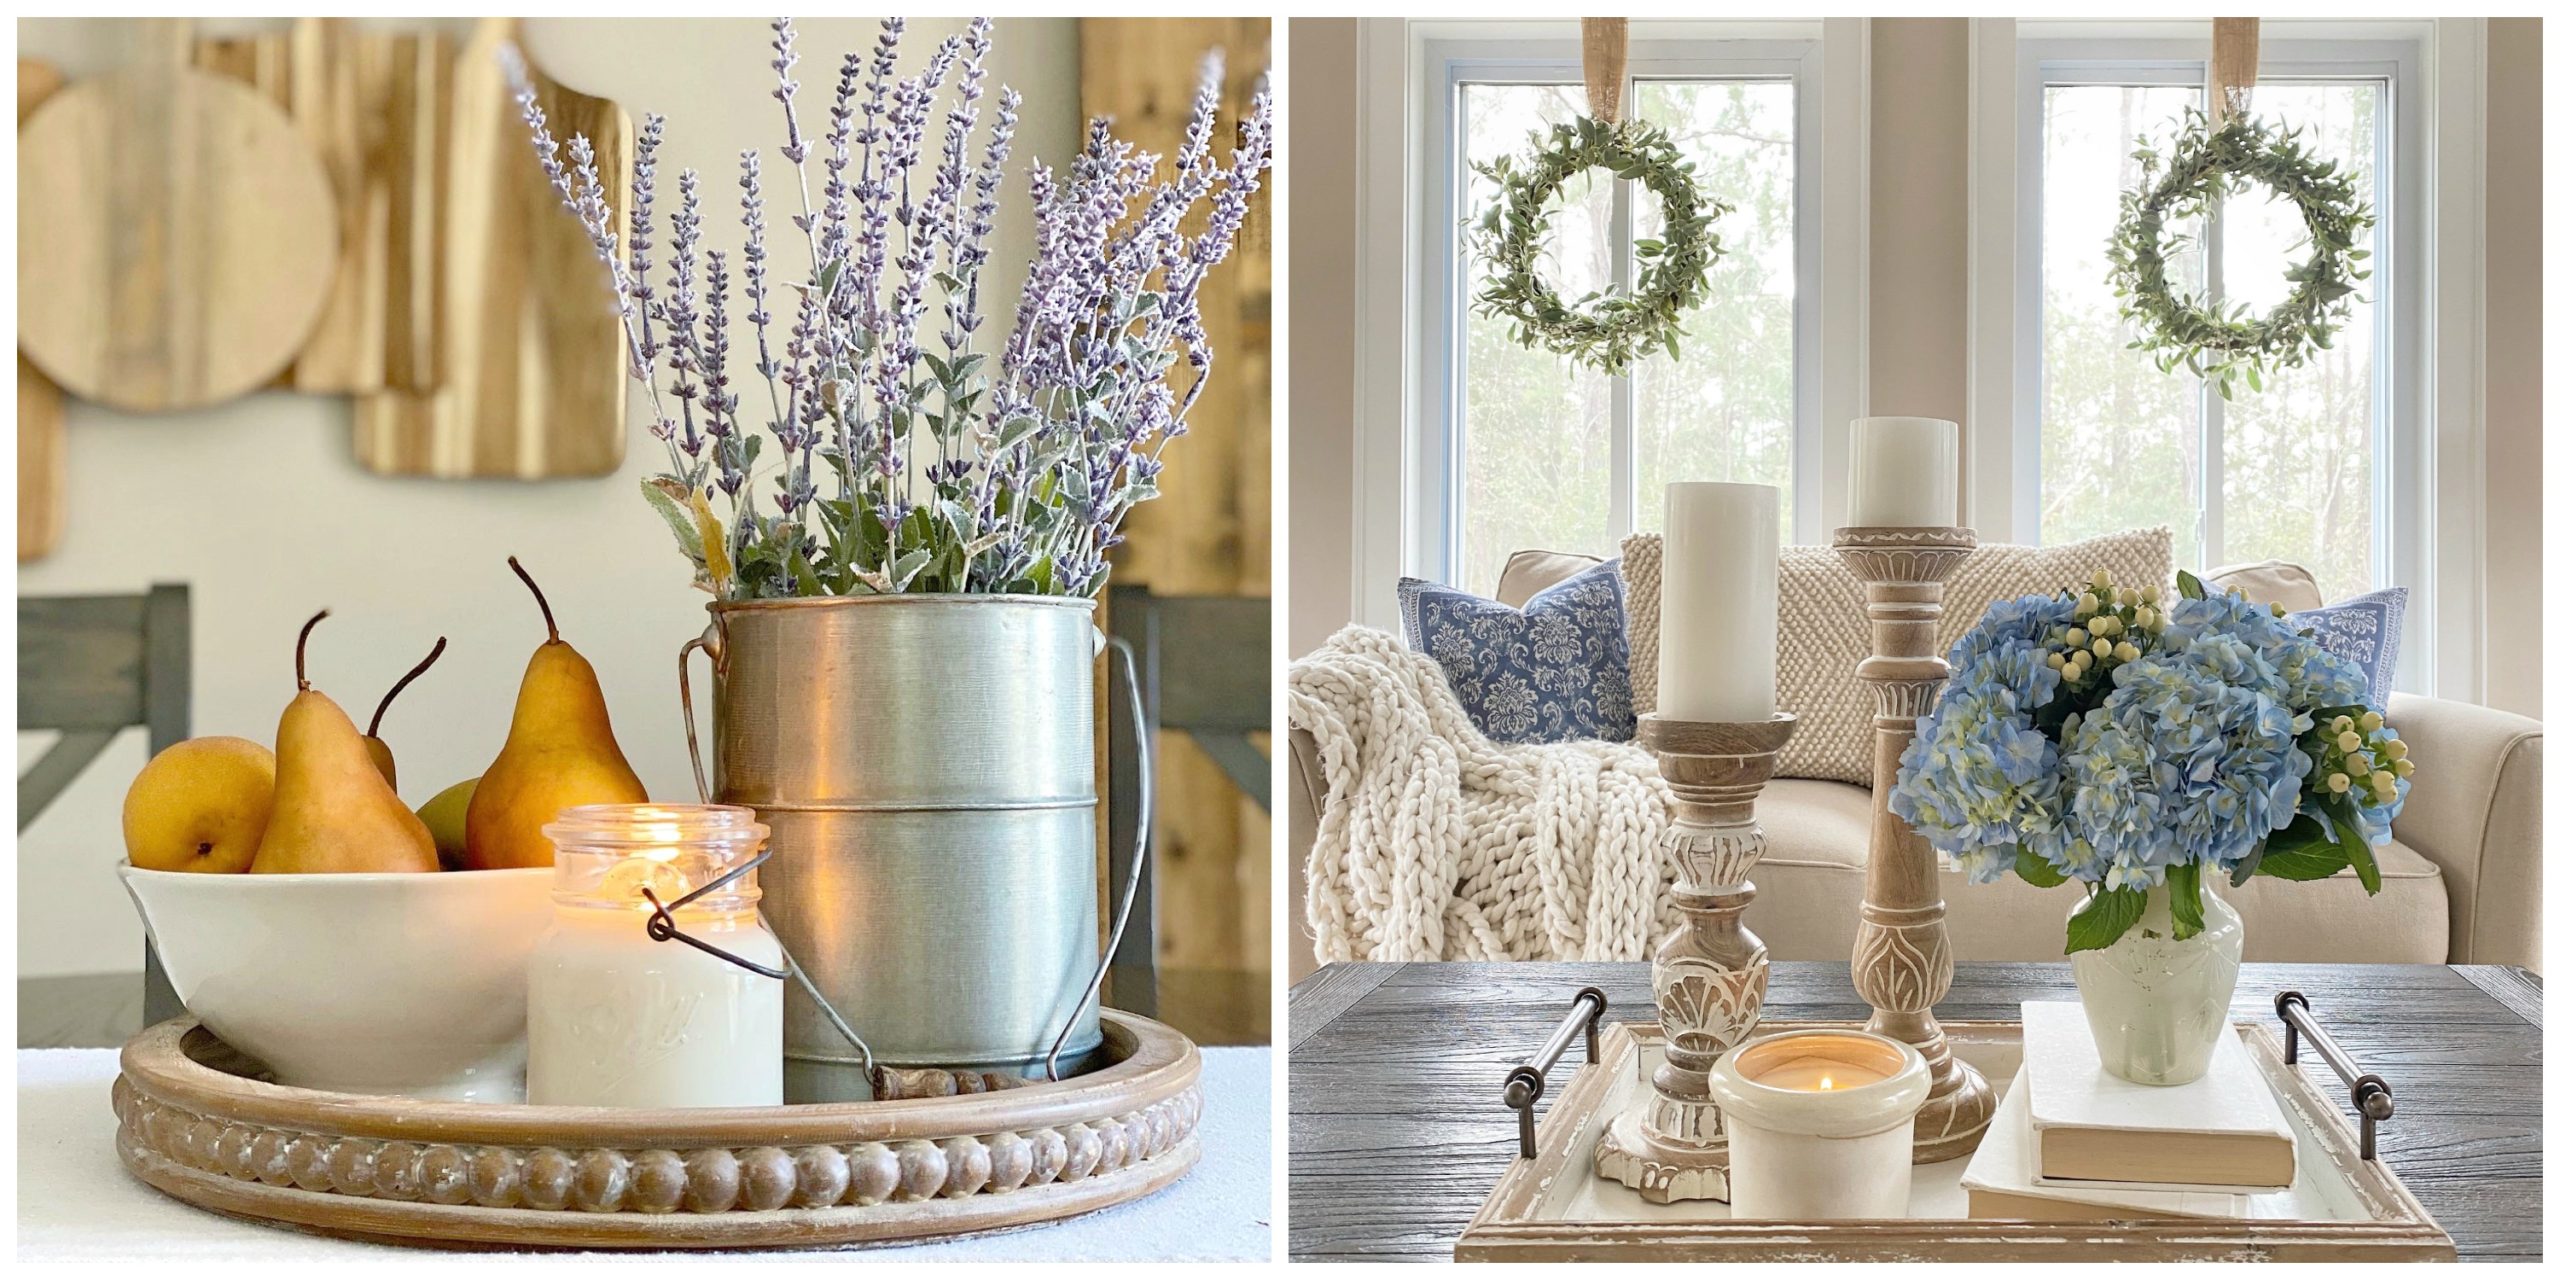
- Books
- Candles (candlesticks, jar candles, pillar candles, etc.)
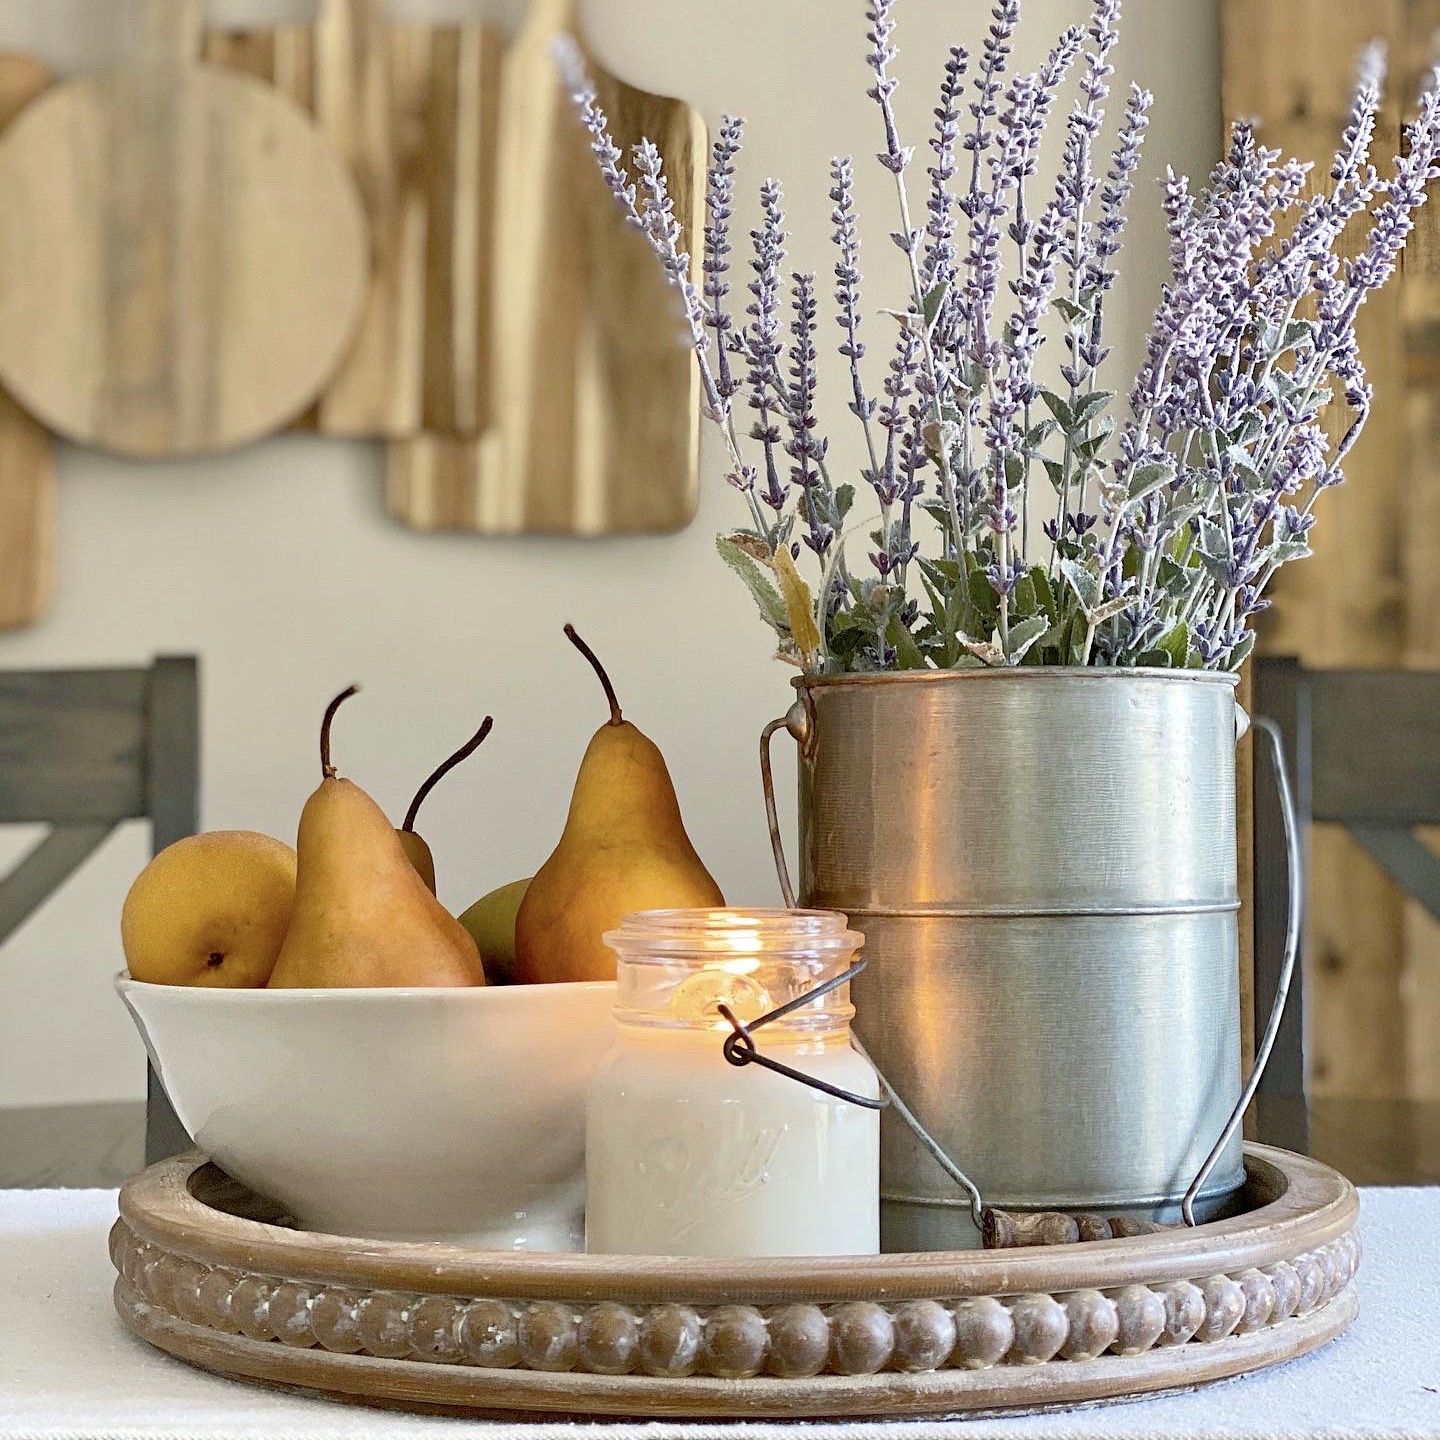
- Natural element (florals, plant, twigs, fruit, etc. – fresh or faux)
Remember I mentioned the number one rule in tray styling is balance. This is also a great time to remind you about the Rule of Odds.
The Rule of Odds
“What’s the Rule of Odds, Meeghan?”
Well, thank you for asking. The Rule of Odds states that people are more attracted to uneven numbers in a composition. This means, that in a design you always want to group elements in odds to create visual interest. For a small tray, I think three items are perfect. On a larger tray, I believe five to seven items work well.
Sticking with our focus of keeping our tray balanced, you want to make sure the height of your items is also balanced. You don’t want all the taller pieces on one side or vice versa with the small pieces. You want the heights staggered so that they feel balanced. Visually, this is very important. 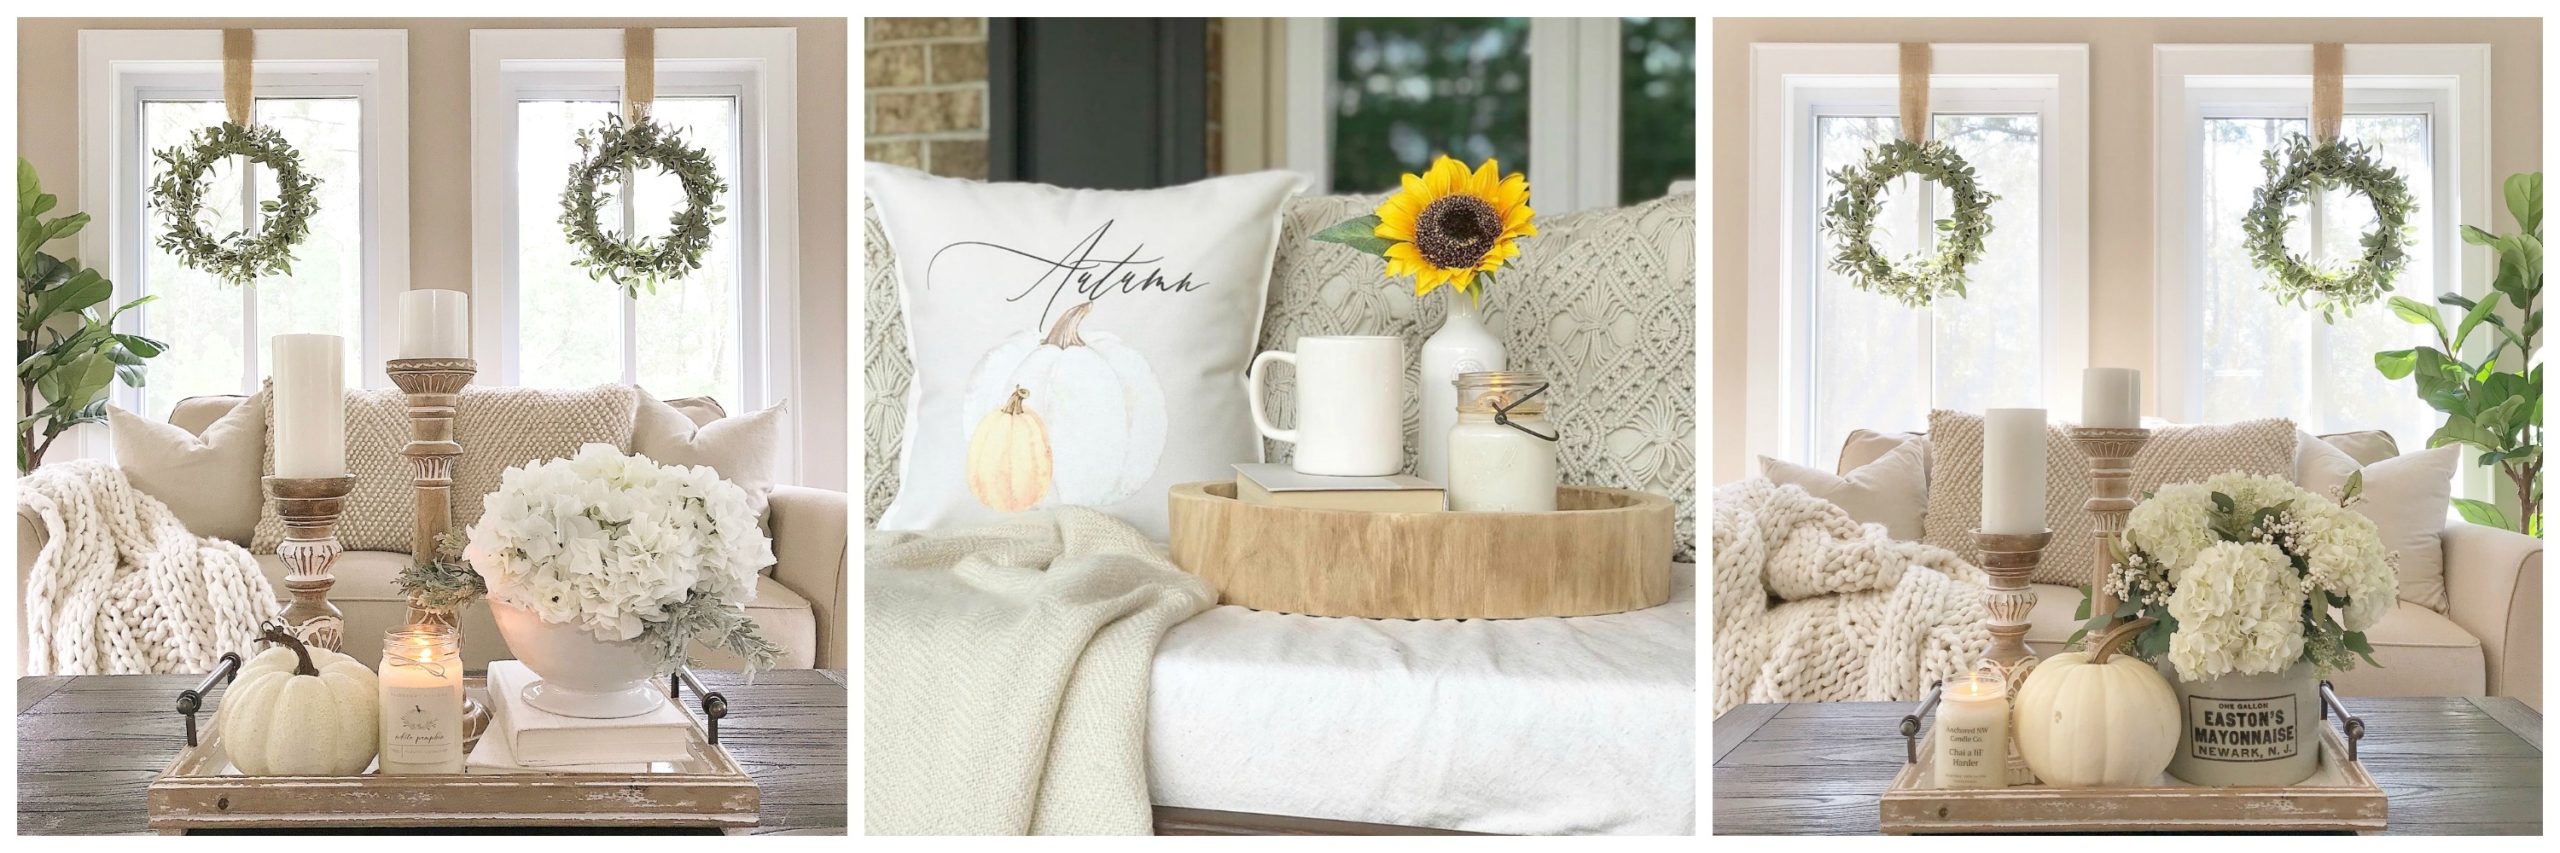 So, there you have it! A quick tutorial on seasonal tray styling. I hope you found this helpful, and most of all, I hope you feel inspired to style your own tray. If you do, I would love it if you email me photos and share them with me. I hope you have as much fun with it as I do. Let those creative juices flow!
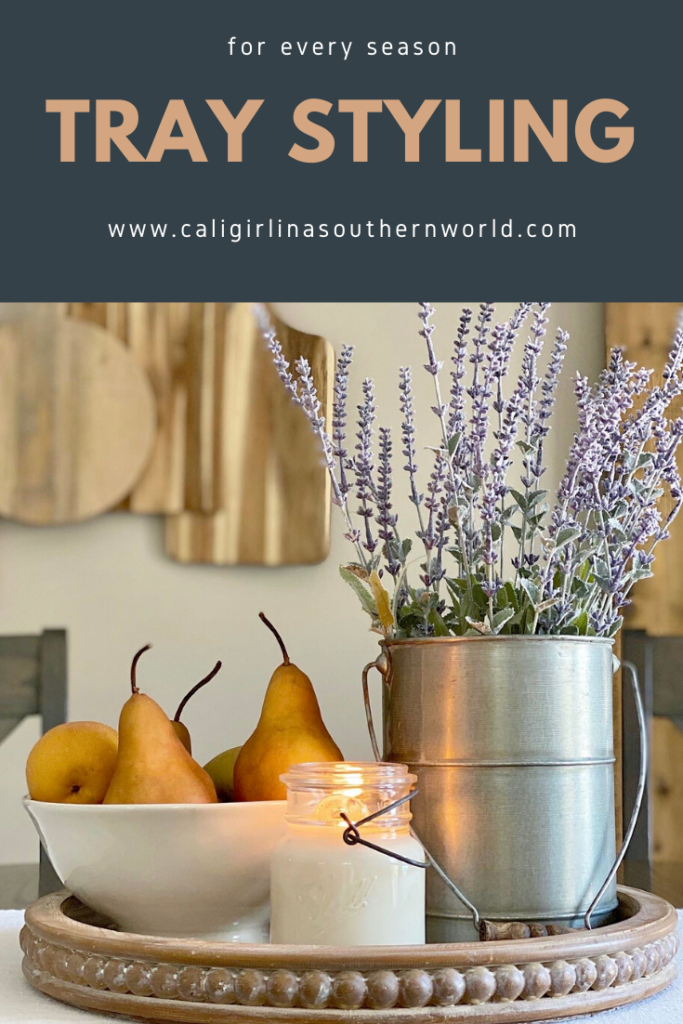


I love that metal container/bucket. Is it vintage?
I’m so happy you love the metal container/bucket, Rachel! It’s not vintage, I bought it at Hobby Lobby. I got it because I thought it looked vintage too and it’s a great size for florals. Thank you stopping by!