
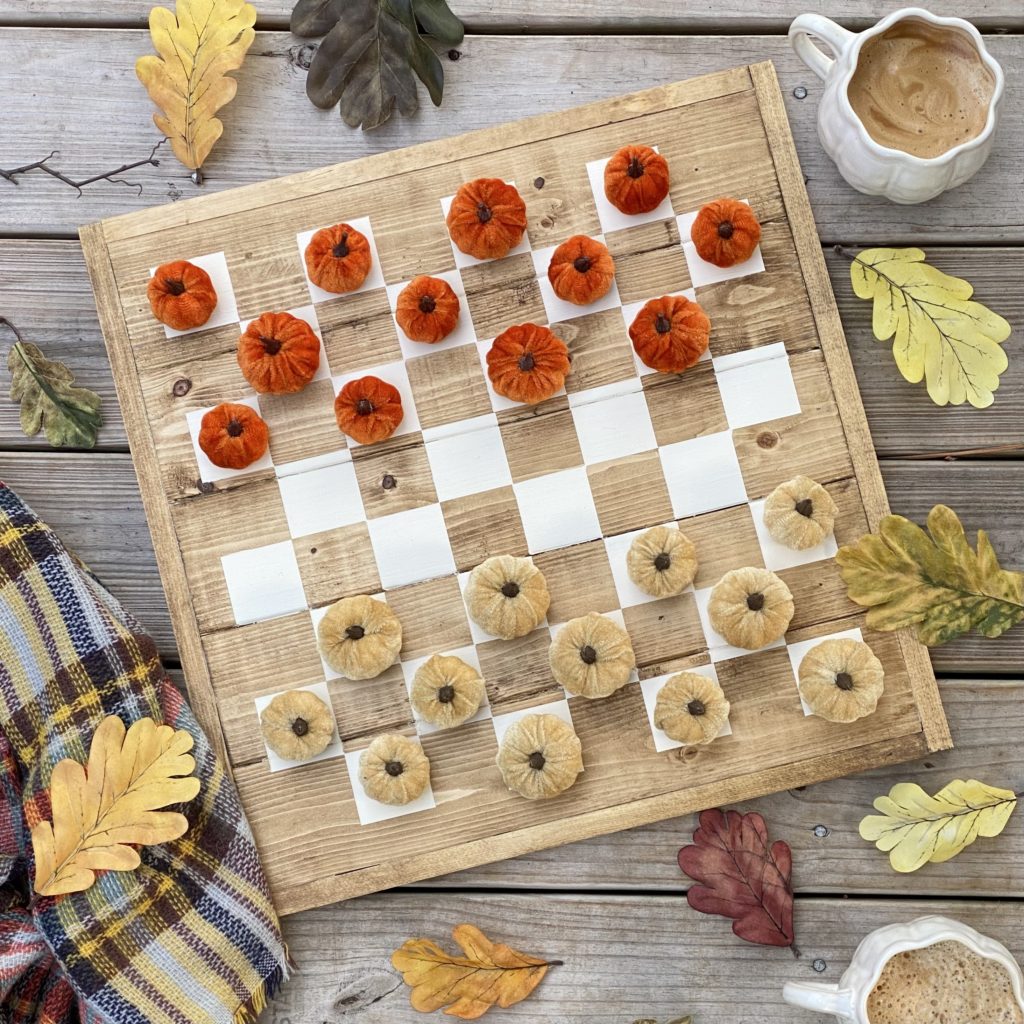
This DIY checkerboard is so fun to make! With some wood, wood glue, tape, stain or paint, and sealer you and your family can have a beautiful checkerboard for your home too. The best part about this checkerboard is all the fun ways you can use it throughout the year. I love adding different themes for the seasons. It’s truly fun for the whole family!
This board is a fun way to play games and it’s also a beautiful piece to display in the home. I can’t wait to show you how to make one of your own.
*This post contains some affiliate links for your convenience. Click here to read my full disclosure policy. As always, thank you for supporting my blog.
A Family That Plays Together, Stays Together
We love to play games at the farm. Therefore, I’d like to take this opportunity to share with you my claim to fame. I am proud to say that I am the farmhouse Scrabble champion. I love Scrabble! Although I am not much of a chess player, my love for checkers also runs deep. So, let’s talk checkers!
Checkers is one of the oldest games in history. Historians believe that the oldest form of checkers was played around 3,000 B.C.E. Hard to believe, isn’t it?! Today’s game of checkers developed around the start of the 12th century. A Frenchman came up with the idea of playing checkers on a chess board.
According to Wonderopolis.org “Today, most English-speaking countries use a 64-space checkerboard. This is known as the short king board version. However, much of Europe and Asia use a checkerboard with 100 spaces. This is called the long king version. Some people in Canada even use a board with 144 spaces!”
Checkers not only promotes thought and logic, but it also keeps players occupied with fun competition. It’s a great game for the whole family to enjoy!
What You Need to Make a DIY Checker Board
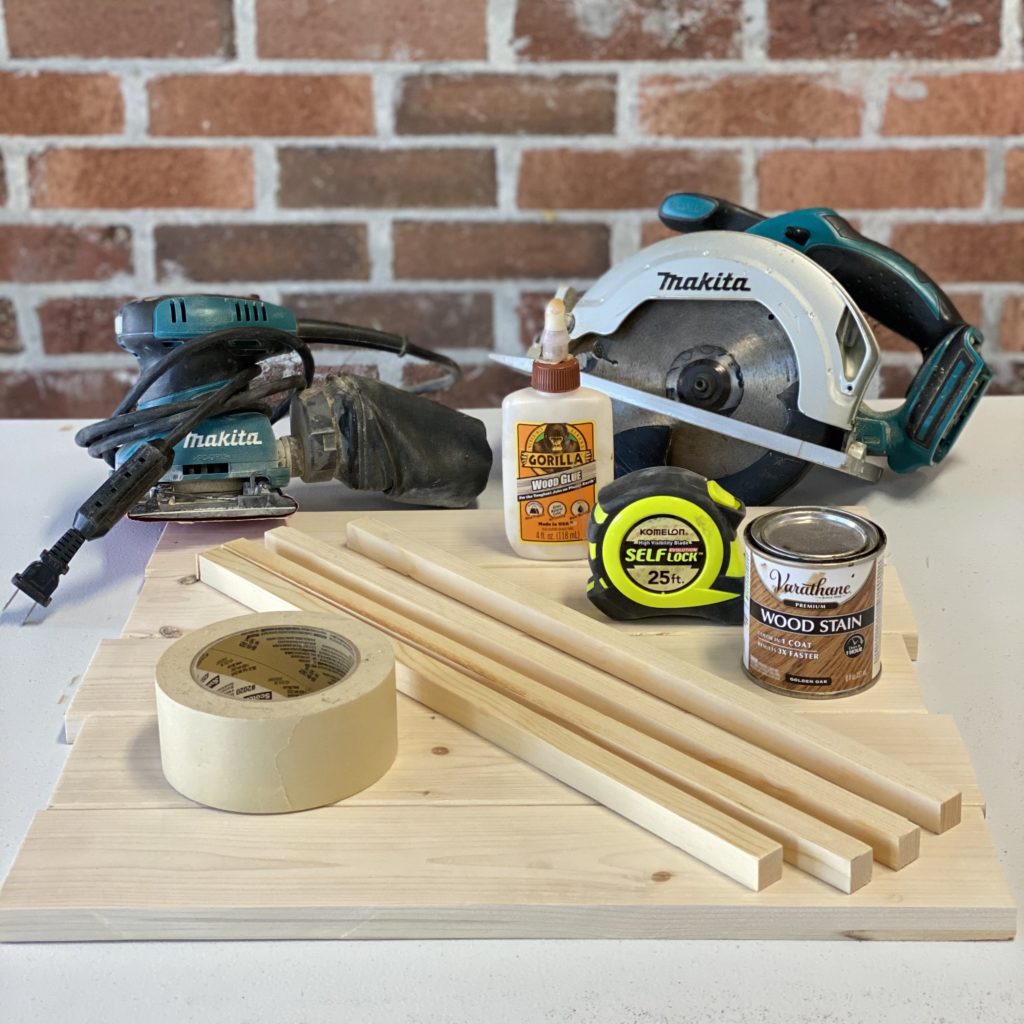
Materials:
- 1- 1 in. X 4 in. X 8 ft. board (These will create the checkerboard game board.)
- 2- 36 inch X 3/8 in. square dowels (These will be the frame around the game board.)
- Sandpaper
- Wood glue or interior construction adhesive
- (2) 24-inch clamps or scrap wood
- Masking tape or painter’s tape
- A heavy weight (I used a bucket with bricks inside.)
- Pencil
- Stain and/or paint
- Rag and/or paintbrush
- Sealer
- Rubber gloves (optional)
- Bamboo Skewer (optional)
Tools:
- Circular Saw
- Measuring tape
- Sander (optional)
* Side note: If you’re looking for a shortcut, you can also find checkerboard stencils at most craft stores. This is another way to create the checkerboard squares on the game board. I’m old school, so I used tape. Peeling away the tape to reveal the clean lines of my checkerboard was quite satisfying, I must say.
How to Make a DIY Checker Board
1.) Make the wood cuts.
If you have a circular saw at home, that is ideal for this project. However, if you don’t have one, that’s okay too. Don’t let the absence of a circular saw at home stop you from making a DIY checkerboard. Most home improvement stores will cut wood for you on their saws. All you have to do is ask. They are very helpful and friendly, so don’t be shy.
Here are the wood cuts needed:
- The 1 in. X 4 in. X 8 ft. board should be cut into 5- 17 1/4 inch lengths. This will be the checkers game board.
- The two 3-foot X 3/8 inch square dowels should be cut into two pieces each. Each dowel should give you one 18 3/8 inch length and one 17 1/4 inch length. (You’ll get one long piece and one short piece out of each dowel.) These will make the simple frame around the checkers game board. A nice finishing touch.
2.) Lay out the boards.
Lay the five 17 1/4 inch boards out on a flat surface so they are butting up against one another. Be sure the boards all line up evenly.
3.) Glue.
Using wood glue or interior construction adhesive, glue the inside edge of each board to the one next to it. 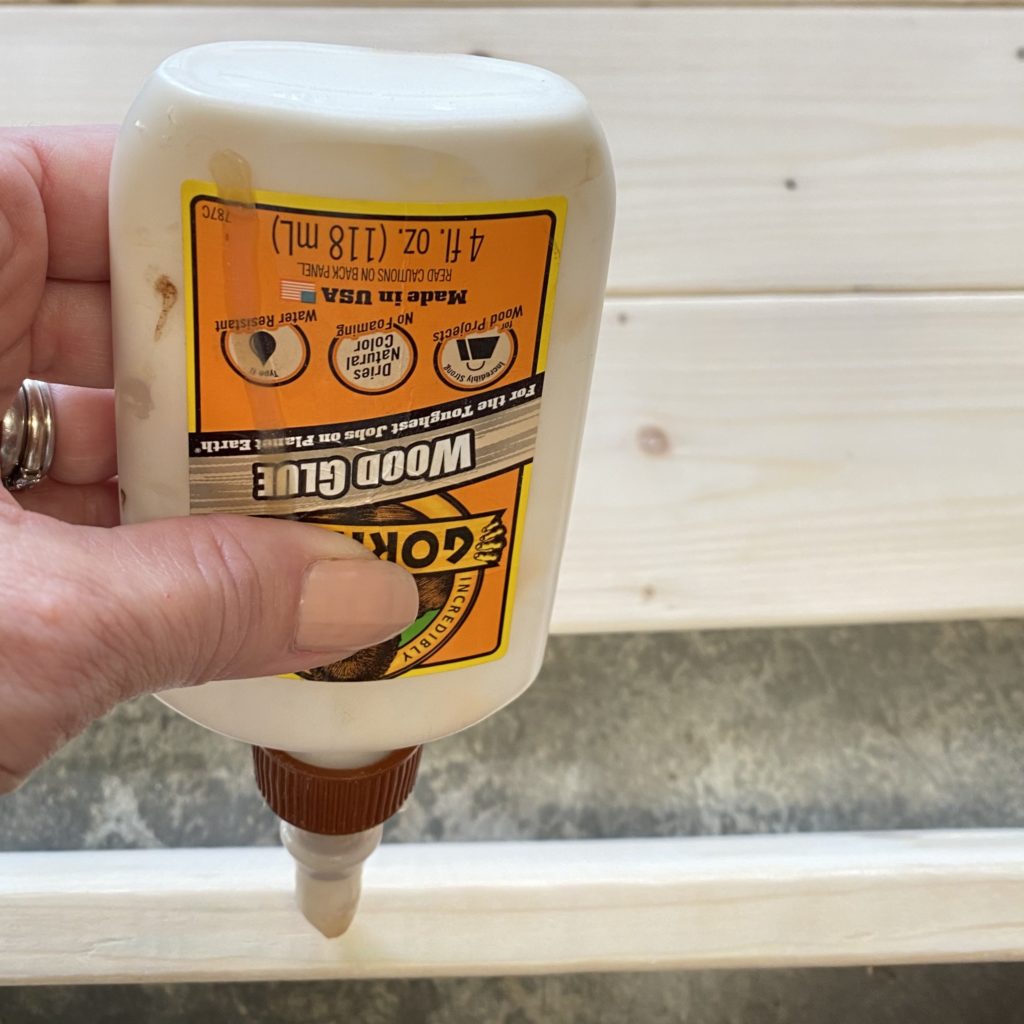
4.) Clamp and Secure the Boards.
Once all the boards are glued together, use clamps to keep the boards in place while the glue dries. If you do not have clamps, I used scrap wood at the top with my hands and bottom with my knees to squeeze the boards together tight.
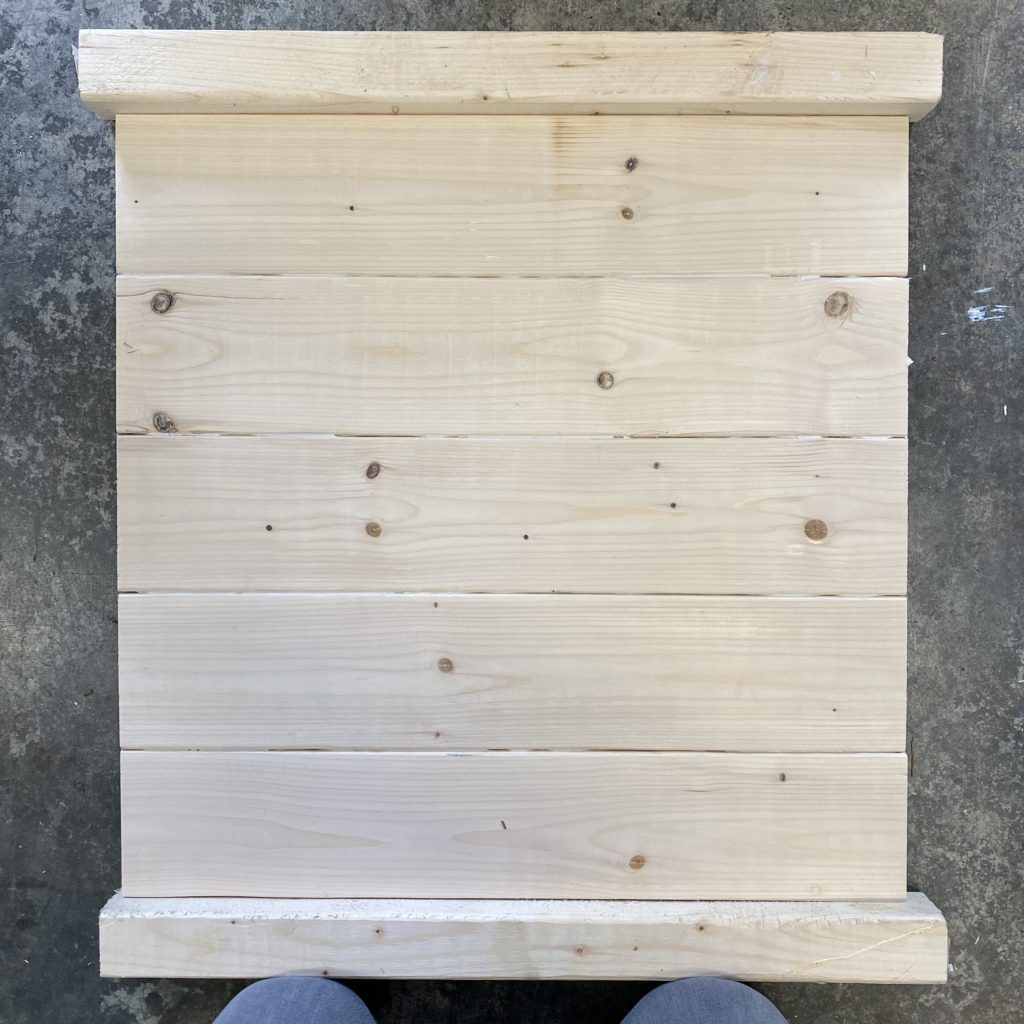
Next, tear off about 3 strips of painter’s tape or masking tape and firmly attach each one from the first (top) board to the last (bottom) board. This will also help the boards stick together tightly as the glue dries. 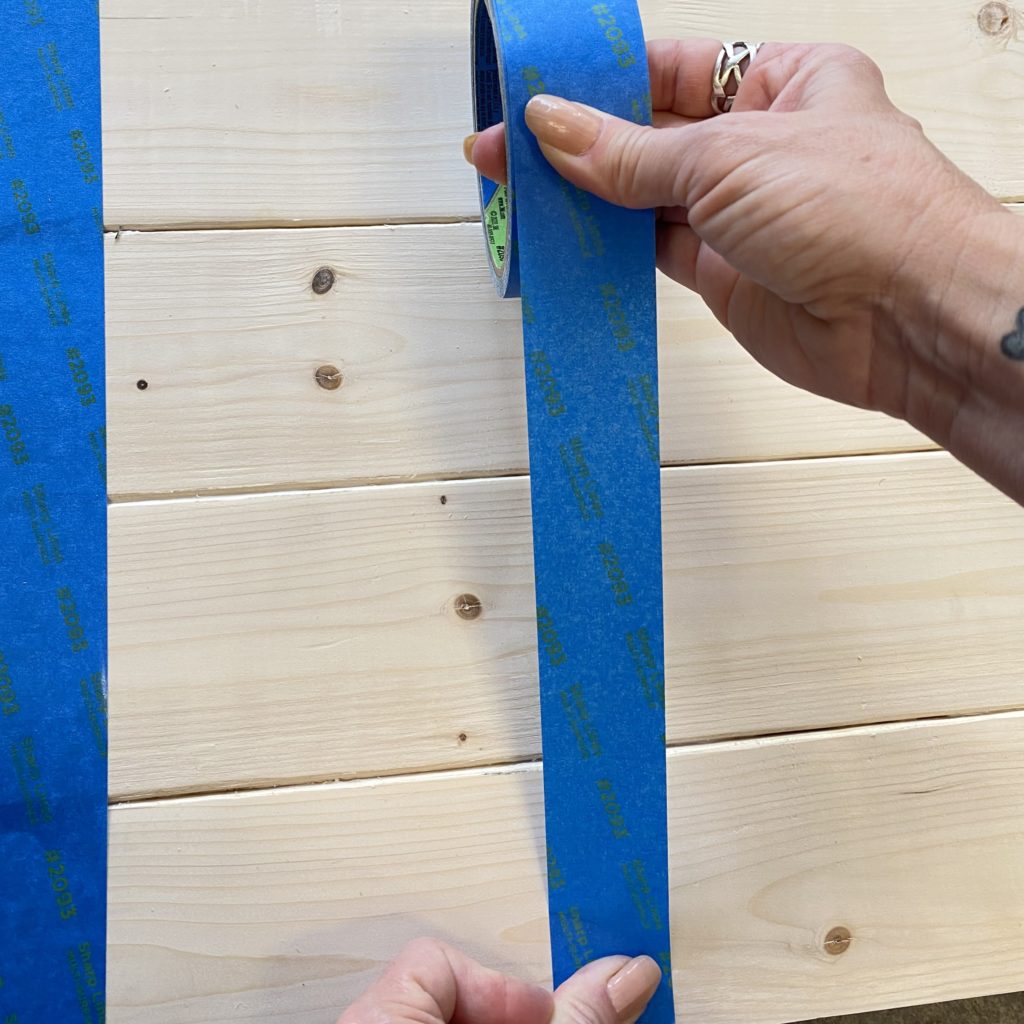
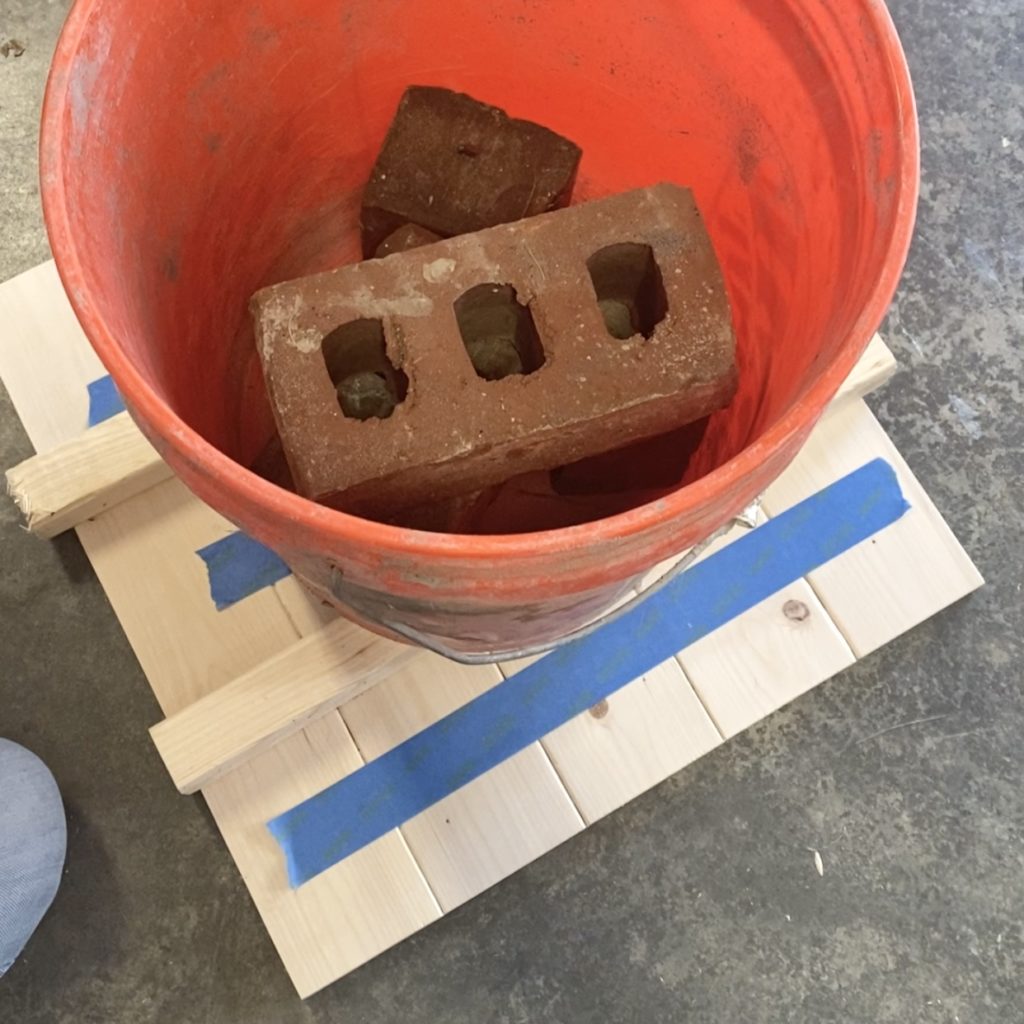
At this time, weight can gently be added on top of the boards to insure that while the glue dries the boards do move or warp. I used a bucket filled with bricks.
Allow the glue to dry for several hours, ideally overnight.
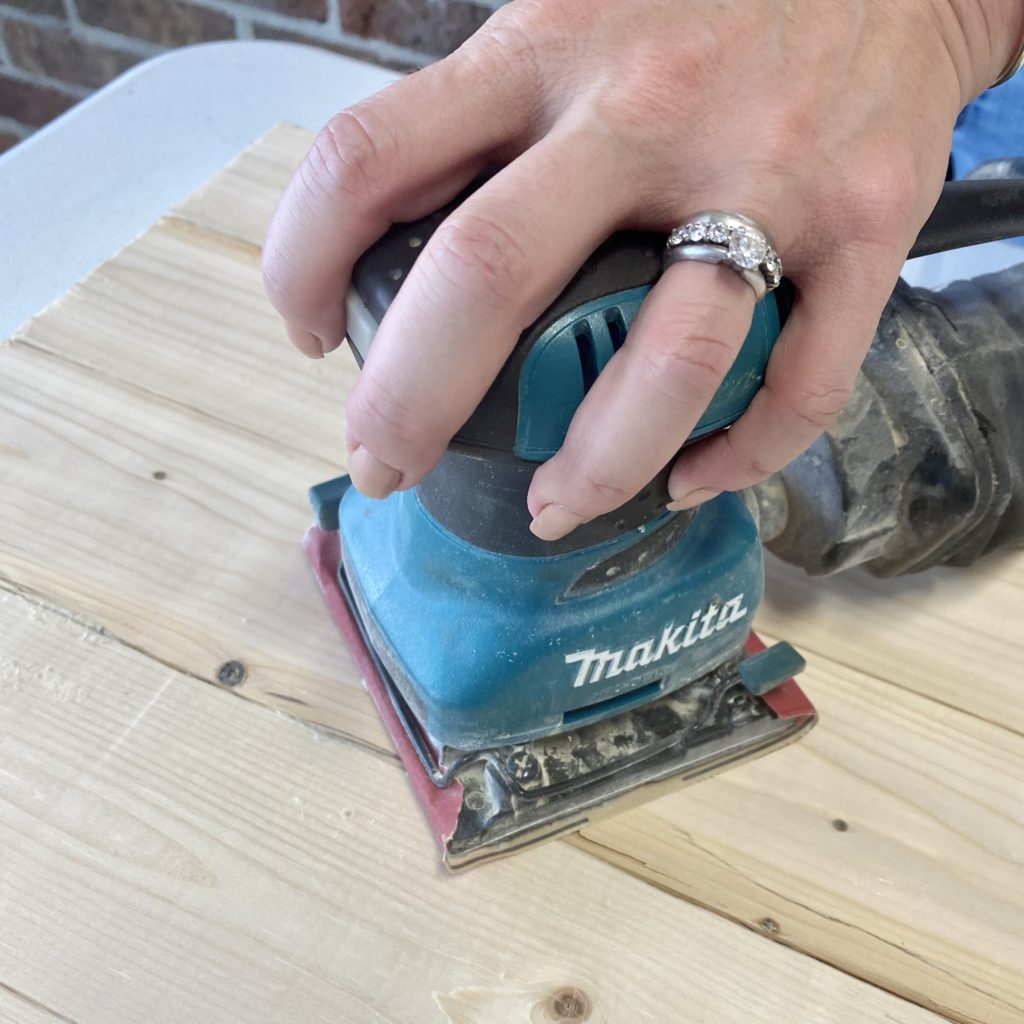
5.) Sand.
Once the glue has dried, sand the game board.
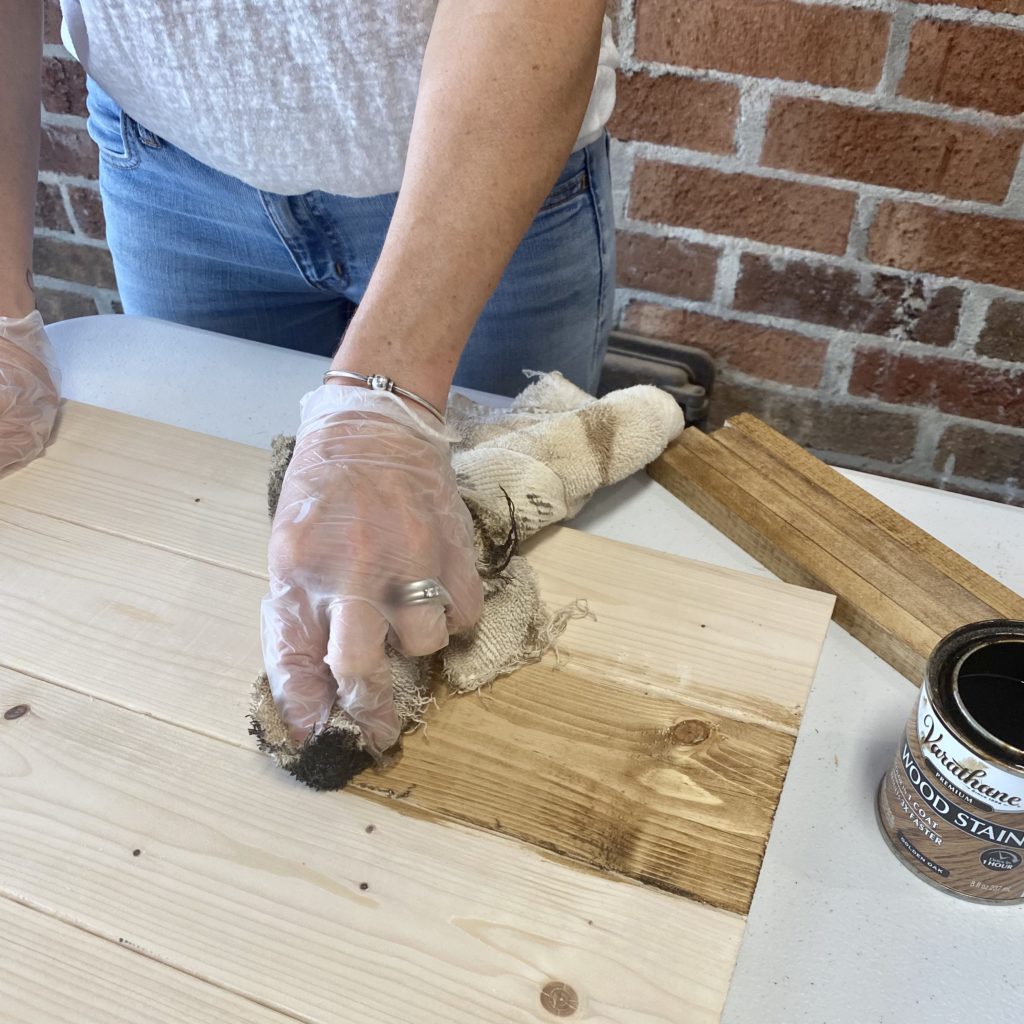
6.) Paint or Stain.
Whether you are painting or staining the checkerboard, be sure all the sawdust is cleaned off of it first. Apply the paint or stain. I stained my board using one coat of Varathane, Golden Oak stain. Allow the paint or stain to dry completely before moving on to painting the checkerboard pattern onto the board. I let my stained game board dry overnight.
7.) Tape and then Paint on the Checkerboard Pattern.
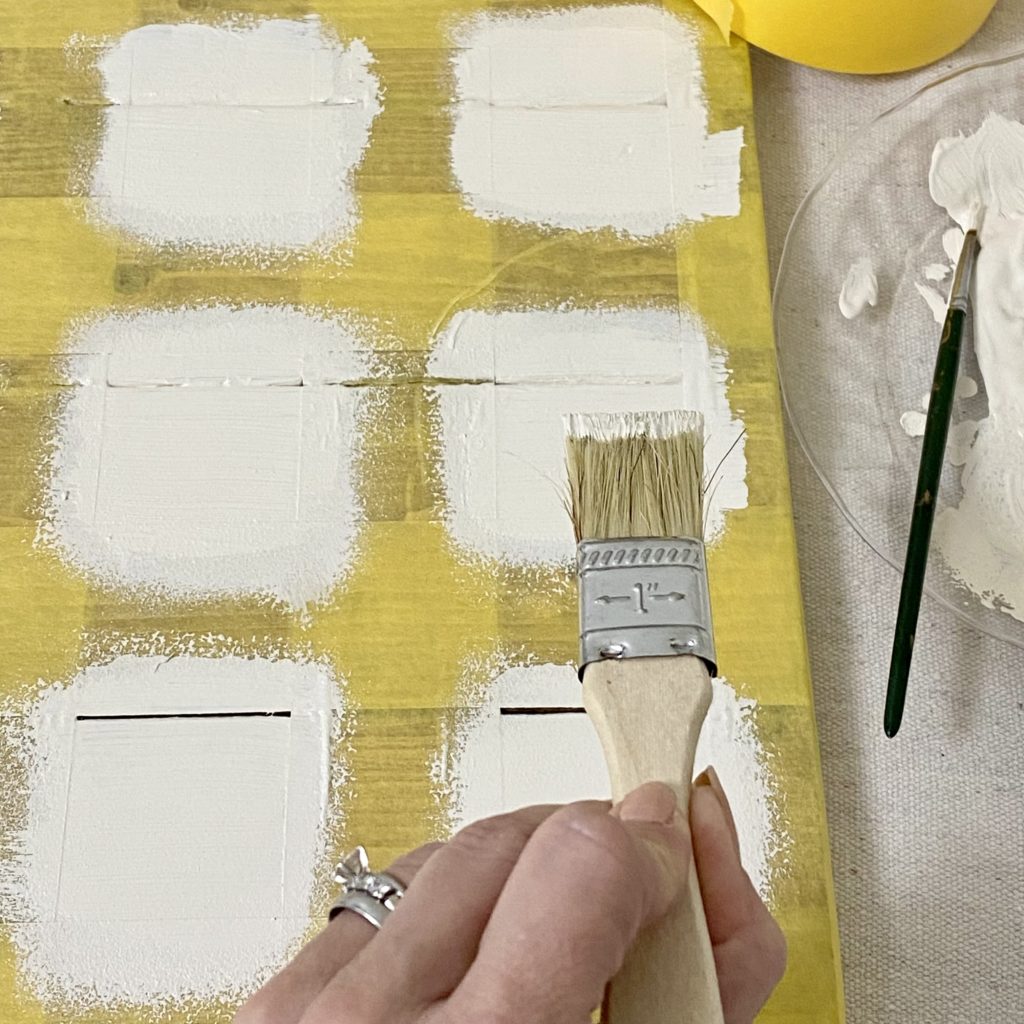
Once the stain or paint on the game board is completely dry, paint the checkerboard pattern onto it. I used Limestone by Fusion Mineral Paint. This YouTube video really helped me plan out the squares too. The Delicate Surface FrogTape used in the video was awesome. I highly recommend it.
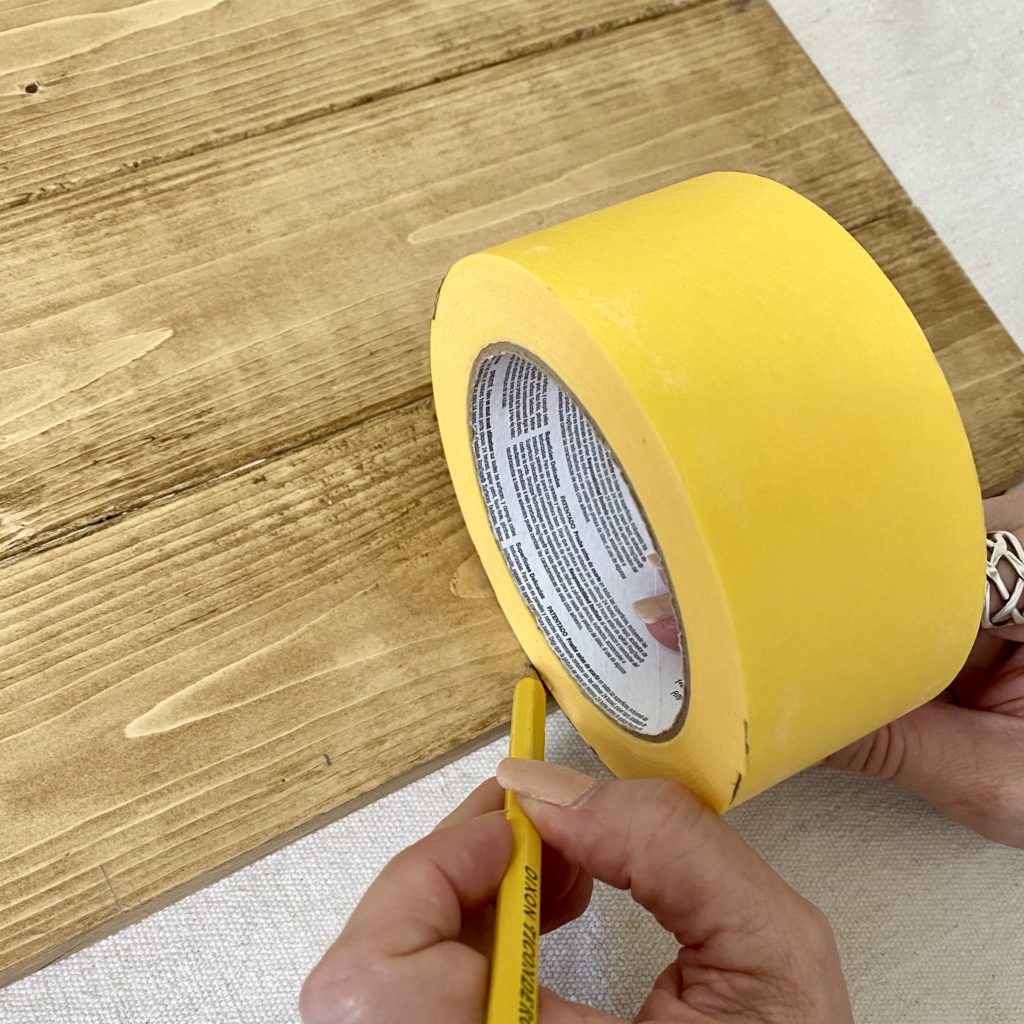
Find the middle of the game board around 8 5/8 inches (if your board is 17 1/4 inches). Mark that spot (lightly) with a pencil. Take the 1.88 inch wide tape and mark the width of it from that center point moving to the outer edge of the board. Once you are done, you should have four pencil marks (the width of the tape) on either side of the center mark around all four sides of the game board.
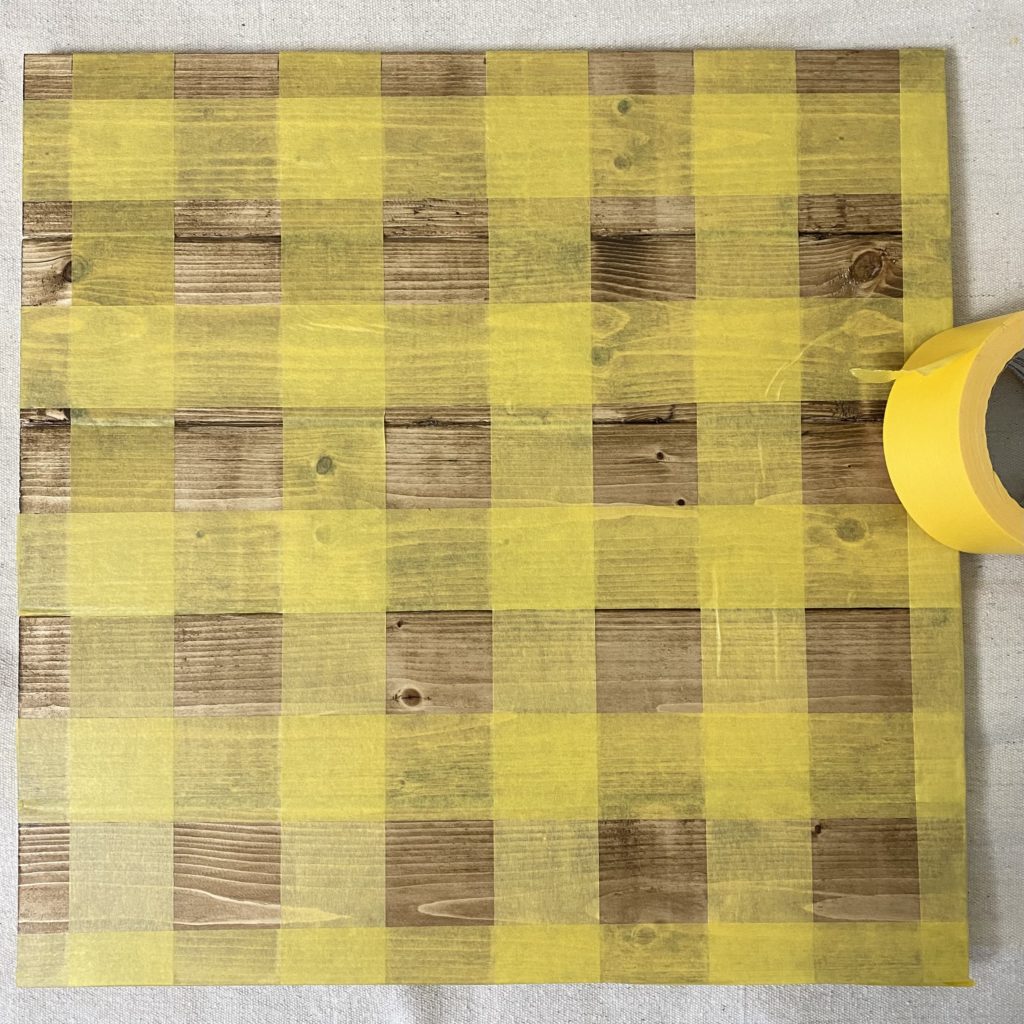
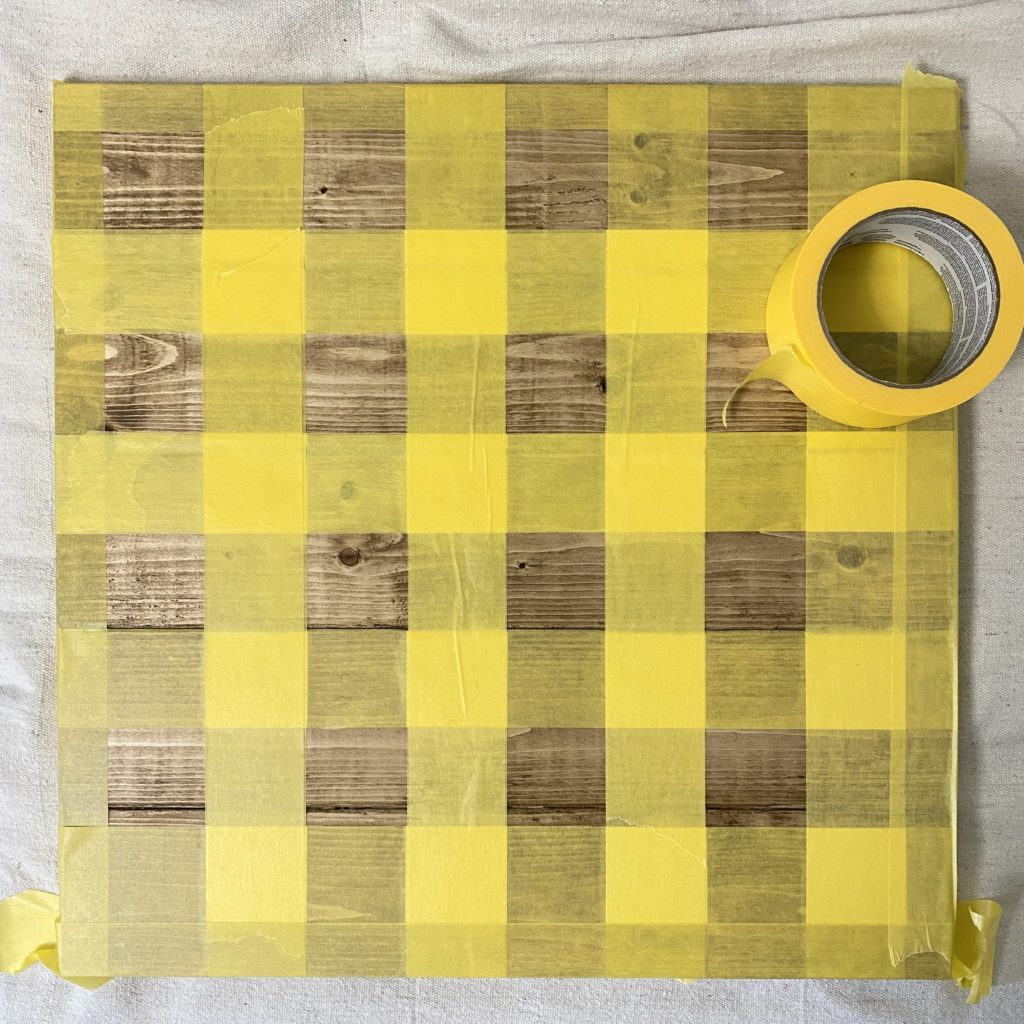
Next, lay four strips of tape across the length of the game board in between every other pencil mark (1.88 inches apart).
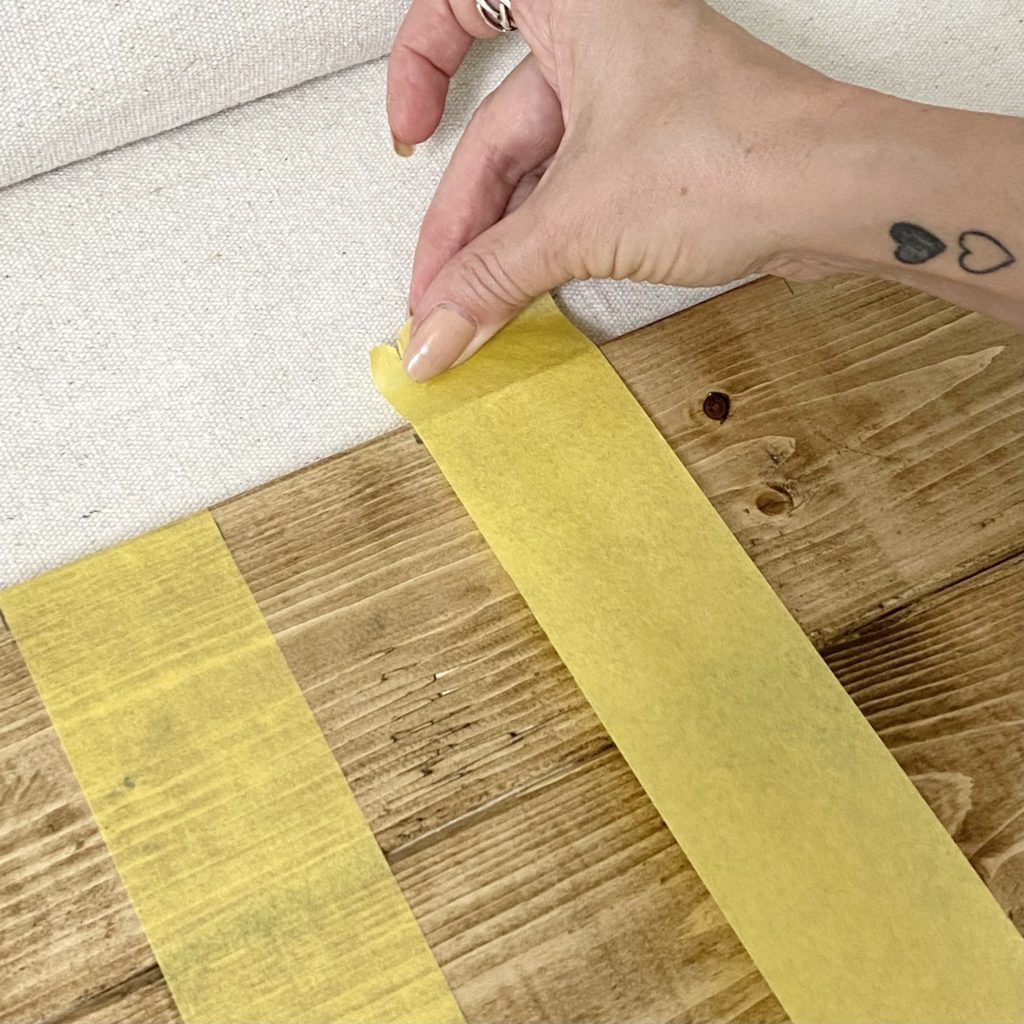

Then, do the same thing going the other way. If you want to ensure you don’t paint on the outer edges of the board, add some extra tape on the sides too.
Finally, it’s time to start painting the checkerboard. These squares will be the first set, there are two sets total.
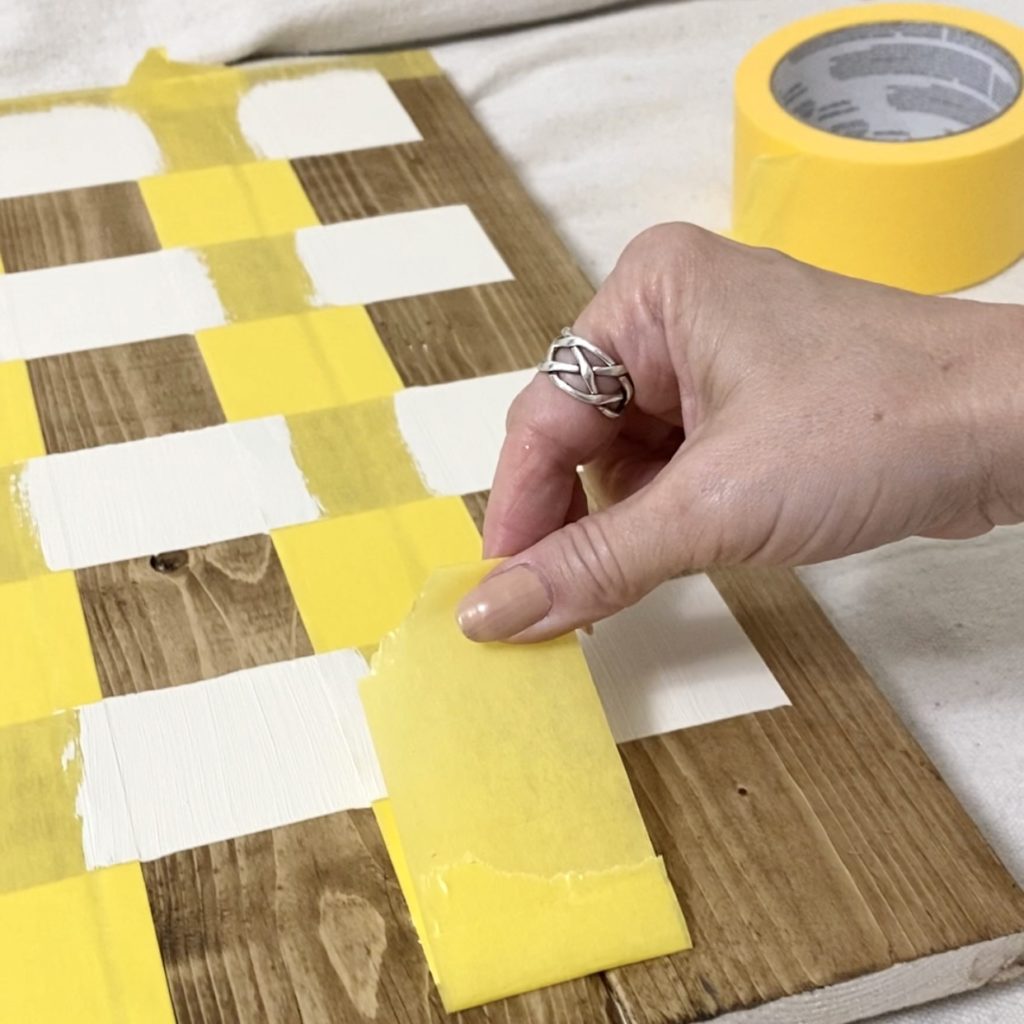
Once the paint has dried a bit, remove it carefully. Then, once you’ve let the paint completely cure, repeat the taping process the opposite way which means that the tape will now be crossing over the painted squares. This will create the second (final) set of squares for the checkerboard.

Allow the paint to dry slightly before removing the tape. The paint should still be tacky when removing the tape to ensure clean lines.
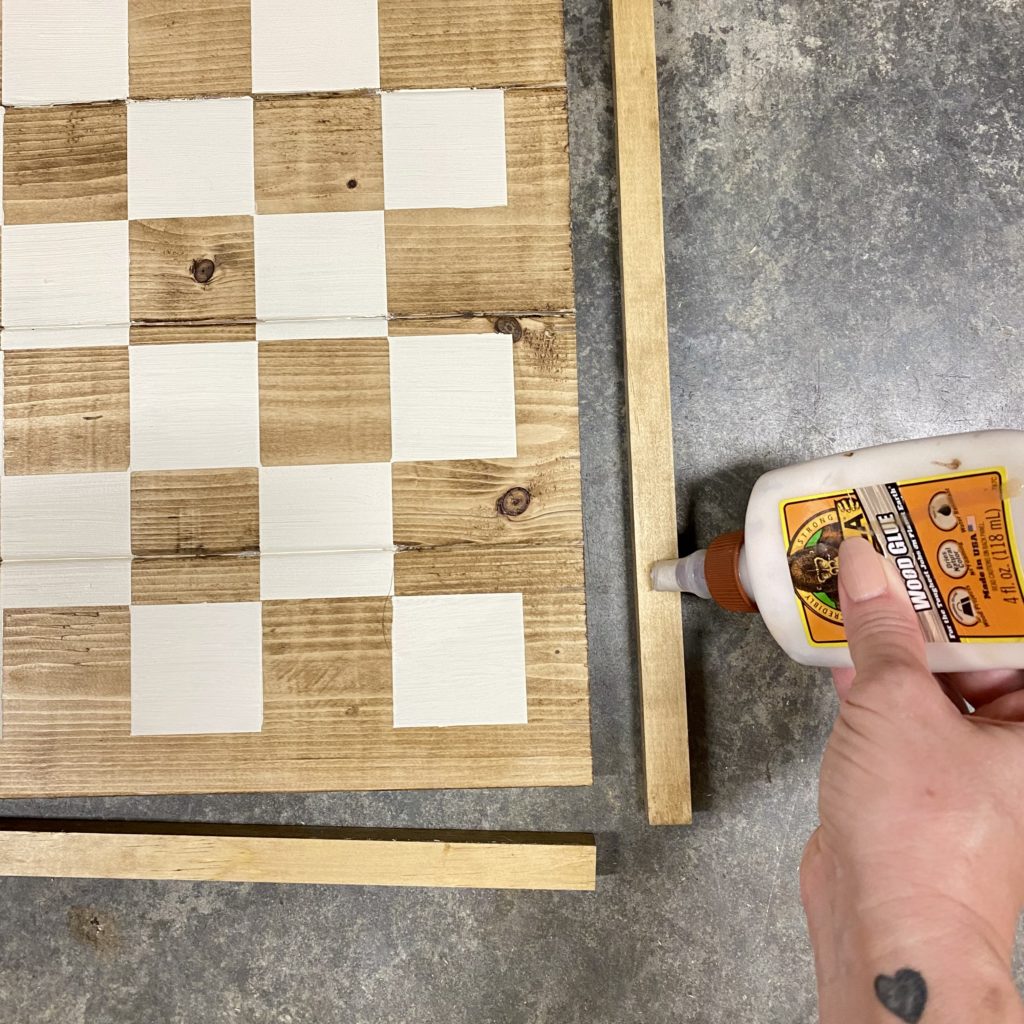
8.) Attach the game board frame.
Using the same wood glue or interior construction adhesive that was used on the boards to make the game board, glue the four 3/8 inch square dowel pieces around the checkerboard to frame it out. This is not a necessary step, but it does add a nice finishing touch to the checkerboard.
9.) Seal the DIY Checkerboard.
Finally, using the sealer of your choice, seal the DIY checkerboard. This will help protect it throughout the many games of checkers that will be played on it.
Time to Play
Voila! With the DIY checkerboard made it’s time to play! However, first you will need some checkers. Here are a few options for checker pieces.
- Traditional checkers
- Neutral checkers
- Unfinished wood checkers (Paint or stain your own.)
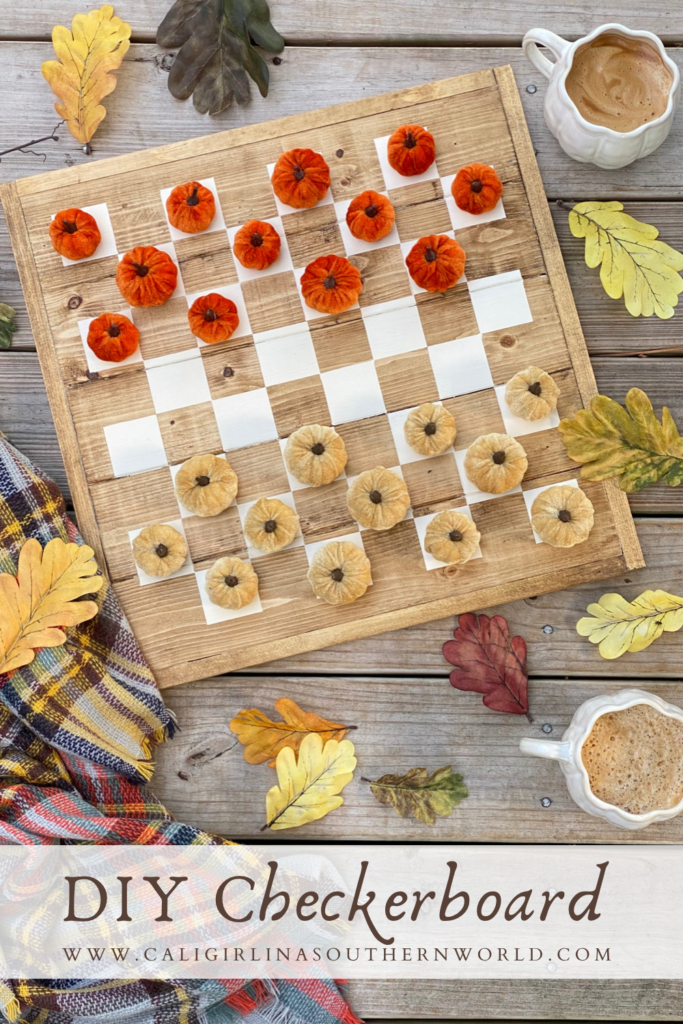
- Fun fall checkers (The little velvet pumpkins I used were detached from fall stems I found at Hobby Lobby.)
If you choose fun fall checkers, like I did, you may want to consider these crowns for crowning. Typically, in checkers the pieces are stacked for crowning. Using mini pumpkins can make crowning difficult, but not if they have a crown to wear.
This Christmas season, I plan to get little green and white bottlebrush trees to use on the checkerboard. The crowns will look adorable on them too!
How to Play Checkers:
Here is a quick rundown of the rules of checkers in case anyone needs a refresher. Thanks to Gamesver.com for this great summary.
OBJECTIVE:
- The game’s main objective is to capture every opponent’s piece.
MOVING:
- Moves are always diagonal, towards the opponent, and via dark squares only.
- You can only jump one square at a time unless capturing a piece, in which case two squares will be jumped.
- You cannot jump over two consecutively positioned pieces.
- Players will alternate turns to move.
CAPTURING:
- You may only capture one piece per jump.
- If a single capture is available, it must be taken.
- If multiple captures are available, the player can decide which one to take, but still, a capture must be taken.
- Captured pieces are eliminated from the board.
CROWNING A KING:
- A piece reaching the furthest row from the player in control is crowned king by placing on a captured piece on top of that piece, doubling its height.
- Pieces crowned king can move backward and forward, but only in a diagonal direction.
I hope you and your family have as much fun playing with your DIY checkerboard as we do playing with ours here on the farm!
If you are looking for more easy DIY wood projects, you may also want to check out these:


This is just the cutest idea Meeghan! I love it.
Thank you so much Kim! I’m so happy you love it.
LOVE this DIY checkerboard idea! The autumn colors are so perfect for this time of year. Can’t wait to try it out and add some coziness to my living room. 🍁🧮❤️
Thank you! I’m so happy you love it. Enjoy making one for your home!
Love this checkerboard project Meeghan and miss you over on Instagram. I’m going to share a link to this in a post coming this Saturday on my blog!
Thank you, Ann! I hope you’re well.