
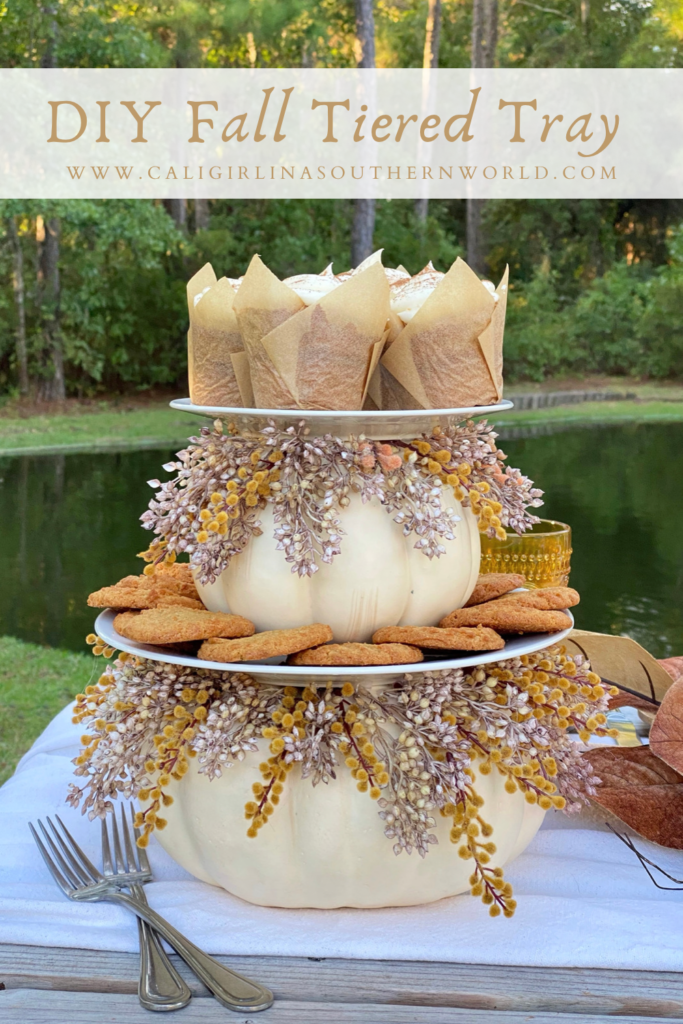
Wait until you see how fun, easy, and inexpensive this sweet DIY fall tiered tray is to make. I’m so excited about how it turned out! It’s a beautiful way to display cookies and cupcakes this fall season. All you need are a few items from the dollar store, thrift store, or craft store. As a matter of fact, you may already have all the items needed to make this beautiful DIY-tiered tray for fall. In this case, it won’t cost a penny!

Time to Gather
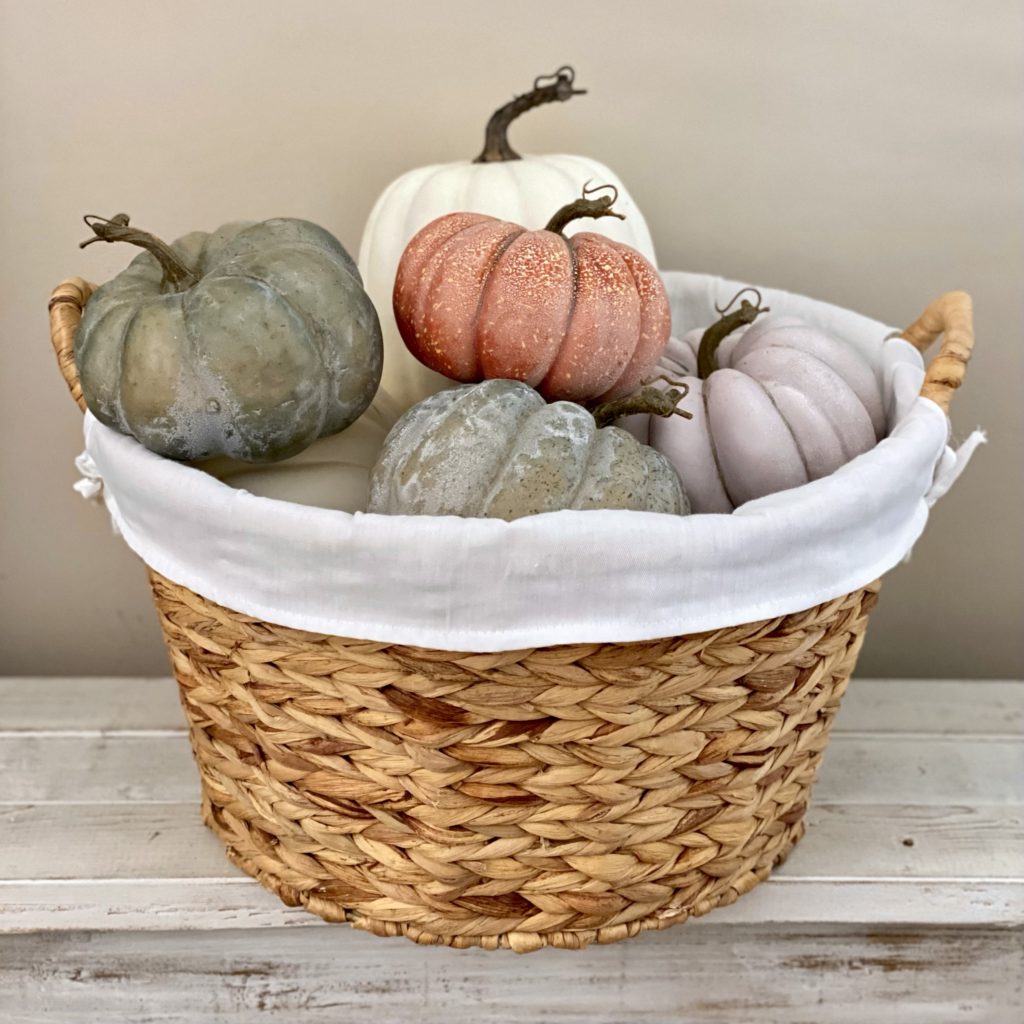
If you’re anything like me, you probably have quite the collection of faux pumpkins that you’ve gathered over the years. It’s okay, you can feel safe admitting it here. You’re not alone. I have an embarrassing amount of faux pumpkins (in a variety of colors) tucked away in the attic.
The funny thing is- I’m not even sure why I have so many of them. It’s as if I’m afraid that one fall season the faux pumpkin makers may decide to go on strike and then suddenly there will be no more faux pumpkins left. Therefore, to safeguard against this, every fall when they start coming out in the stores, I seem to feel compelled to buy a few more and squirrel them away with the others… Just in case.
Well, guess what? A couple of those pumpkins have been waiting for this moment. It’s their time to shine! So let’s gather a couple of them up. One of the faux pumpkins needed for this project should be slightly bigger than the other one. The shape of the pumpkins used is up to you. I’ve seen this project made with tall pumpkins as well as wide ones. As you can see, the pumpkins I used are on the wider side.
Supplies to Make a DIY Fall Tiered Tray
The supply list for this project is short and leaves a lot of room for adding a personal touch. When planning the color scheme for this DIY-tiered tray, the sky’s the limit. It can be neutral and muted or bright and vibrant depending on your style.
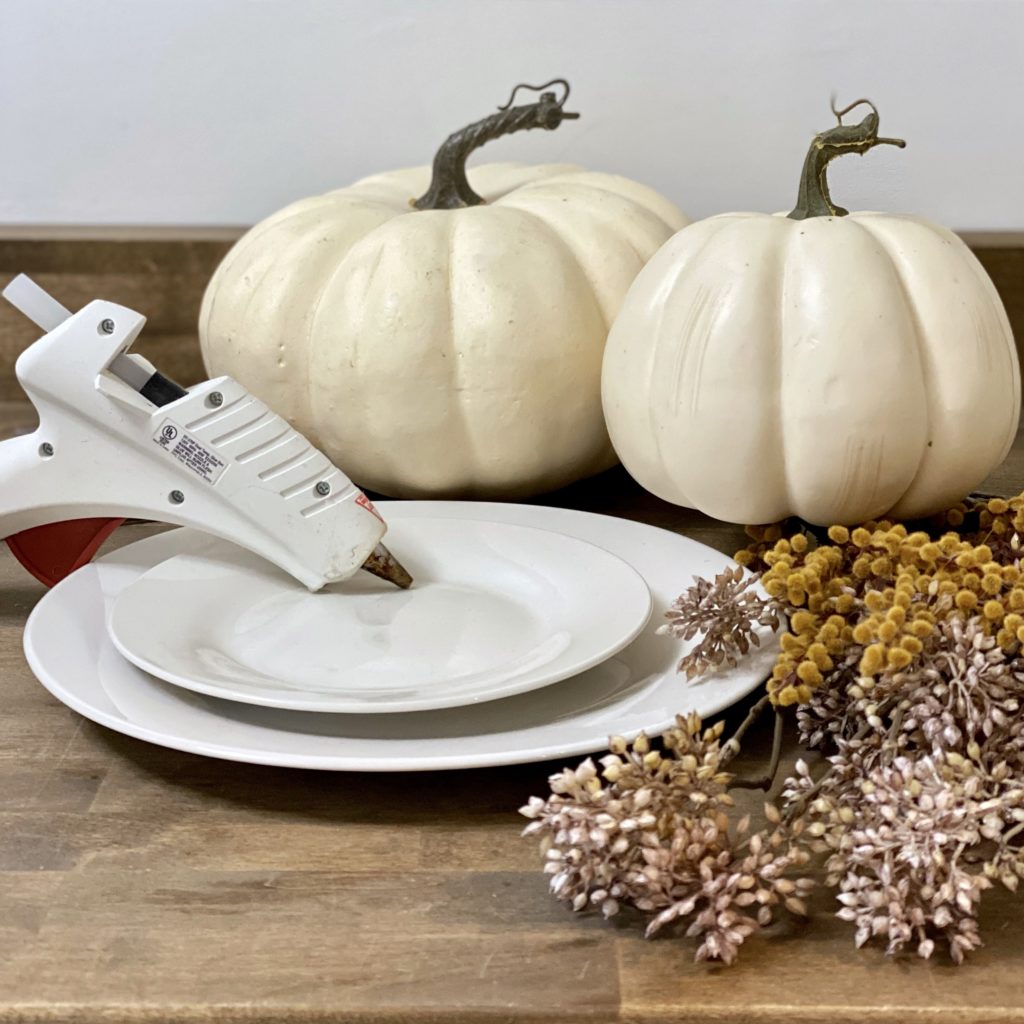
Here is what you need:
- 2 faux pumpkins (one smaller and one larger)
- 2 plates (one large and one small)
- Pencil
- Hot glue
- Faux fall stems
- Level (optional)
Faux Pumpkins:
The faux pumpkins used for this DIY can vary in color and size. However, in order to create balance, a larger pumpkin should be used for the bottom and a small one should be used for the top of the tiered tray.
Faux Fall Stems:
The fall stems can also vary in color and size. They can be neutral or bold colors or a mix of both. Consider using dried, silk, or plastic flowers, leaves, and/or berries. Even tiny pinecones and acorns are beautiful additions.
Plates:
The plates used for this tiered tray can be ornate and decorative or they can be plain and simple. However, to create balance (like the faux pumpkins), there should be a large plate on the bottom and a smaller plate on top. I used plain and simple white plates I found at Dollar Tree for $1.25 each. A dinner plate was used for the bottom and a salad plate was used for the top of my tiered tray.
Have fun making this project your own and get creative!
How to Make a DIY Fall Tiered Tray
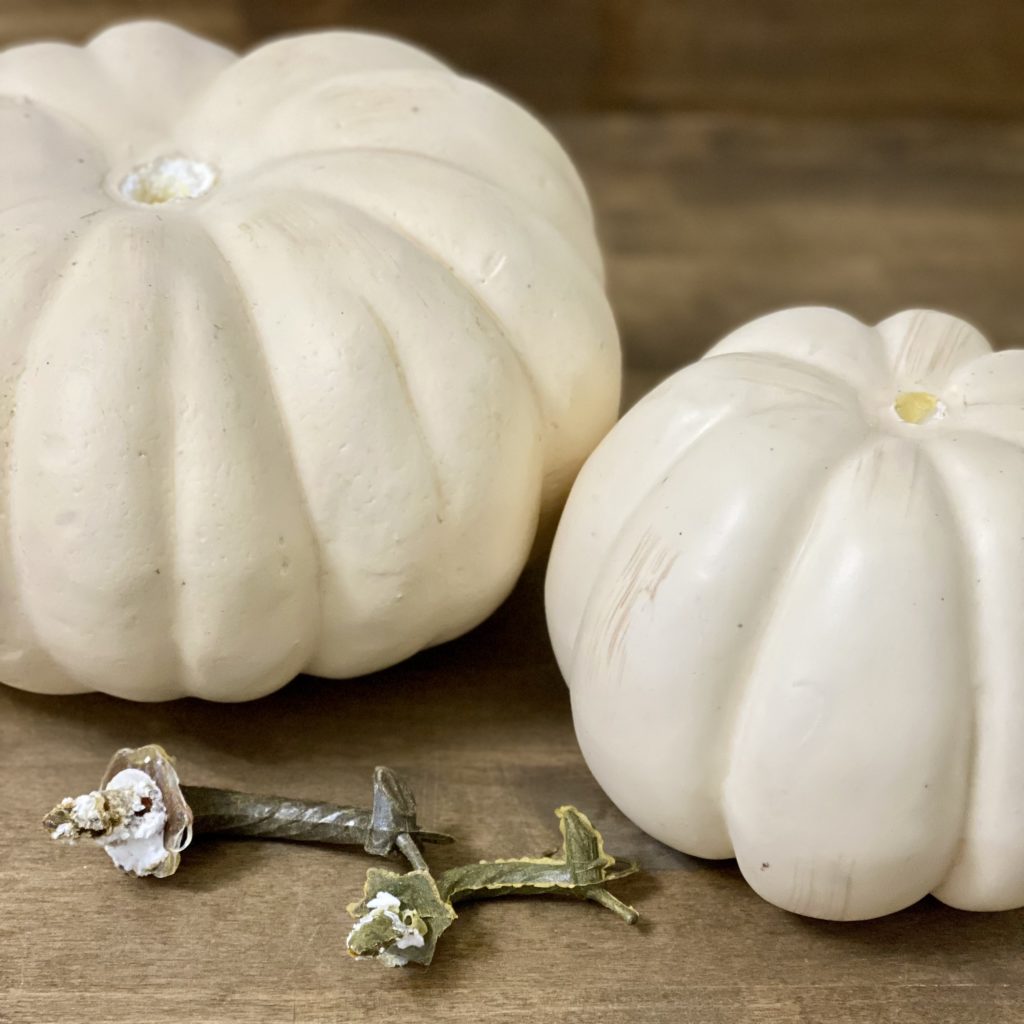
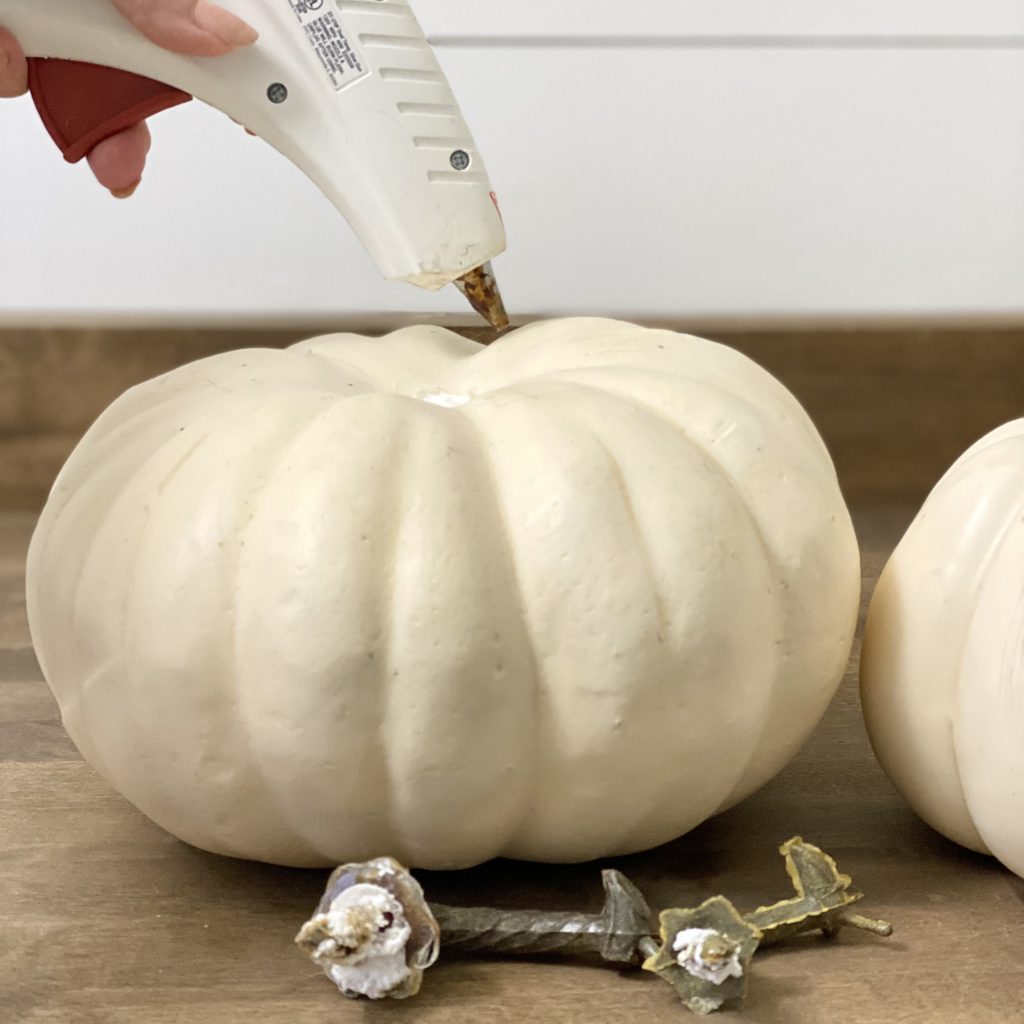
1.) Remove the stems from the faux pumpkins.
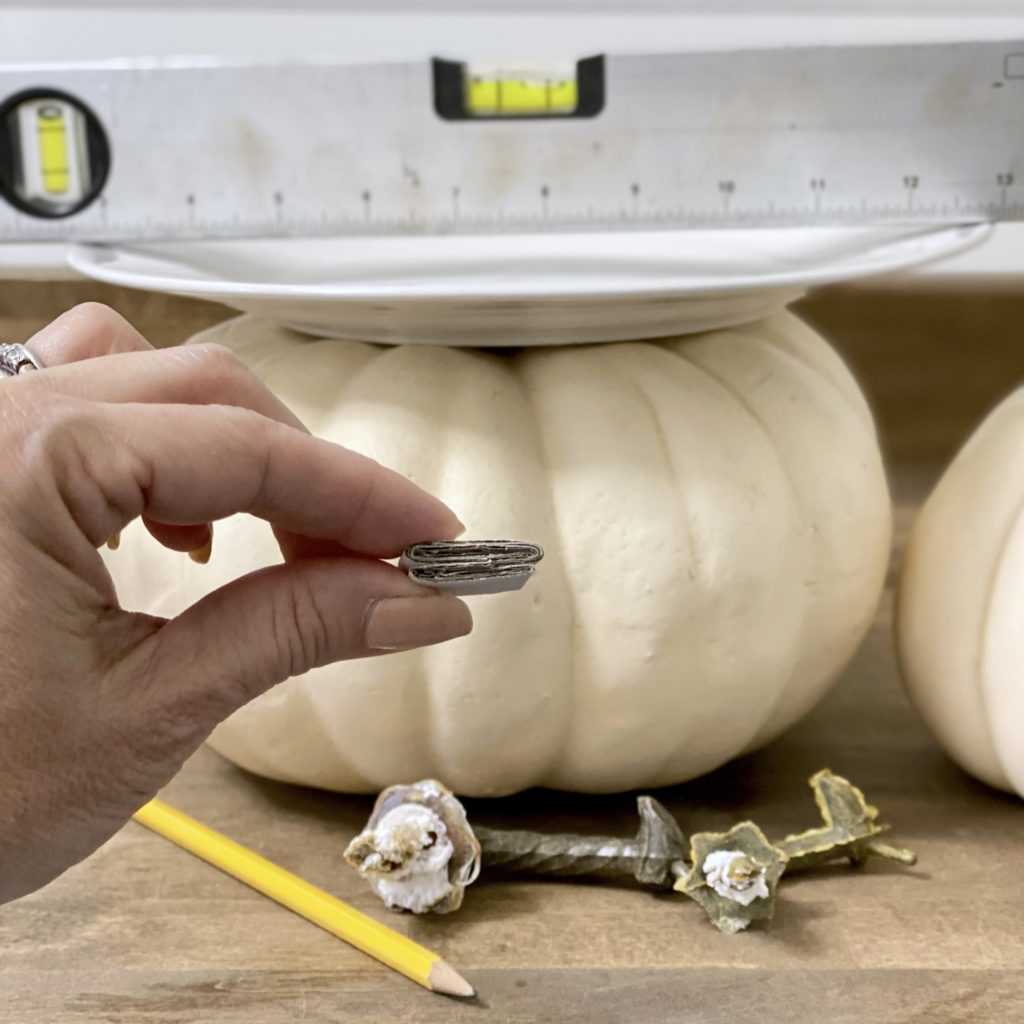
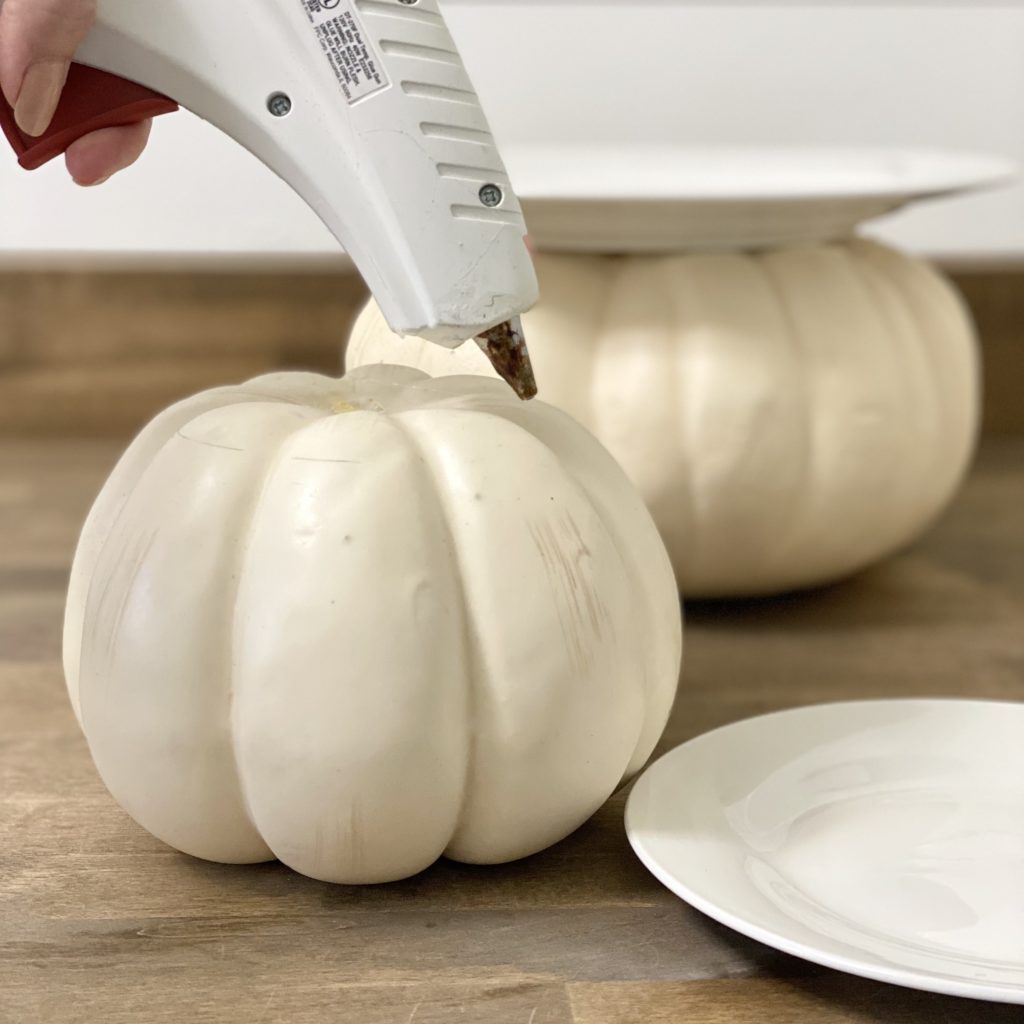
2.) Place the large plate on top of the large faux pumpkin. With a pencil, lightly trace around the area where the bottom of the plate meets the top of the pumpkin. Before removing the plate, make sure it’s also level. If it’s not, fold a piece of paper or use some cardboard or styrofoam to make a shim that fits between the plate and the faux pumpkin to level the plate. Remove the plate (and shim, if needed).
3.) Using hot glue, trace around the circle drawn in pencil on the large faux pumpkin. Gently, place the plate on the glue. (Add the shim (if using one) back in between the plate and the top of the faux pumpkin. More hot glue may be necessary to keep the shim in place. Allow the pieces to dry and set together completely. (Don’t worry if the shim can be seen. The faux stems will cover it in the end.)
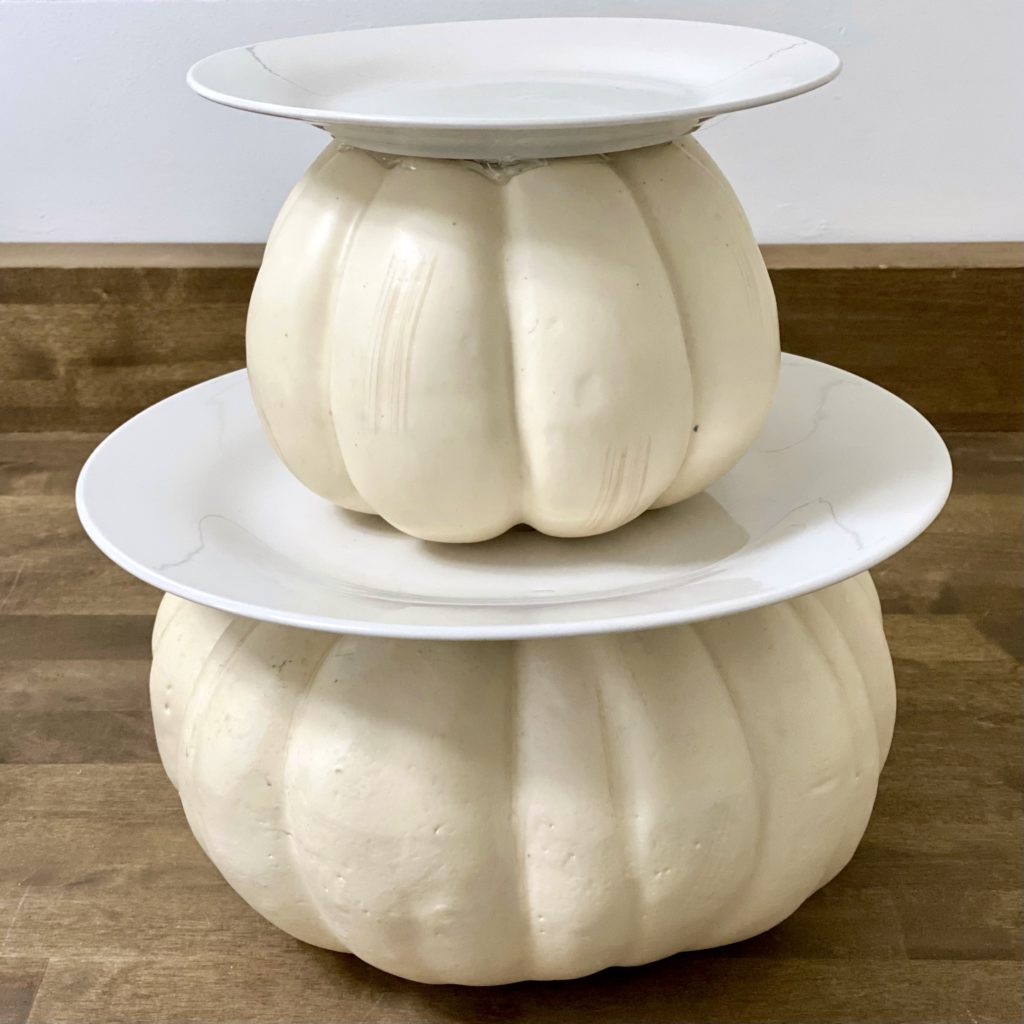
4.) Repeat steps 2 and 3 with the small plate and small pumpkin.
5.) Hot glue the bottom of the small faux pumpkin to the center of the large plate and allow the glue to dry completely.
Time to Decorate (and Celebrate)
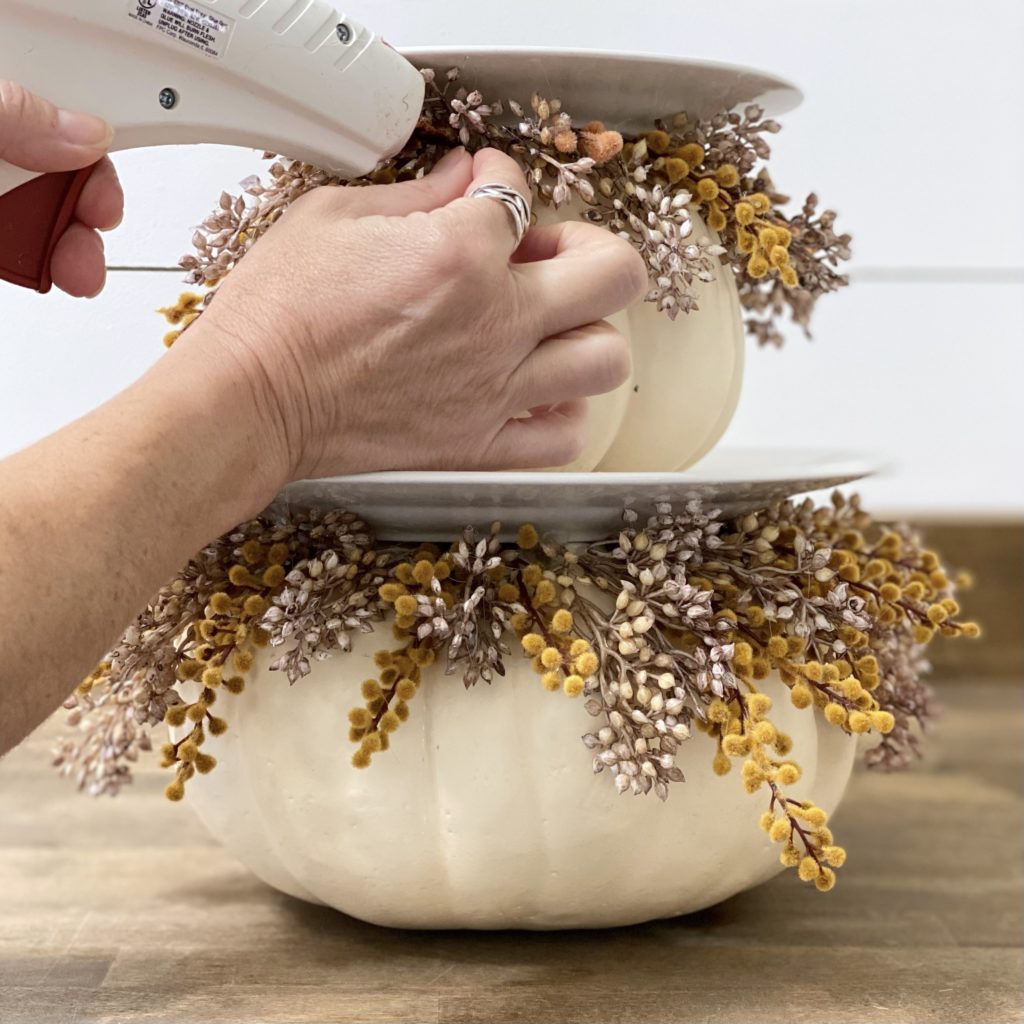
Now it’s time for the fun part! It’s time to decorate your DIY tiered tray for fall. Using hot glue, glue the faux fall stems in between the plates and the faux pumpkins all around. Add as much detail or as little as you like. I used a combination of leaves, berries, and a few small flowers.
Once you’ve finished decorating, celebrate your new project by baking some Pumpkin Spice Cookies and Orange Spice Cupcakes. They’re the perfect fall treats! Invite some friends over and enjoy a beautiful fall afternoon together on the porch or in the kitchen. After all, fall is the season of gathering.
I hope you enjoyed this fun, easy, inexpensive, and beautiful fall DIY. Sharing it with you today was a true pleasure.
If you are looking for more DIYs that are perfect for fall, you may want to check these out:
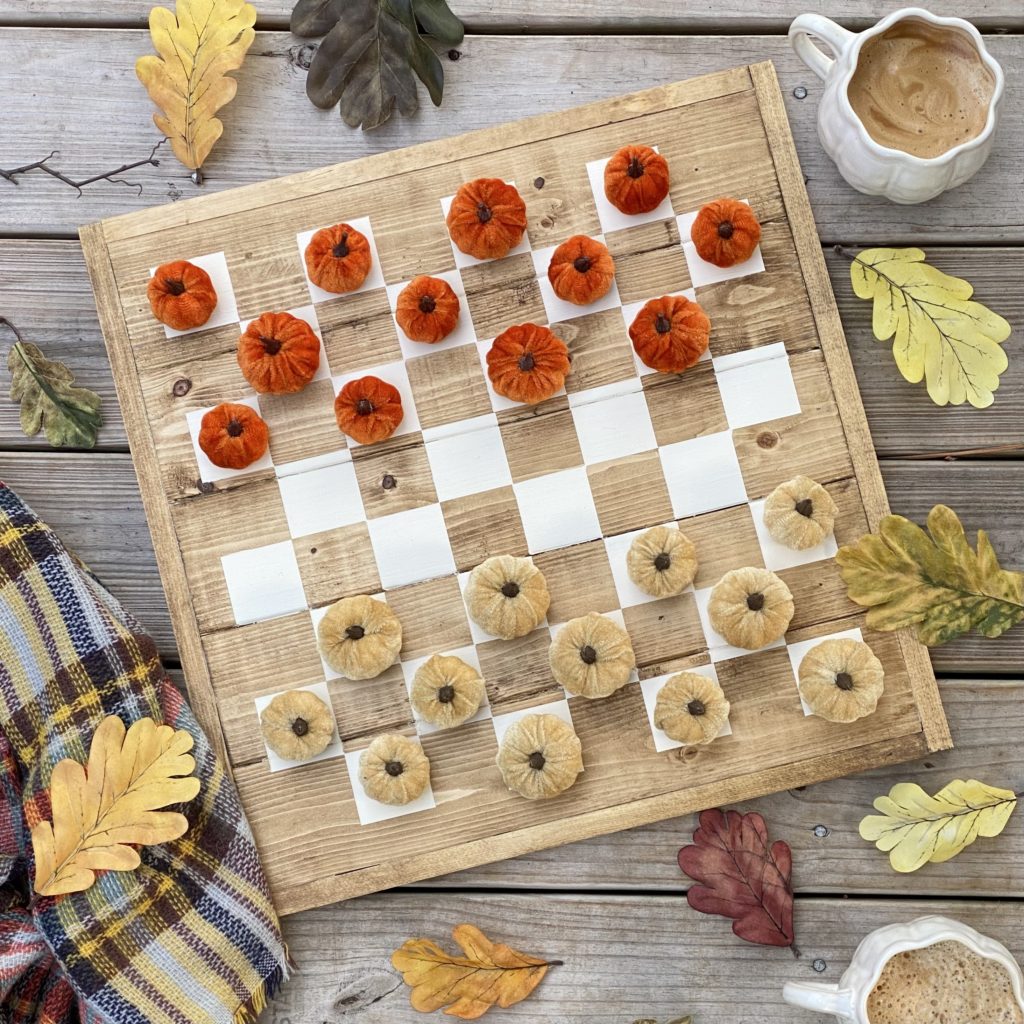
How to Make a DIY Checkerboard (For Fall)
Join me on Instagram and Pinterest for more farmhouse inspiration, easy and beautiful DIYs, and delicious recipes!


This is brilliant! What a fun serving piece for a Fall party. Pinned!
Thank you so much, Lora! I’m happy you like it!!
Beautiful serving idea for very little price. I love it !
Thank you, Marie!
This is truly gorgeous. I do wonder, where to store this for next year
Thank you, Vicki! Of course everyone’s storage capacity is different, but I store mine on the top shelf of my pantry with my other tiered trays and cake/pie stands.