
This beautiful DIY wood bead cake stand is perfect to use in your home all year round, especially during the holidays. With just a few pieces from the hardware store and dollar, thrift, or craft stores you can easily make a stunning pedestal stand to display in your home.
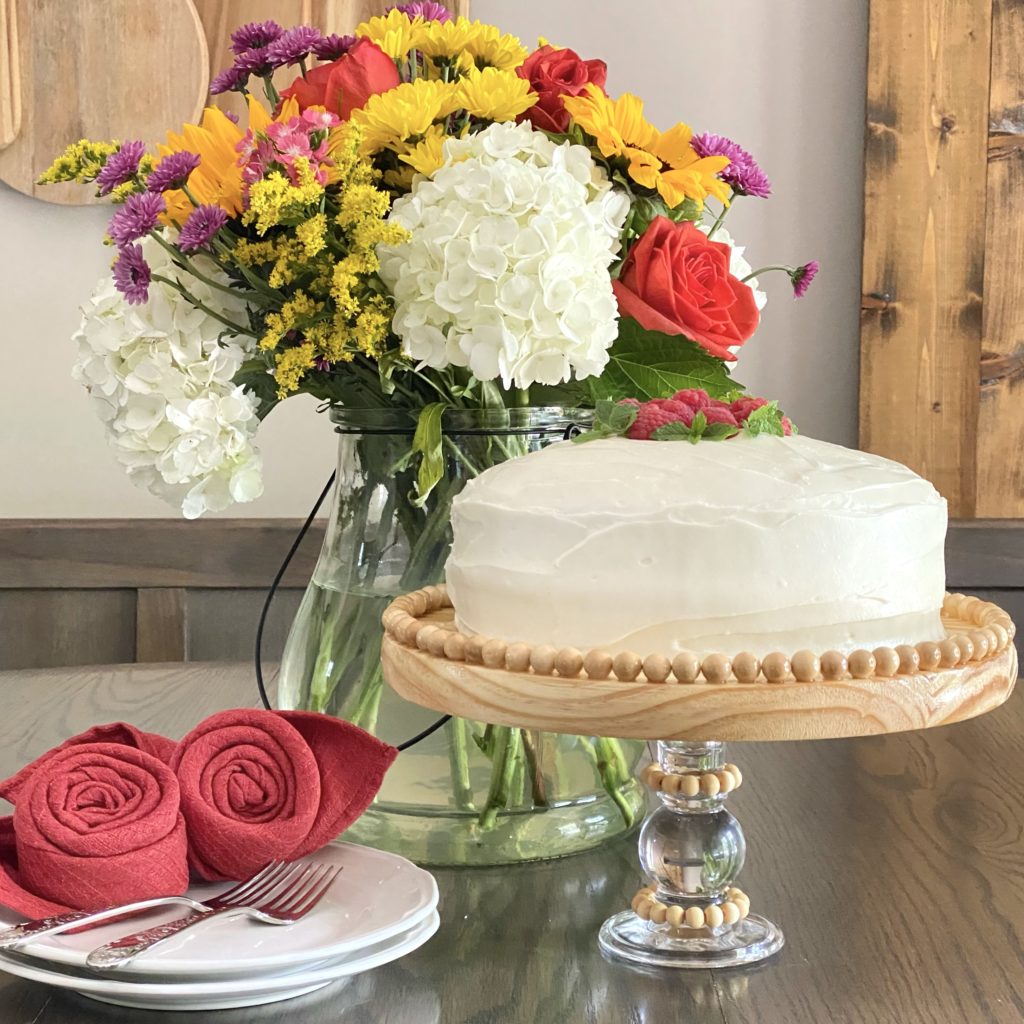
This cake stand is a beautiful way to display baked goods. It’s aslo an extra special way to display candles, plants, and home decor. No matter how you use it, it is a wonderful custom-made accent piece in any home. I can’t wait to show you how to make one of your own!
Materials Needed to Make A DIY Wood Bead Cake Stand
If you love upcycling projects as much as I do, this wood bead cake stand is a great one!
The round wood top can be cut from scrap wood that you may have laying around from old projects. Or, you can find a very inexpensive pre-cut piece at the local craft store such as Hobby Lobby or Michaels. The pillar candle holder used for the base can also be upcycled from one no longer. If you don’t have a pillar candle holder to upcycle, you can find very inexpensive ones from a dollar or thrift store, a garage sale, or on sale at a craft store. I found mine at the Dollar Tree store.

- A 12-inch round piece of wood (approximately 1-inch thick)
- 3-inch to 6-inch tall pillar candle holder (glass, wood, ceramic, etc.)
- 100 1/2-inch wood balls 1/2-inch wood balls
- Clear Gorilla Glue (I chose this glue because of it’s strength and it being water-resistant.)
- Food safe wood sealer (I used spray Shellac.)
- Sandpaper
- Food safe wood sealer (I used spray Shellac), paint or stain* (optional)
- Ruler or carpenter square (optional)
- Pencil (optional)
* If you plan on using the wood bead pedestal stand for food, be sure you consider/use food-safe paints and stains.
How to Make a DIY Wood Bead Cake Stand
This easy and beautiful DIY wood bead cake stand can be made in a day or two. I made mine during a rainy weekend. It was the perfect project! Here is how I did it:
Sand:
Using a fine grit sandpaper (I used 220 grit) sand the top, bottom, and sides of the round piece of wood until it’s smooth.
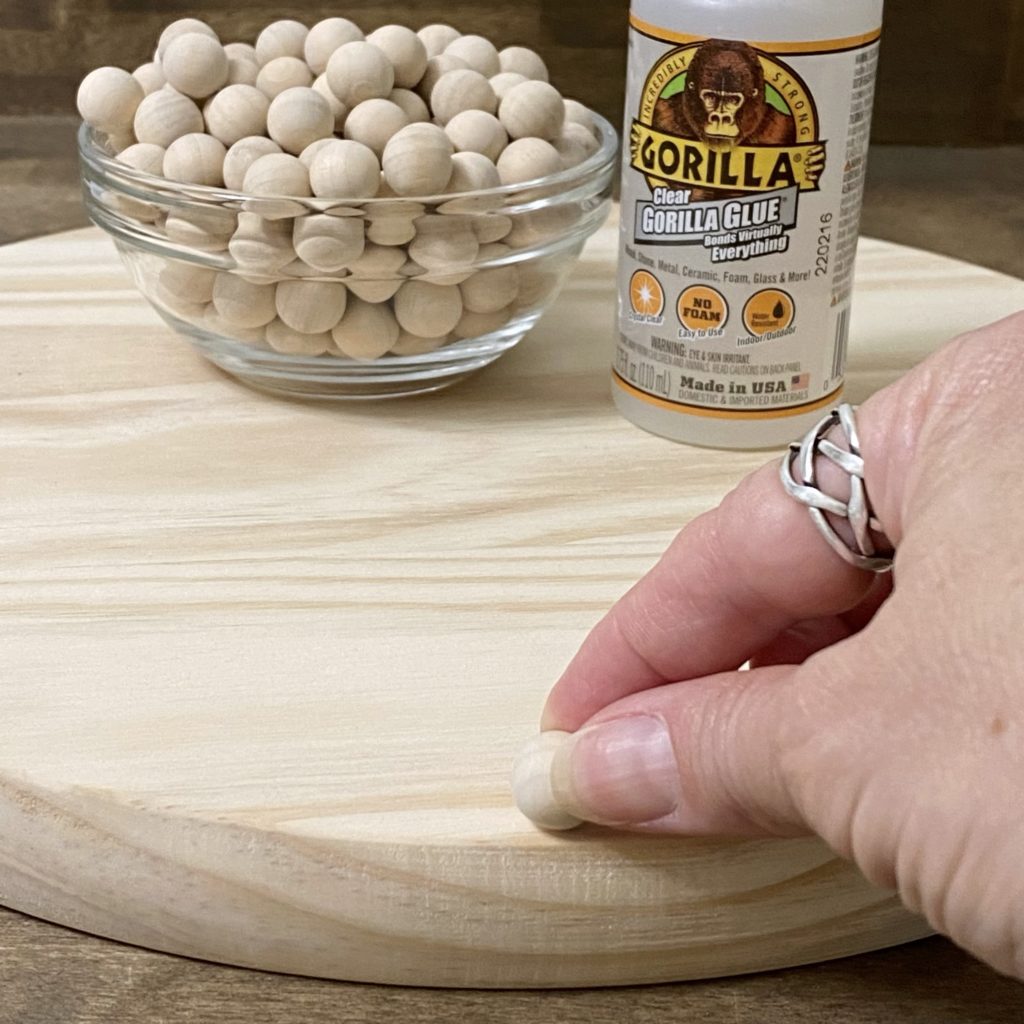
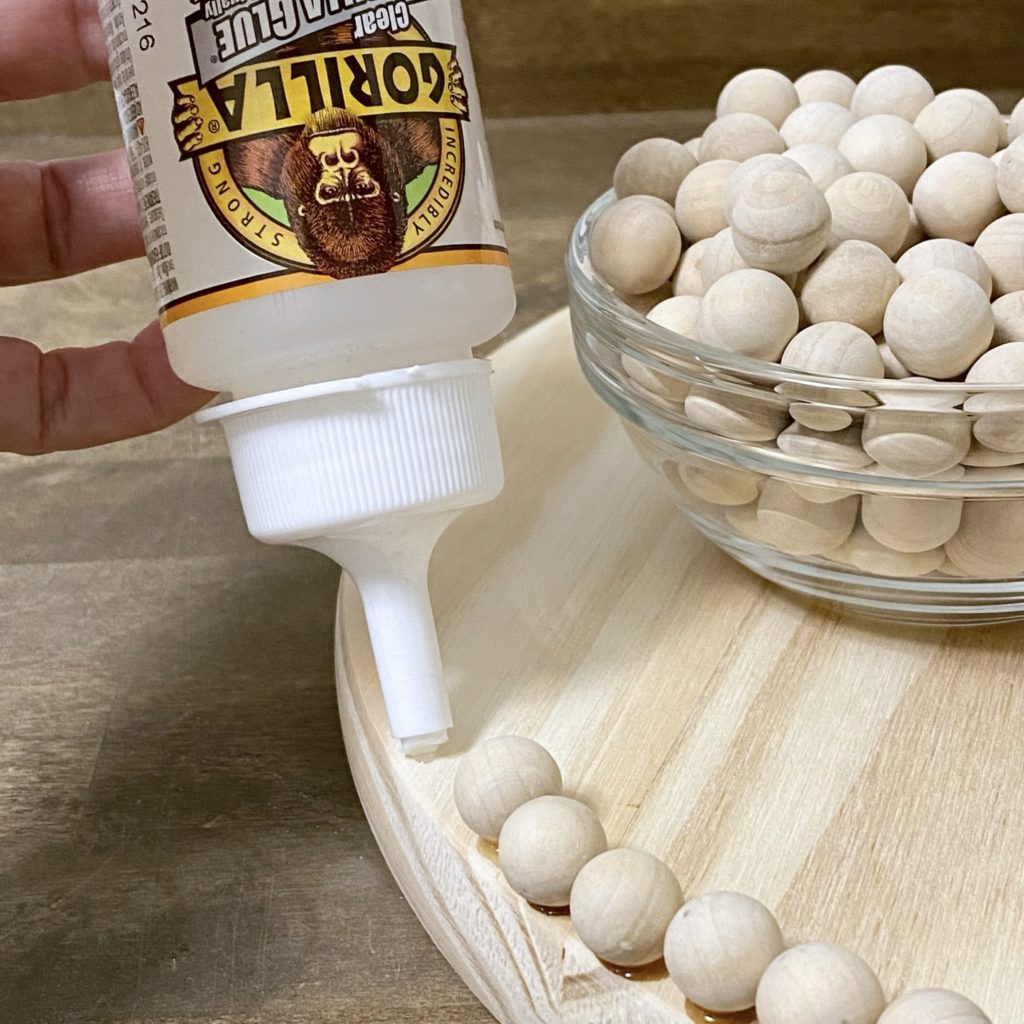
Glue:
Next, using the Clear Gorilla Glue, glue each wood ball around the entire outter edge of the top of the round wood piece. Although I chose to glue the balls around the top outter edge, they can also be glued around the side of the wood piece too. If you plan on gluing the balls around the side of the wood piece, I suggest using a quicker drying glue than Gorilla Glue, such as hot glue. In either case, allow the glue to dry and set according to the brand’s directions. I let the wood balls dry and set overnight.

Paint/Stain/Seal:
Once the glue is dry (in a well ventilated area, like outside) paint, stain, and/or seal the wood. Be sure to seal both sides of the wood piece. I sealed mine with a spray Shellac because I wanted it to be food-safe. Allow the paint, stain, and/or seal to dry completely before applying another coat. I used two coats on the top and let the Shellac dry for at least an our inbetween each application.

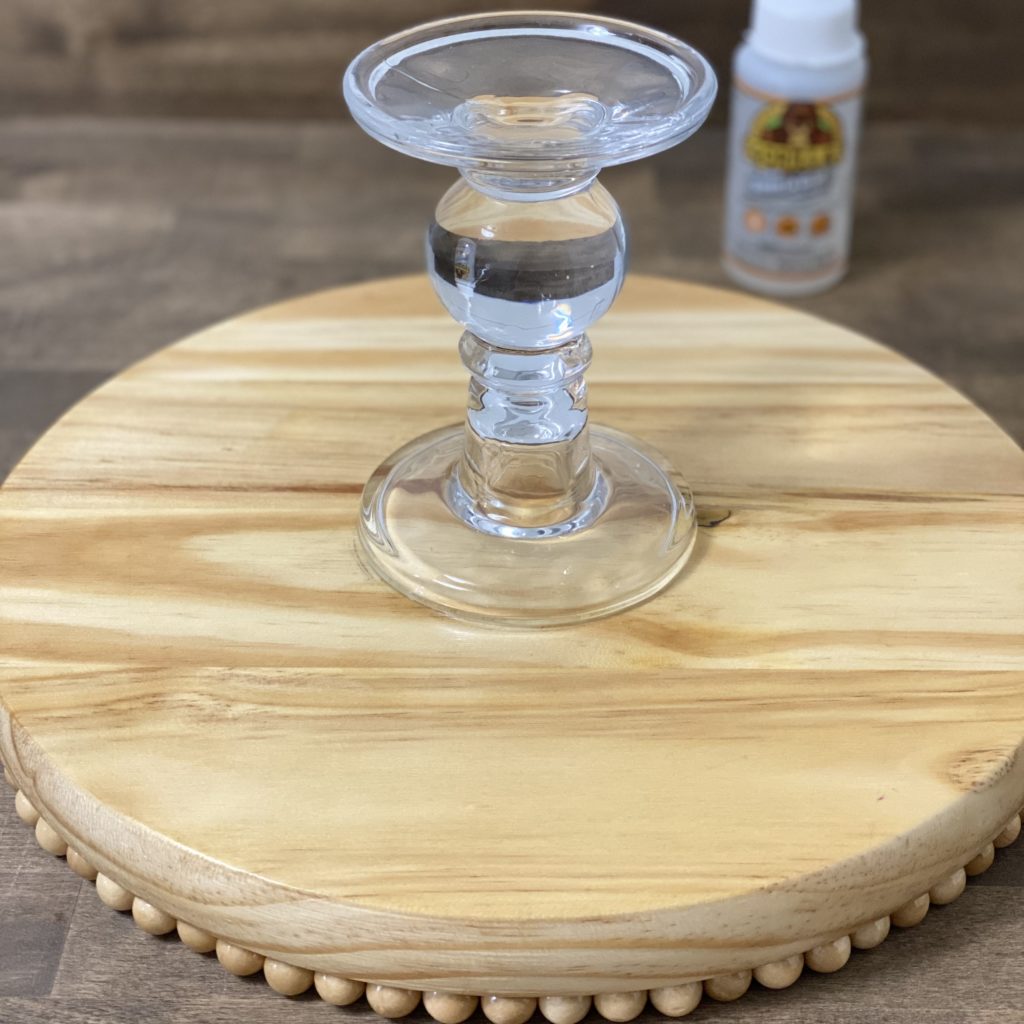
Attach the Base:
Now it’s time to glue the base (pillar candle holder) onto the round wood top. To find the center of the wood top I used this video. Center the base over the intersection in the middle and draw a circle around it with a pencil.
Trace the inside of the circle with glue and then place the base one the glue. Once it’s in place, firmly press it into the glue and allow it to dry and set completely.

Once the glue has dried, turn over the DIY wood bead cake stand and enjoy!
Finishing Touches
Paint, stain, distressing, and sealing are all great ways to add finishing touches to this cake stand. I wanted my stand to be a simple design and food safe. Therefore, I didn’t paint or stain the wood top, I just sealed it with Shellac. If you want to use your pedestal stand for food, I highly recommend leaving the wood natural (not staining or painting it) and sealing it with a food safe sealer such as Shellac or Tung Oil.

The spray Shellac was the perfect option for this piece because it isn’t very big. Therefore, I didn’t need to use alot of it. The spray can was a better value than the paint can of Shellac (which you also need a paintbrush for) and it was very easy to apply.
Using elastic string and wood beads, I added a little extra detail to the base of the cake stand. I strung wood beads onto the elastic string, tied it off in a knot, and then slipped the beads around a segment of the base. The simple detail of the beads on the base added the perfect final touch to tie the wood top and the base of the cake stand together.

I hope you enjoy making your own DIY wood bead cake stand. As always, have fun and get creative. The best part of DIYs is letting your imagination run wild.

DIYs for Days
Looking for more easy, inexpensive, and beautiful DIYs? You may enjoy checking out these:


I hope you will join me on Instagram and Pinterest for more easy and beautiful DIY ideas, home decor stying tips and sources, delicious recipes, and more. Looking forward to seeing you there!


Meeghan this is beautiful! This is one I’ll have my
adult daughters and I do together! I blessed that their families live withon blocks of us. So we can have a project weekend this fall. I’ll begin planning it now. Thank you so much for this idea and inspiration! Diane
Thank you so much, Diane! I’m so happy you like the idea. You are so blessed to have your family so close. This project is perfect for you and your girls to do together. Then you can spend some time in the kitchen and bake something to share on it too! It’s my pleasure to share the idea and inspiration with you. Thank you for joining me here!
This cake stand is gorgeous and looks so simple to make. Thank you for the idea!
Thank you so much Katelyn! I appreciate your kind comment and compliments. I’m so happy you like the cake stand. It’s VERY simple to make. My pleasure to share the idea!
This is beautiful! I think, though, that I will put the beads on the bottom edge of the wood round instead of the top. That way they won’t be in the way when cutting and serving the cake.
Thank you, Lela! Sounds like a great idea. I’ve never had trouble with the wood beads getting in the way when cutting and serving the cake, but they will look beautiful on the bottom edge too.