
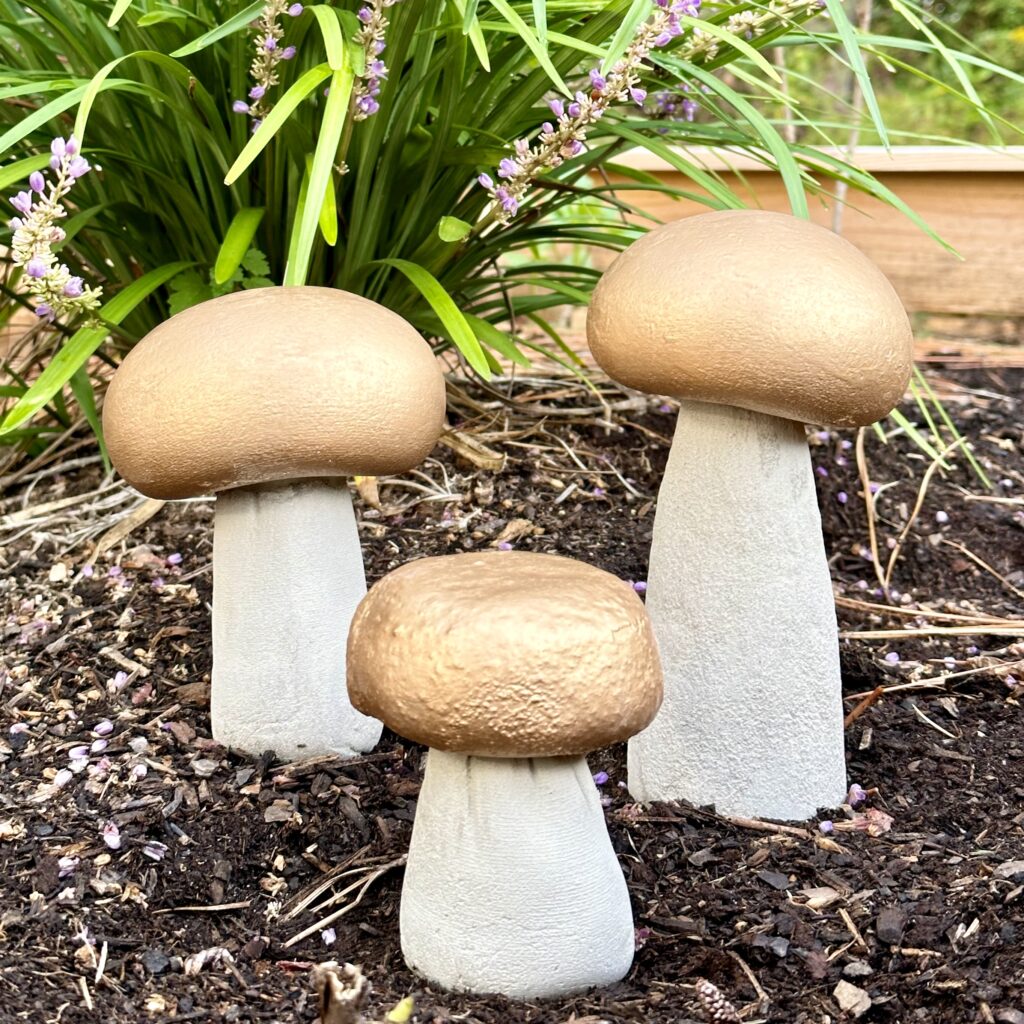
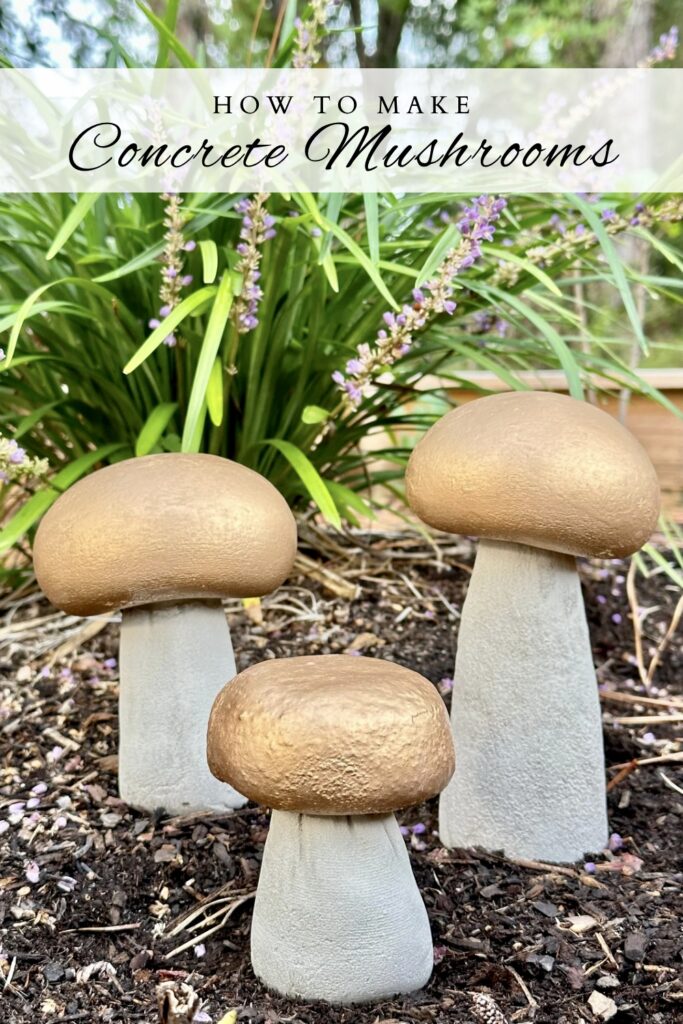
Wait until you see how fun and easy it is to make concrete mushrooms! Once you do, I think you will want to make some for your home too. These sweet and durable concrete fungi are the perfect additions to any outdoor area including a garden bed or planter.
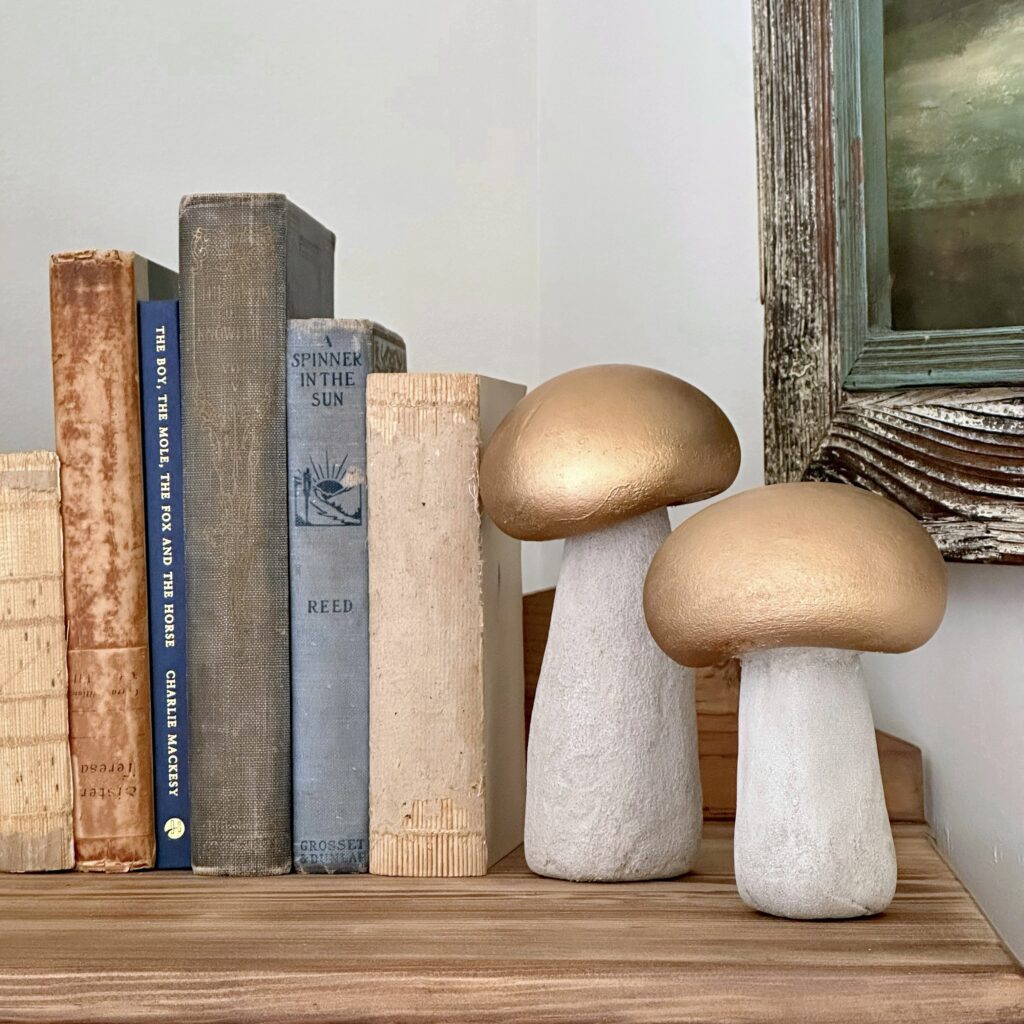
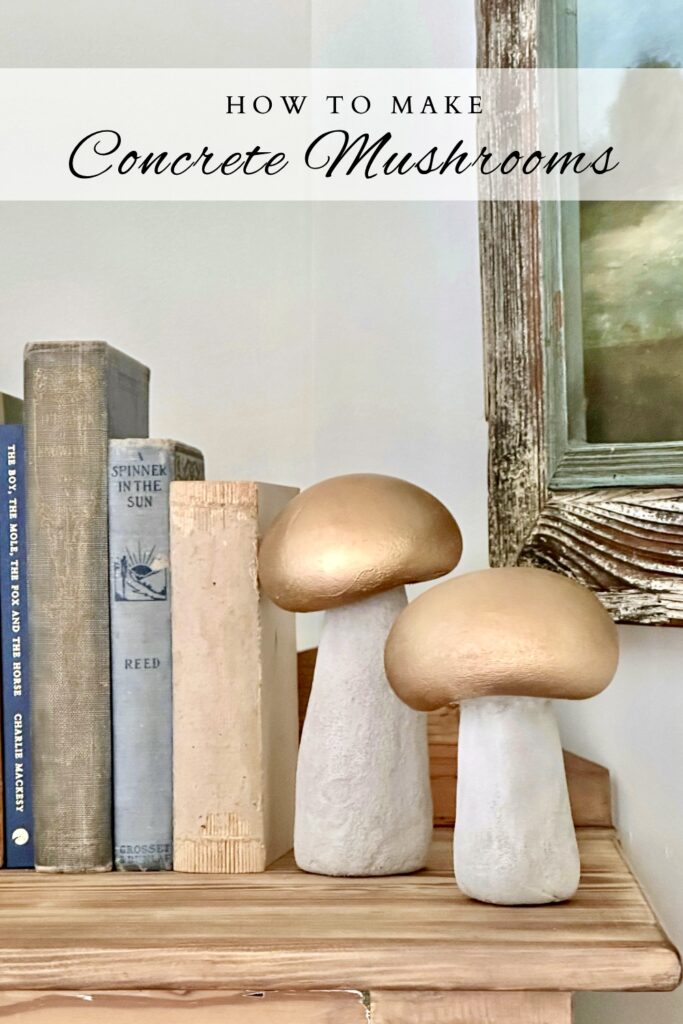
Concrete mushrooms also look adorable scattered throughout the home on a table, tray, or bookshelf. They make sweet paperweights and bookends too! This is a great DIY project to do anytime and enjoy throughout the whole year. Make some for yourself and don’t forget to make some for the mushroom lover in your life… These make great gifts!
I was inspired to make these sweet concrete mushrooms when my friend, Tammy at Lavender Brook Home shared the ones she made on Instagram. We both share a special love for these fabulous fungi. This is why when I saw the ones she made, I knew I needed to make some of my own. Although my technique is a bit different from Tammy’s, both versions of the mushies are adorable!
If you are looking for lots of great home decor tips, styling ideas, fabulous DIYs, and more, you want to be sure to check out Tammy’s beautiful website. I know you will love her as much as I do.
Caution: Once You Start, It’s Hard to Stop
Fair warning, if you’re anything like me, once you start making concrete projects it’s hard to stop. I fell in love with creating things out of concrete a few years ago when I made some bowls. Since then with every passing season and year, I’ve been on the lookout for unique things to create with concrete. Here are a few of my favorite projects so far… Just to name a few!

How To Make a Concrete Jack O’Lantern Planter
Although I don’t consider myself someone who is always on trend, I will say that I have fallen in love with the current mushroom. Hopefully, by now you are probably itching to find out how to make some of these fabulous concrete fungi for yourself. So, without further ado, let’s get started!
What You Need to Make Concrete Mushrooms
This post contains some affiliate links for your convenience. Click here to read my full disclosure policy. As always, thank you for supporting my blog.
- Knee-high nylons or trouser stockings (I recommend these.)
- 2 small plastic buckets or containers (one mix to the concrete in and one to hold the nylon in order to fill it with concrete)
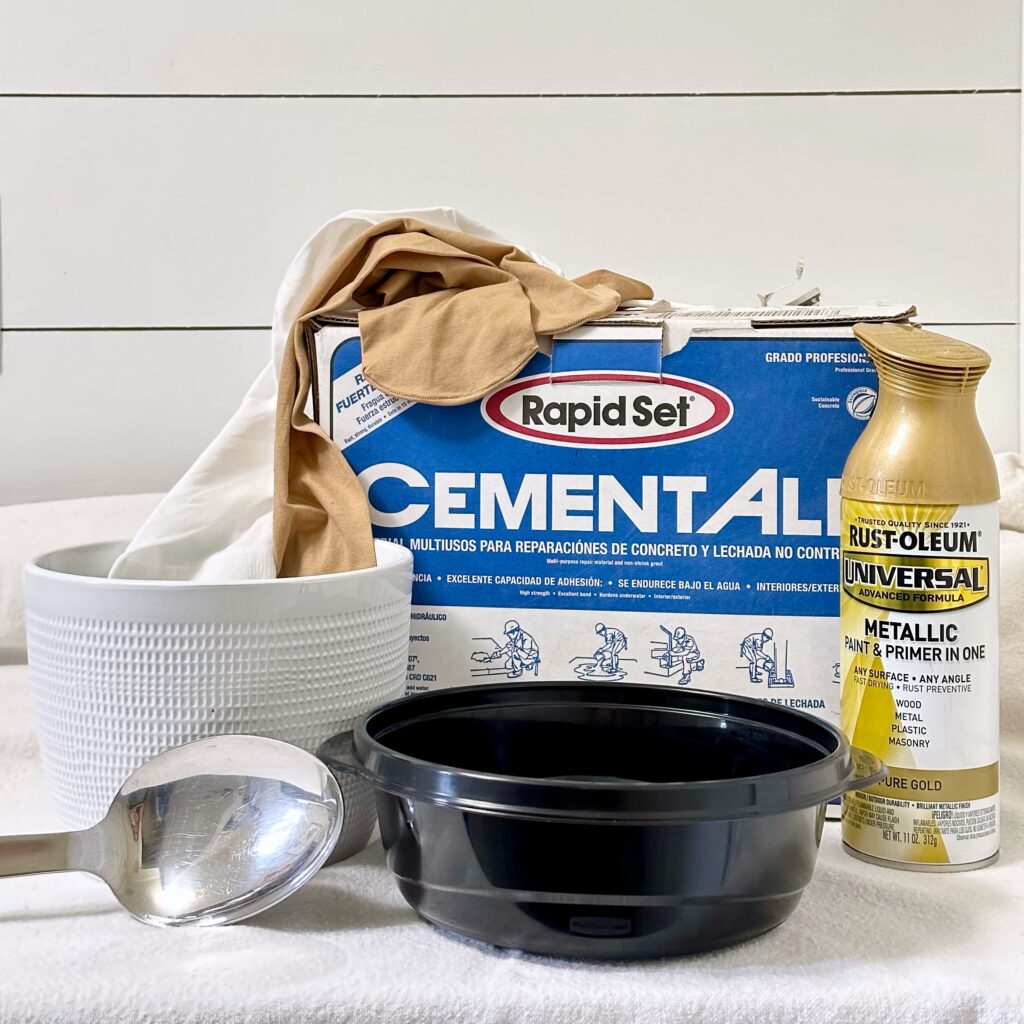
- Fast-setting concrete mix
- Water
- Small shovel or trowel
- Paper plates, cardboard, or plastic surface covering
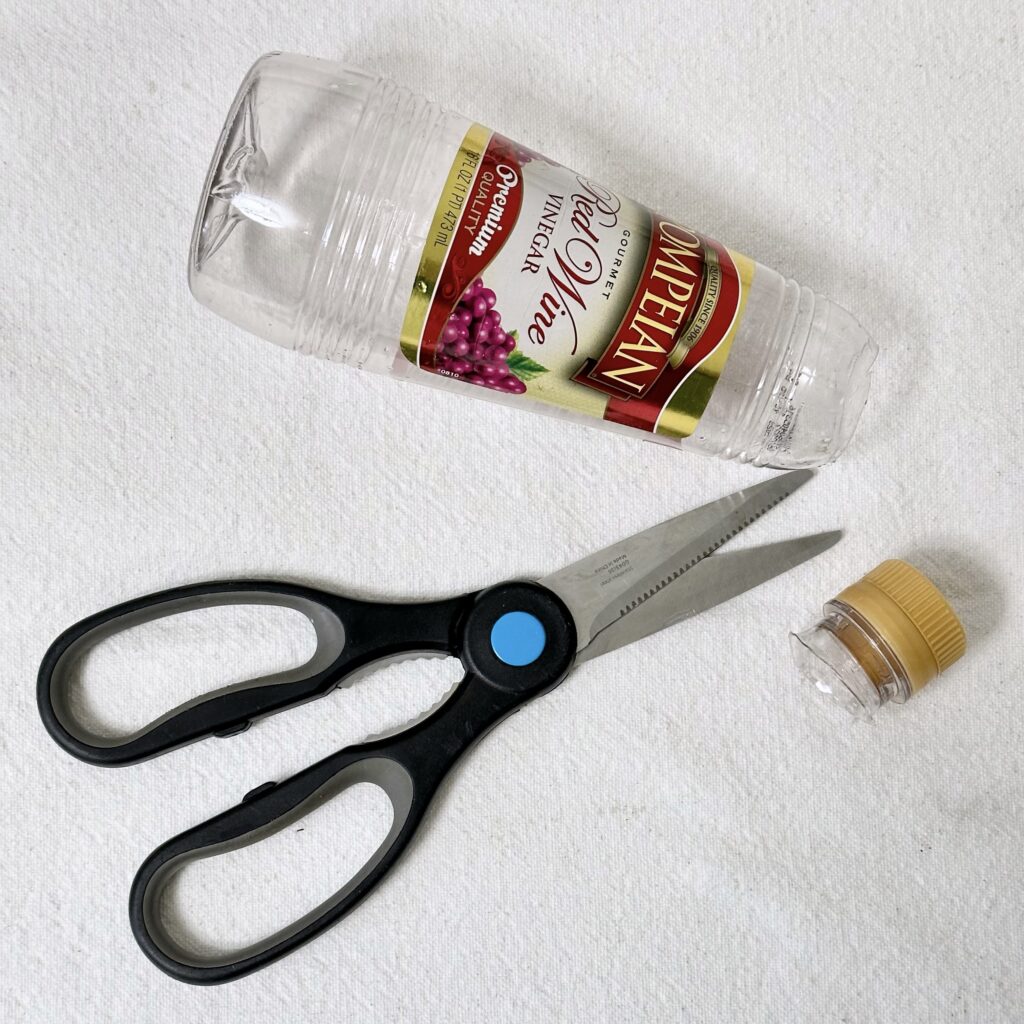
- Scissors
- Tall plastic bottle with narrow top cut off
- Fine grit sandpaper
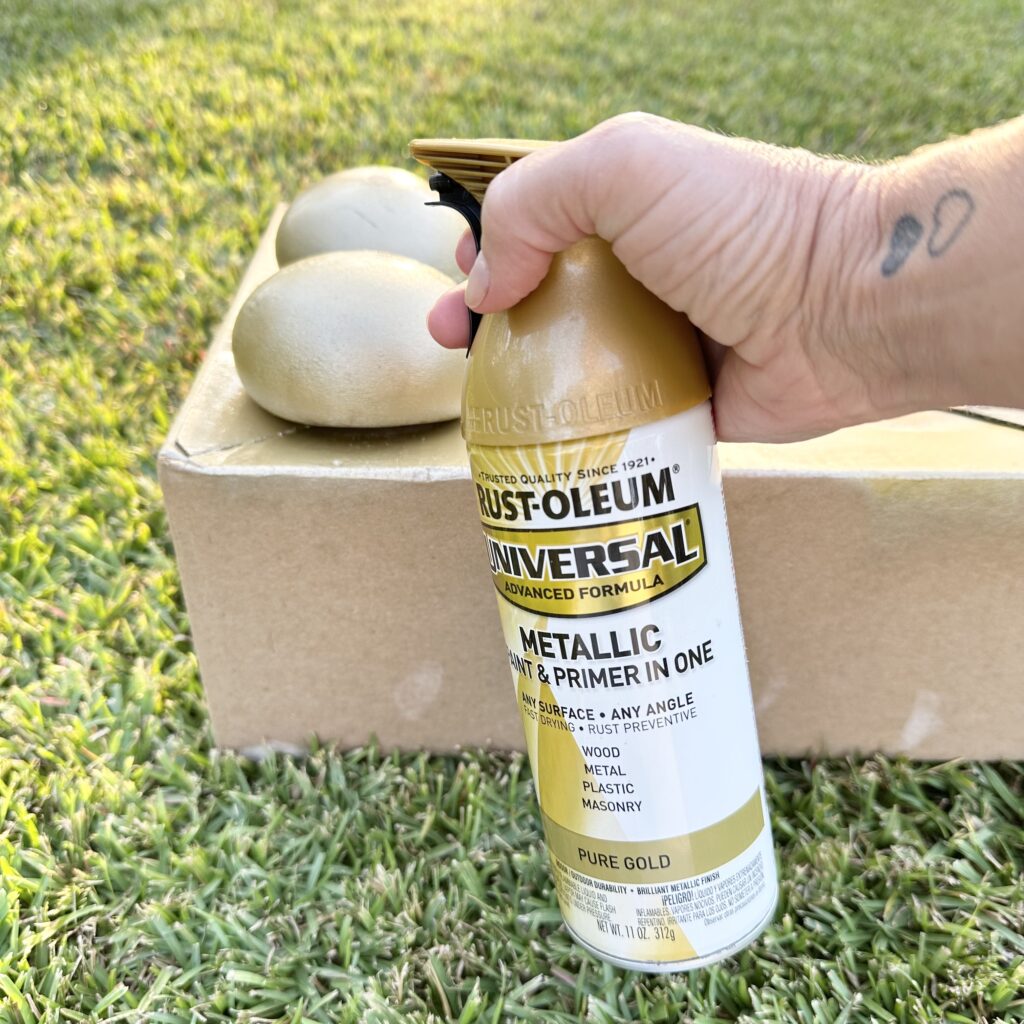
- Spray paint, color of choice (I used gold.)
- Gloves (Recommended)*
- Mask for nose and mouth (Recommended)
* Wet cement has a very high alkalinity (high pH), so gloves are recommended to prevent the possibility of chemical burns.
New Concrete Crush
Although I have shared many concrete projects here, I tried something new this time that I want to share with you. As always, when I share a tutorial, it’s important for me to not only show you how to do a project but also share with you what I learned through my experience doing it. By passing along my successes and failures, my hope is that you can be as successful as possible when trying the ideas.
As I mentioned earlier, concrete projects are not new to me. However, this time around I tried a new rapid-set concrete and it’s a game changer. By using this type of concrete, sifting out the gravel is no longer necessary as it was in some of my past projects. Why? This type of concrete doesn’t have any gravel in it. It’s awesome! This concrete also creates a smoother finish. It is ideal for most of the concrete projects I listed above. If you want a rougher, more natural edge for a project, such as concrete bowls, then stick with the concrete I used in that post.
Here’s How To Make Concrete Mushrooms
For the Concrete Mushroom Cap:
1. GATHER and PROTECT
Gather your supplies and protect your work area. Concrete can get a little messy. Newspaper, a plastic garbage bag, or some cardboard work great.
2. CUT
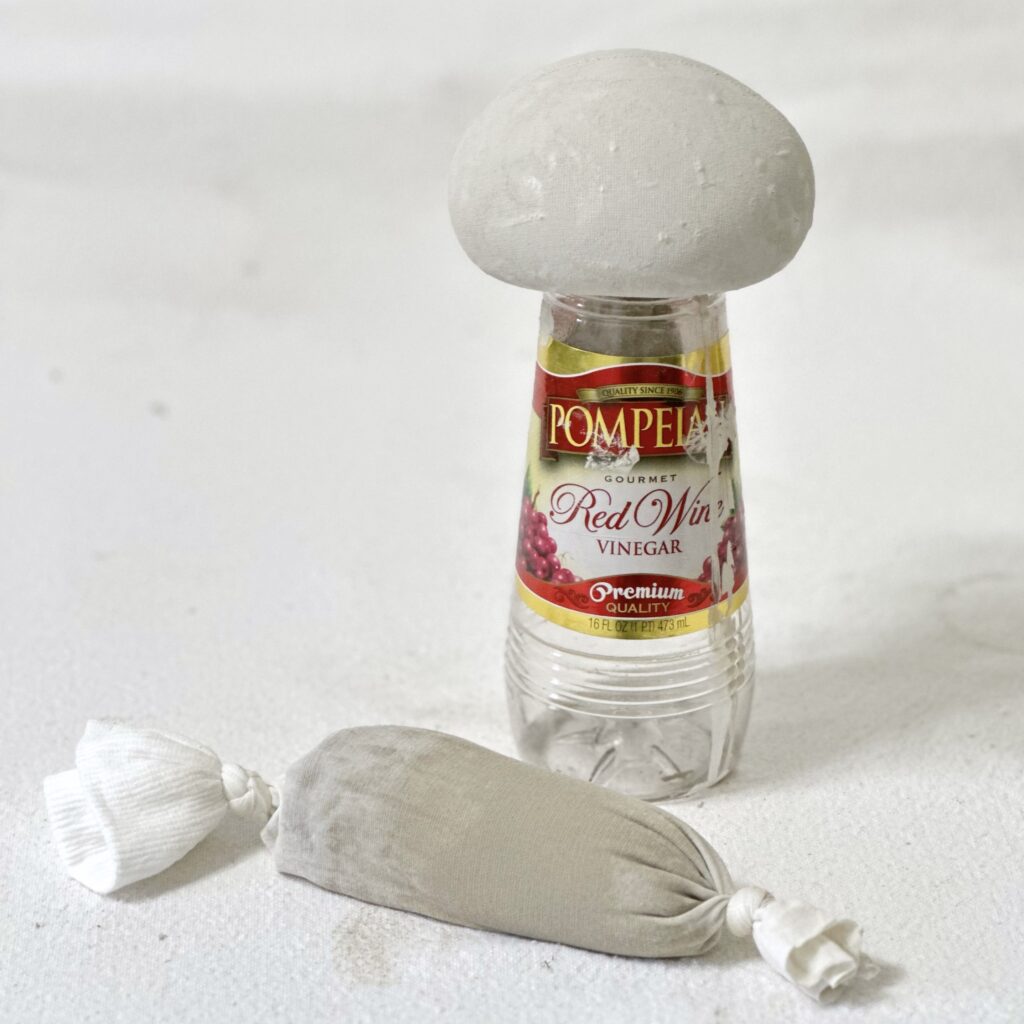
With a scissor, cut the top off of a tall, narrow plastic bottle. (I used a red wine vinegar bottle.)
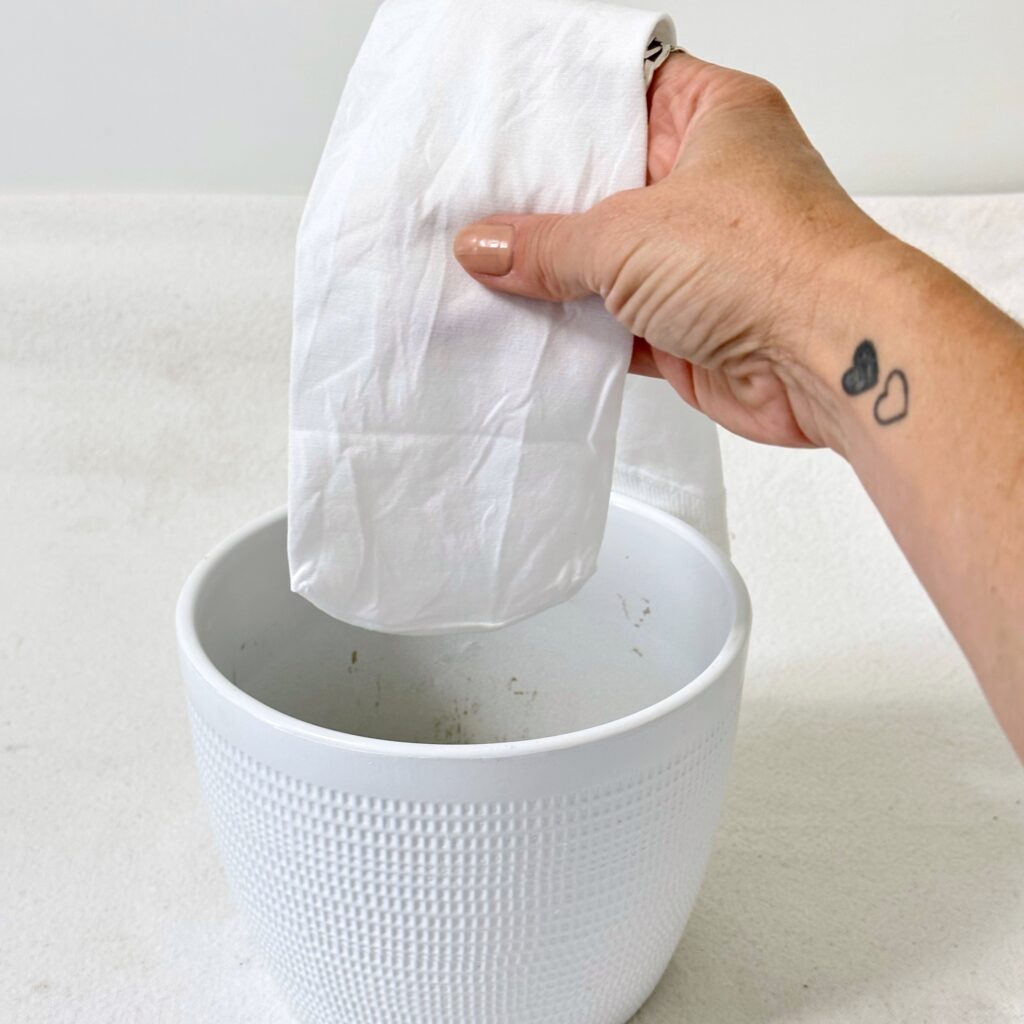
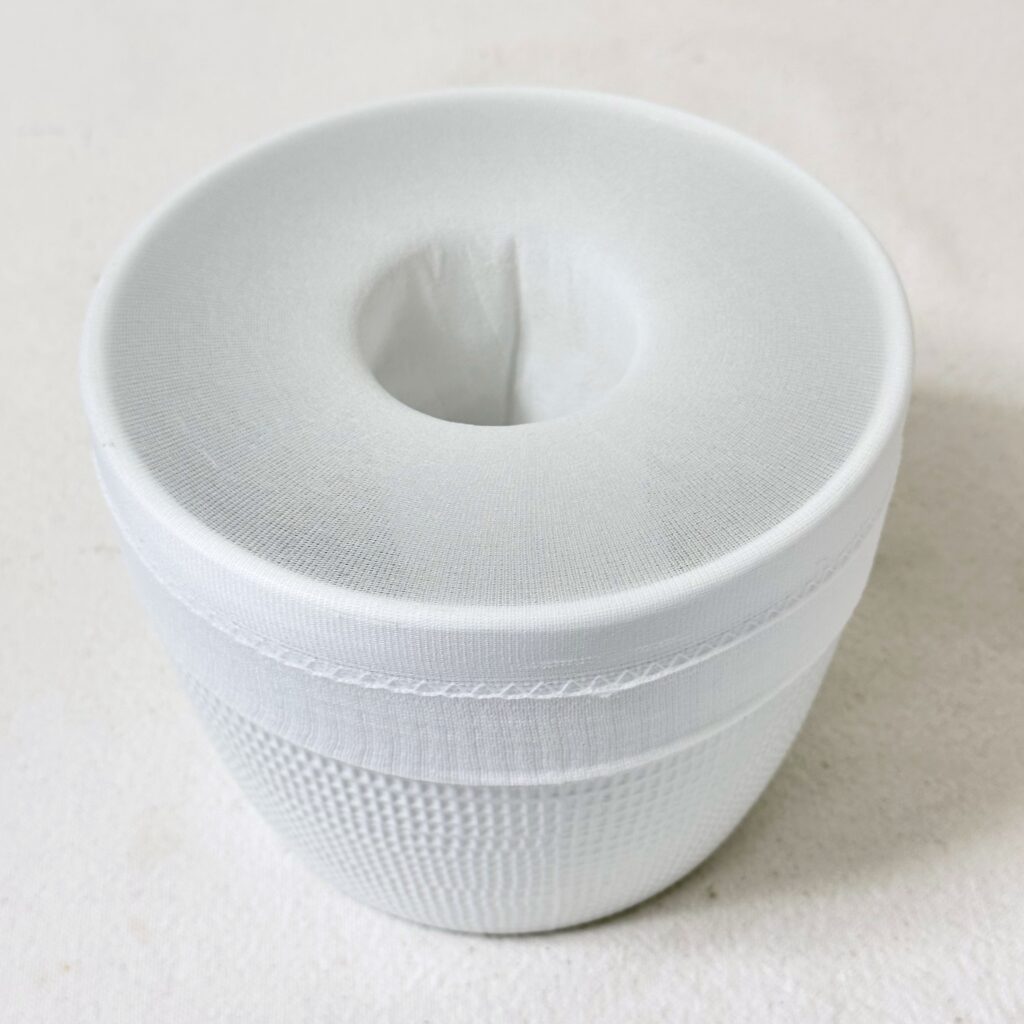
3. SET-UP
Before mixing the concrete up, get the stocking(s) ready. Remember: the concrete sets quickly, so it’s crucial to have everything set before mixing it up. The nylon should go into one of the small buckets toe first. Then, stretch the top band of the nylon around the bucket rim.
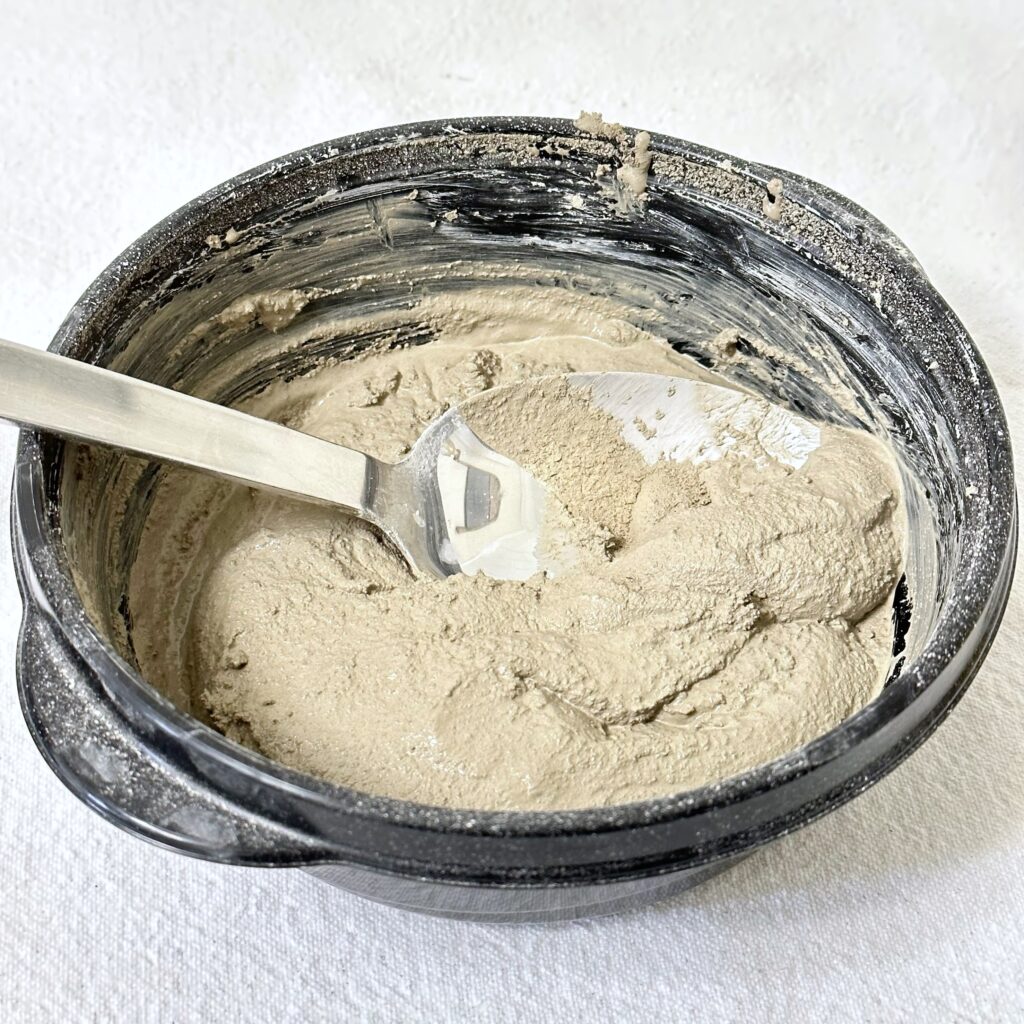
4. MIX
Mix up the rapid-set concrete. The consistency of the concrete should look like this:
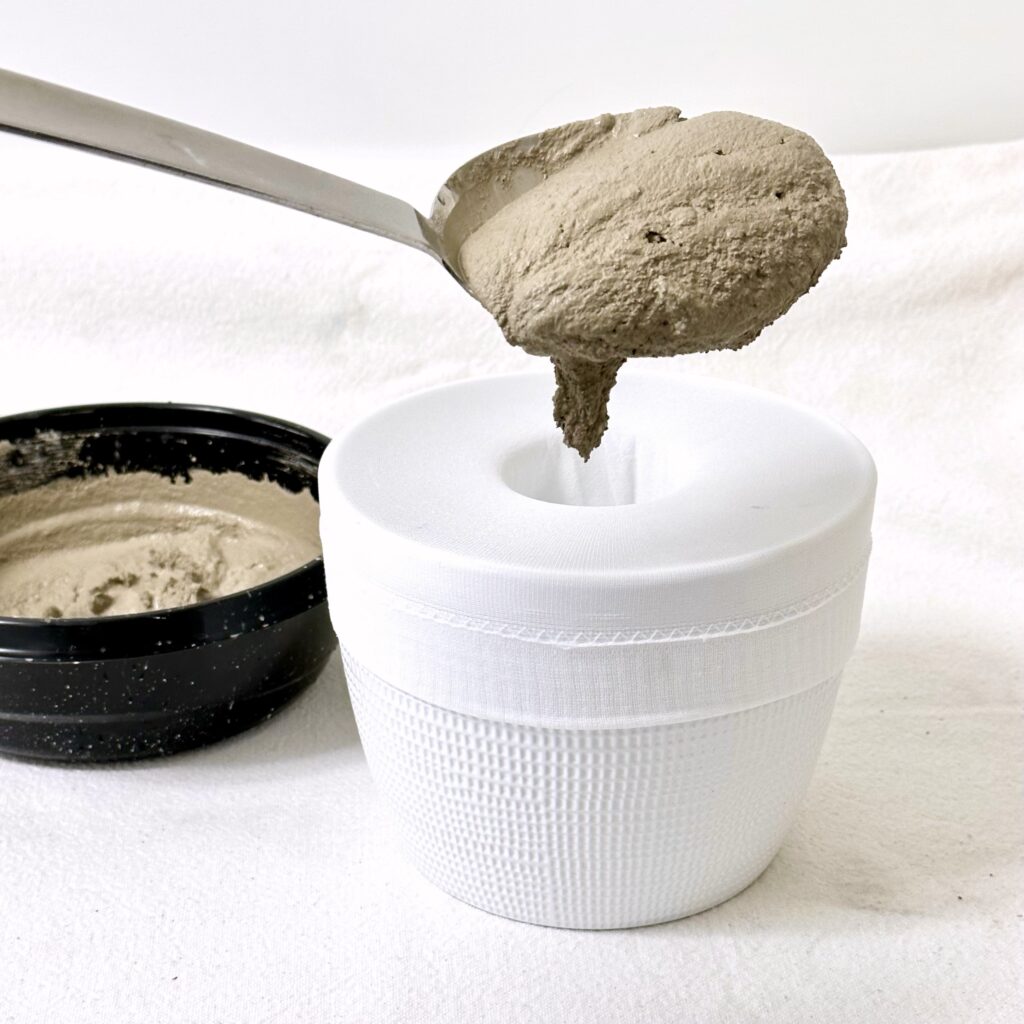
5. POUR
Next, spoon the concrete into the hole of the nylon. (The amount of the concrete depends on the size of the mushroom you want to make.)
6. KNOT and REMOVE
Once the nylon is filled with the right amount of concrete, tamp down the concrete the best you can into the toe area of the nylon. Then, tie a knot in the stocking just above the concrete and pull it out of the bucket.
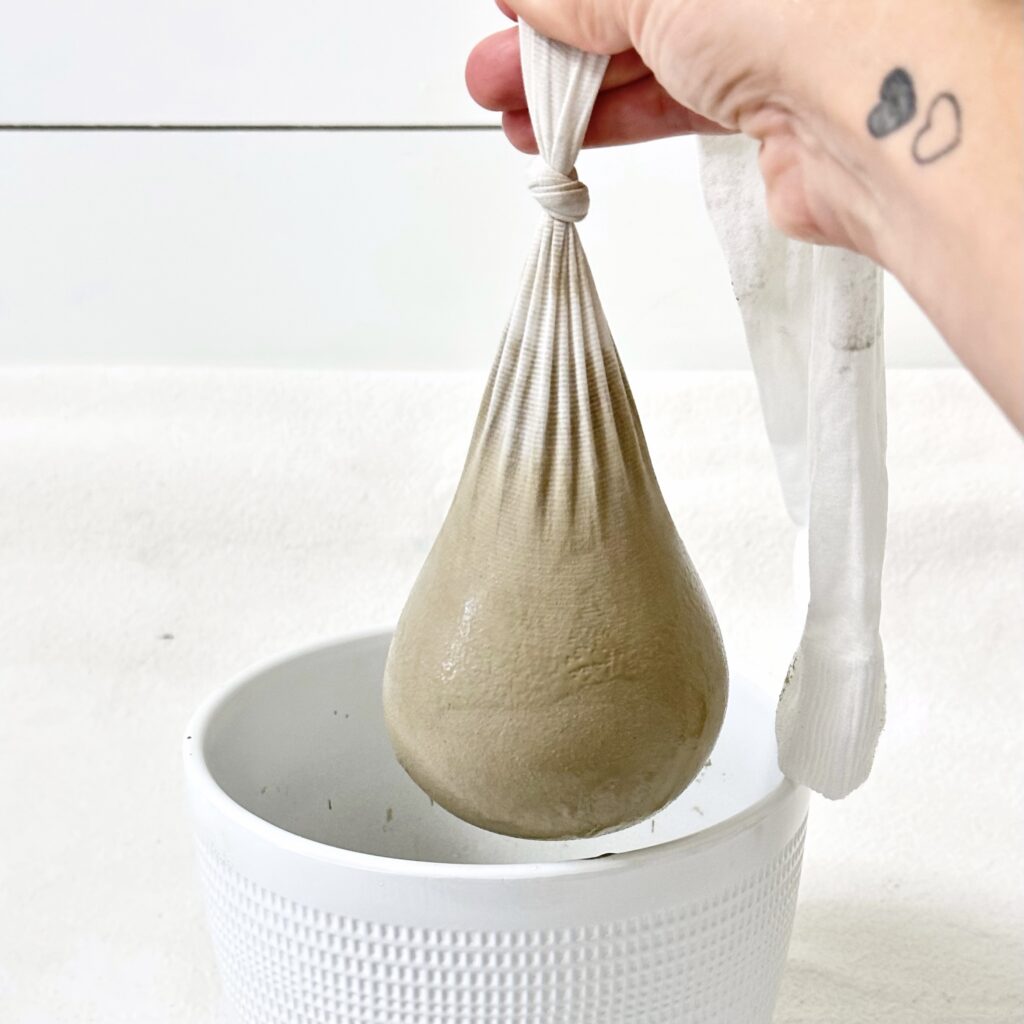
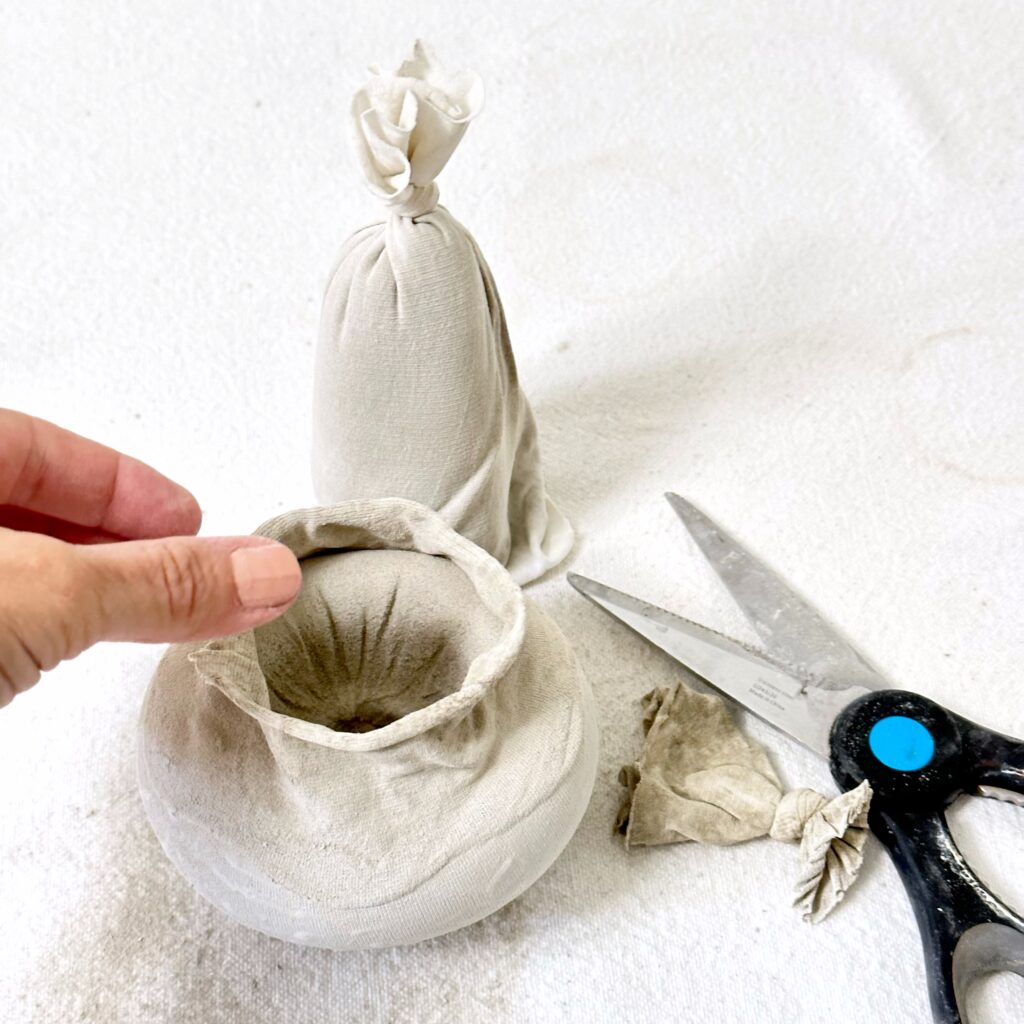
7. CUT
Cut the remaining nylon just above the knot off and turn the concrete over so the knot is on the bottom.
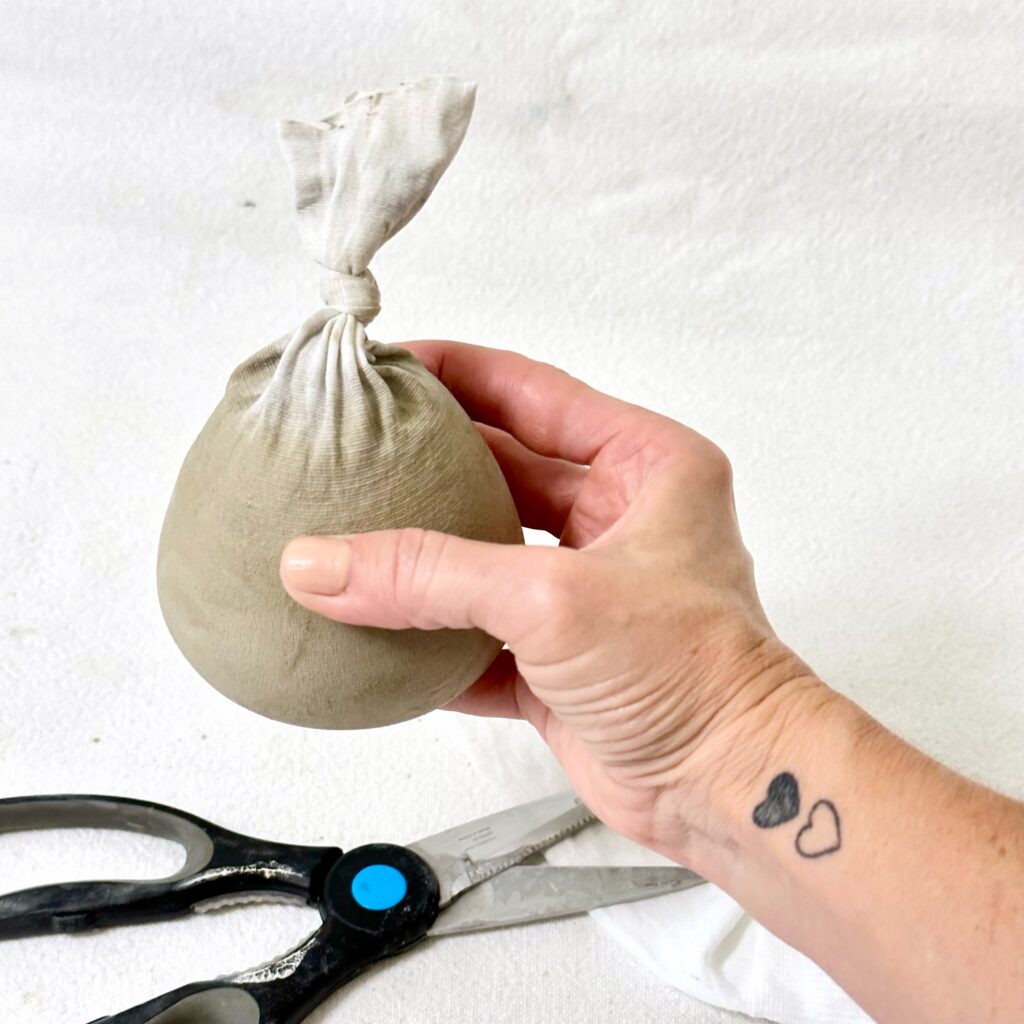
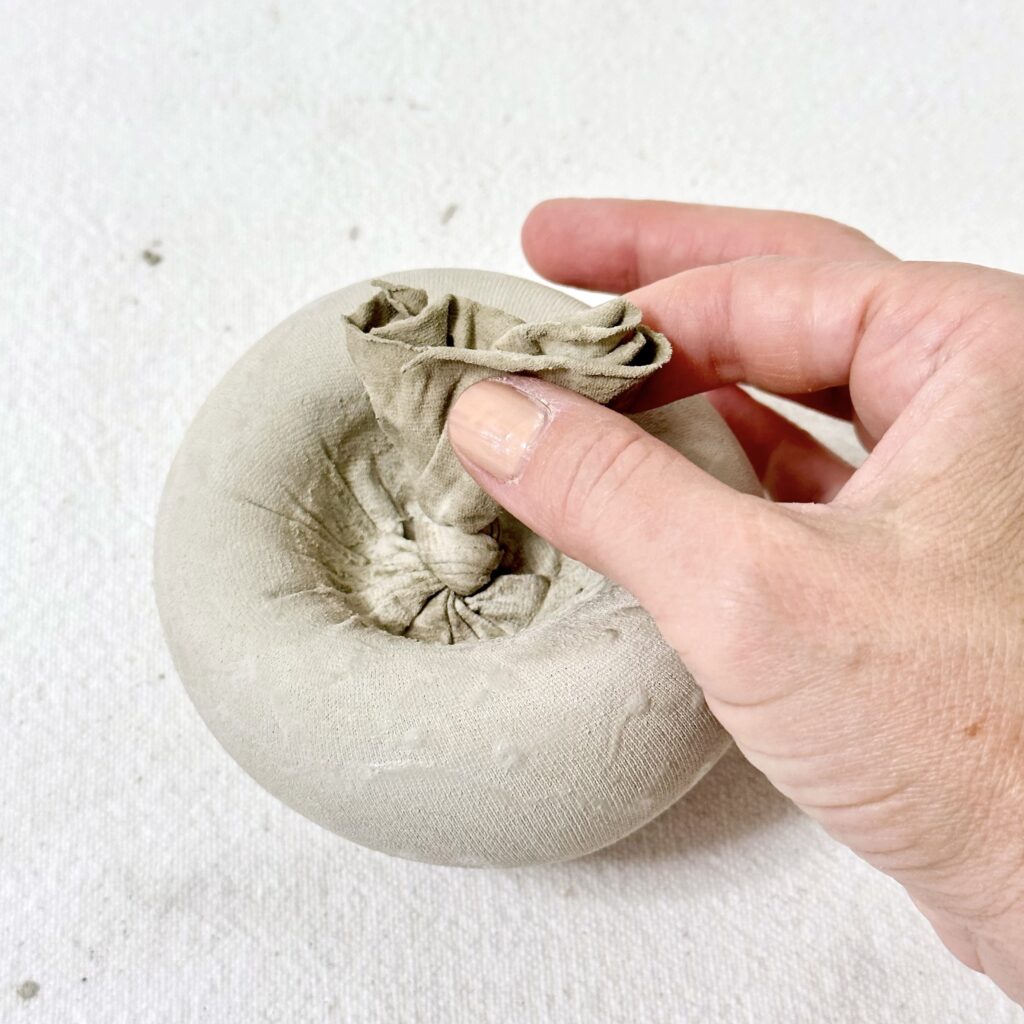
8. FORM AND MOLD
Begin to mold the concrete into the cap of the mushroom. The mushroom cap should be concave underneath, and the nylon knot should be in the middle.
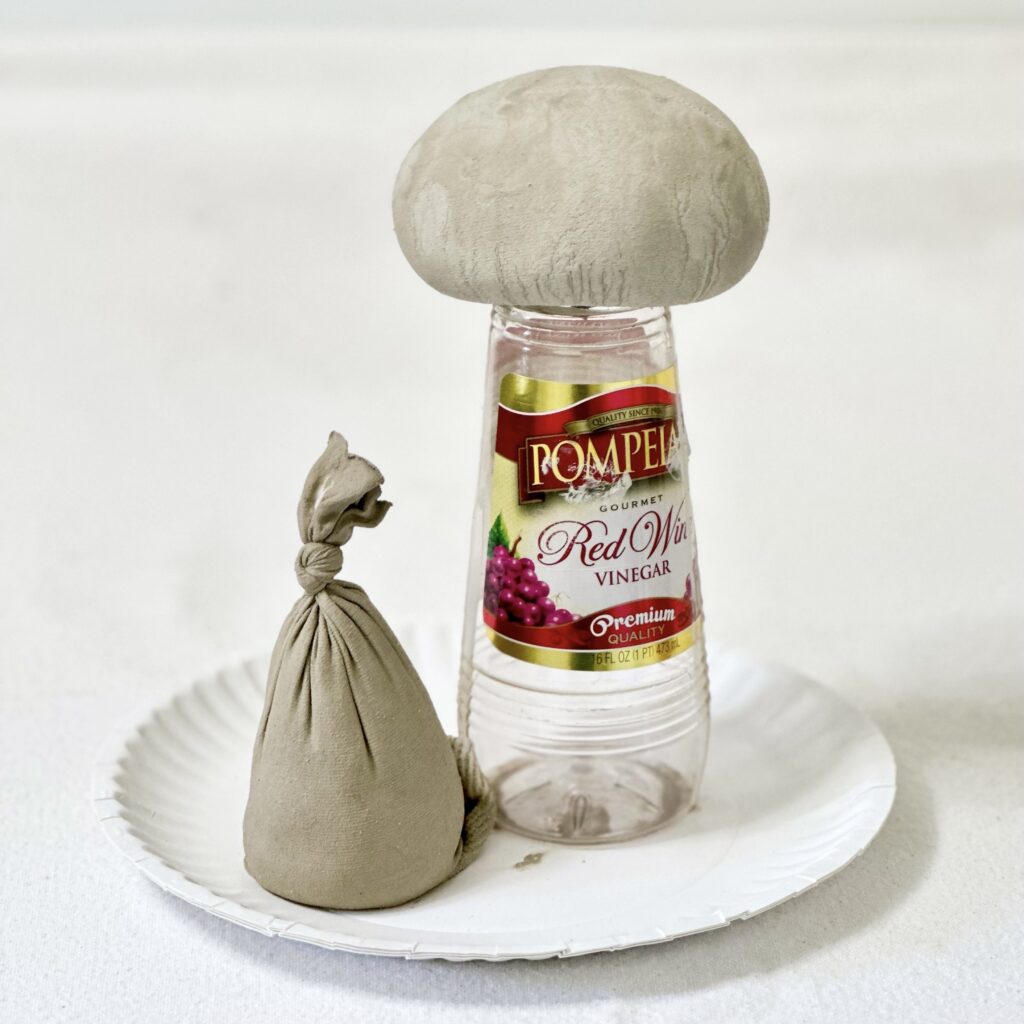
9. DRY
Place the knot in the opening of the bottle and balance it on top in order to keep the mushroom cap shape while the concrete dries.
For the Concrete Mushroom Stem:
1. KNOT
Tie a knot at the end of the remaining part of the stocking after cutting off the toe part for the mushroom cap.
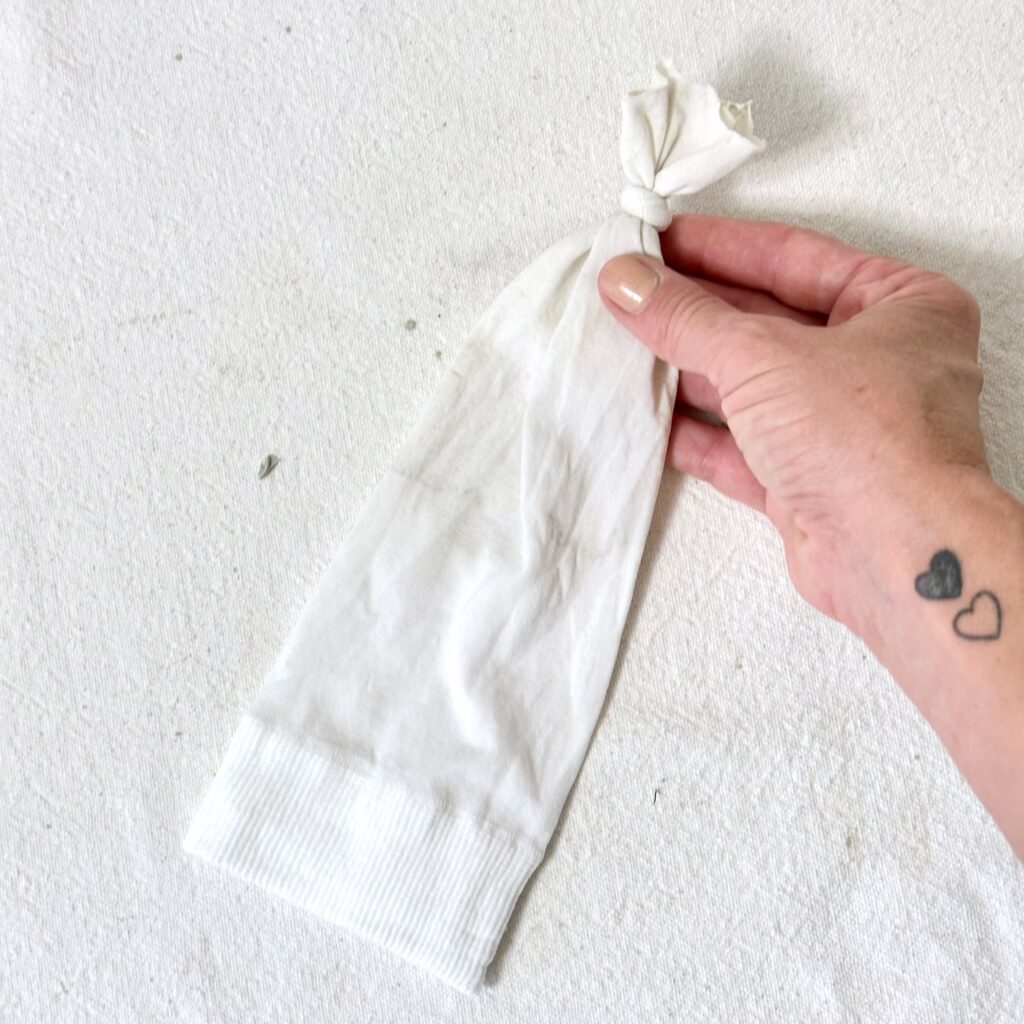
2. SET-UP
For the mushroom stem, the nylon should go into one of the small buckets knot first. Then, just as before, stretch the top band of the nylon around the bucket rim.
3. MIX AND SPOON
Mix up the rapid-set concrete. Next, spoon the concrete into the hole of the nylon. (The amount of the concrete depends on the size of the mushroom you want to make.)
4. KNOT and REMOVE
Once the nylon is filled with the right amount of concrete, tie a knot on the other end stocking and pull it out of the bucket.
5. ROLL and MOLD
The mushroom stem should be more narrow and cylindrical in shape. I rolled the concrete to create a fat snake-like shape. Stand the concrete in the nylon on one end to create a flat bottom. As the concrete dries, continue to roll and mold the concrete between your hands to create the stem. Be careful not to over-work the concrete as it will crack and/or break apart.
6. DRY
Stand the mushroom stem up on a paper plate. This will allow one end to stay flat so that the mushroom will stand straight on a flat surface. Allow the mushroom cap and stem to dry completely for about 24 hours.
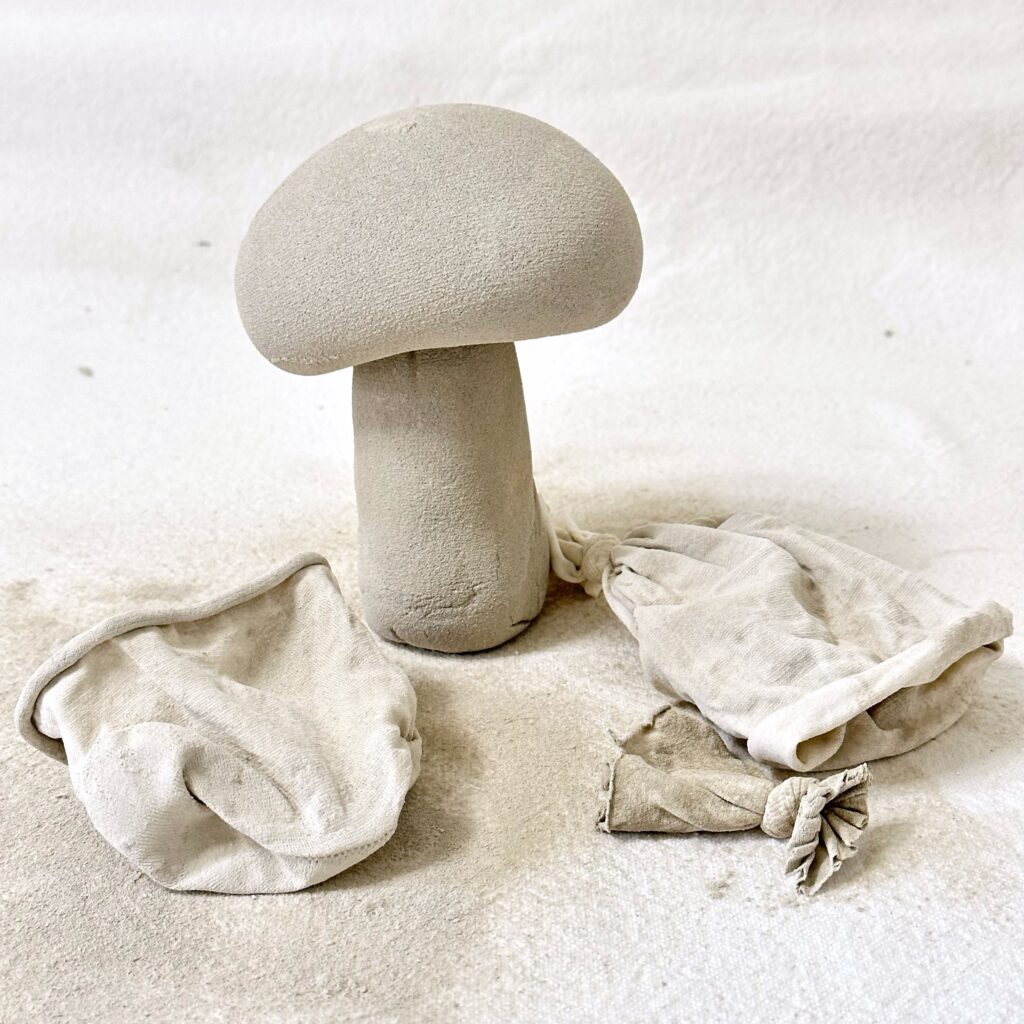
The Big Reveal
Once the concrete mushroom cap and stem have dried completely, it’s time for the big reveal. Carefully peel away the nylons from the concrete.
At this time, be sure the concrete mushroom cap and stem work together. By this, I mean that the stem fits into the cap and that it can stay balanced on it. Don’t worry if the cap is a little wobbly. Later, a small bit of concrete will eventually secure the cap and the stem to one another.
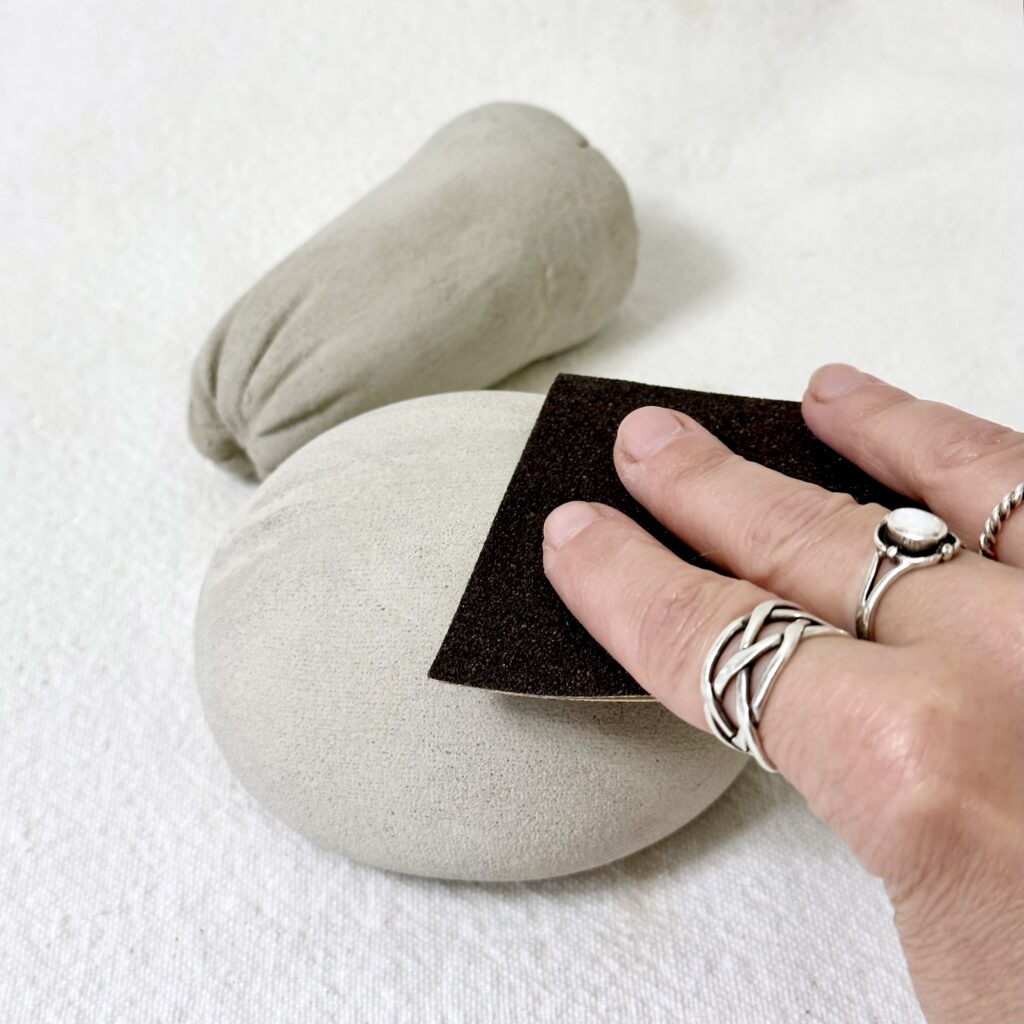
If you want a smoother finish to the mushroom, use fine-grit sandpaper to sand the pieces.
To Paint or Not To Paint…
Should you want to paint your mushrooms, now is the time to consider doing it, especially if you are only going to paint one part and not the other. I wanted to paint my mushroom caps gold using some leftover gold spray paint. Painting the caps before securing them to the stem saved me from having to tape the stems in order to prevent any overspray on them. If you are hand painting your mushrooms you may want to attach the caps to the stems first and then paint them. It’s up to you.
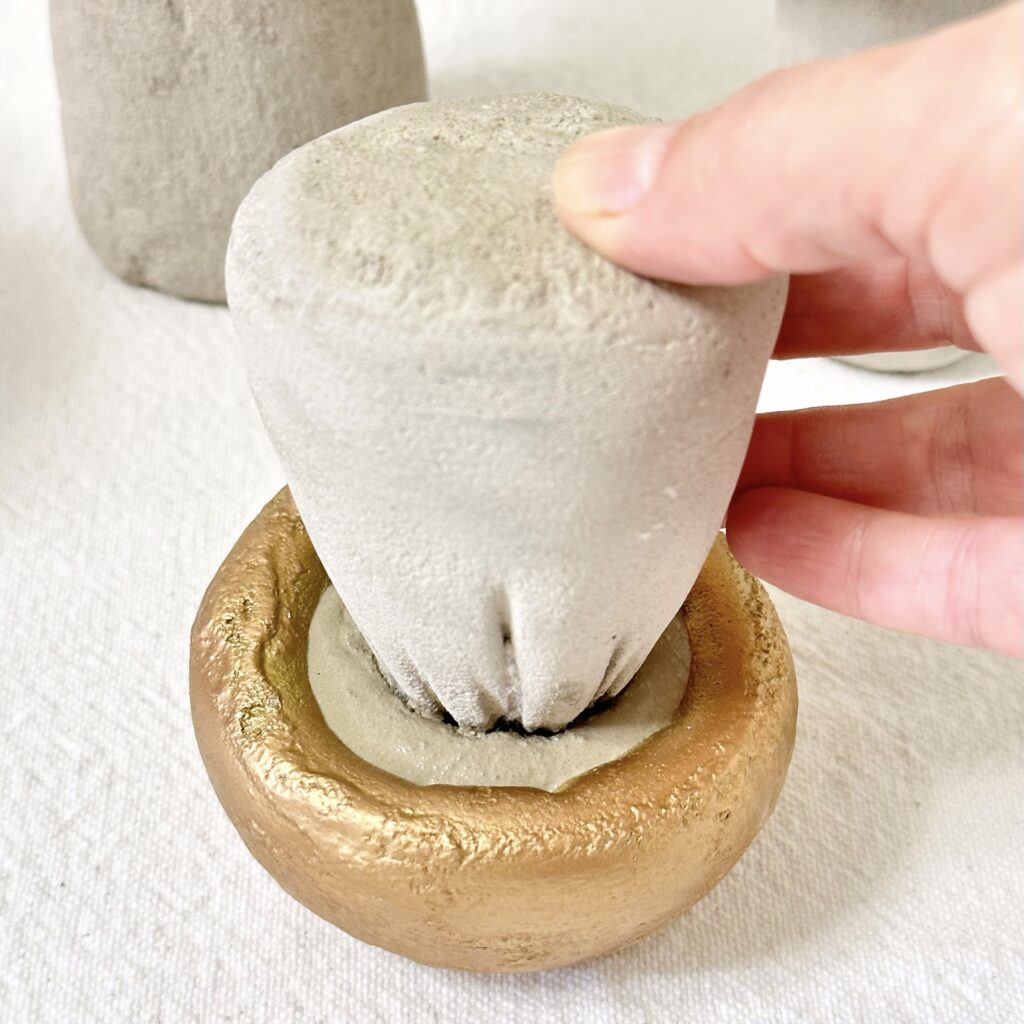
Attach the Concrete Mushroom Cap to the Stem:
To attach the concrete mushroom cap to the stem mix up a small amount of concrete. Place a dollop of concrete on the underside of the mushroom cap. Gently push the tip of the stem (the side that is not flat) into the concrete. Hold the stem in the concrete for a couple of minutes while it sets. At some point be sure to turn the mushroom over on a flat surface to make sure it’s balanced and can stand straight.
Finally, if you haven’t already painted your concrete mushroom and you want to do that, now is the time. You can also create a glossy finish using a sealer.
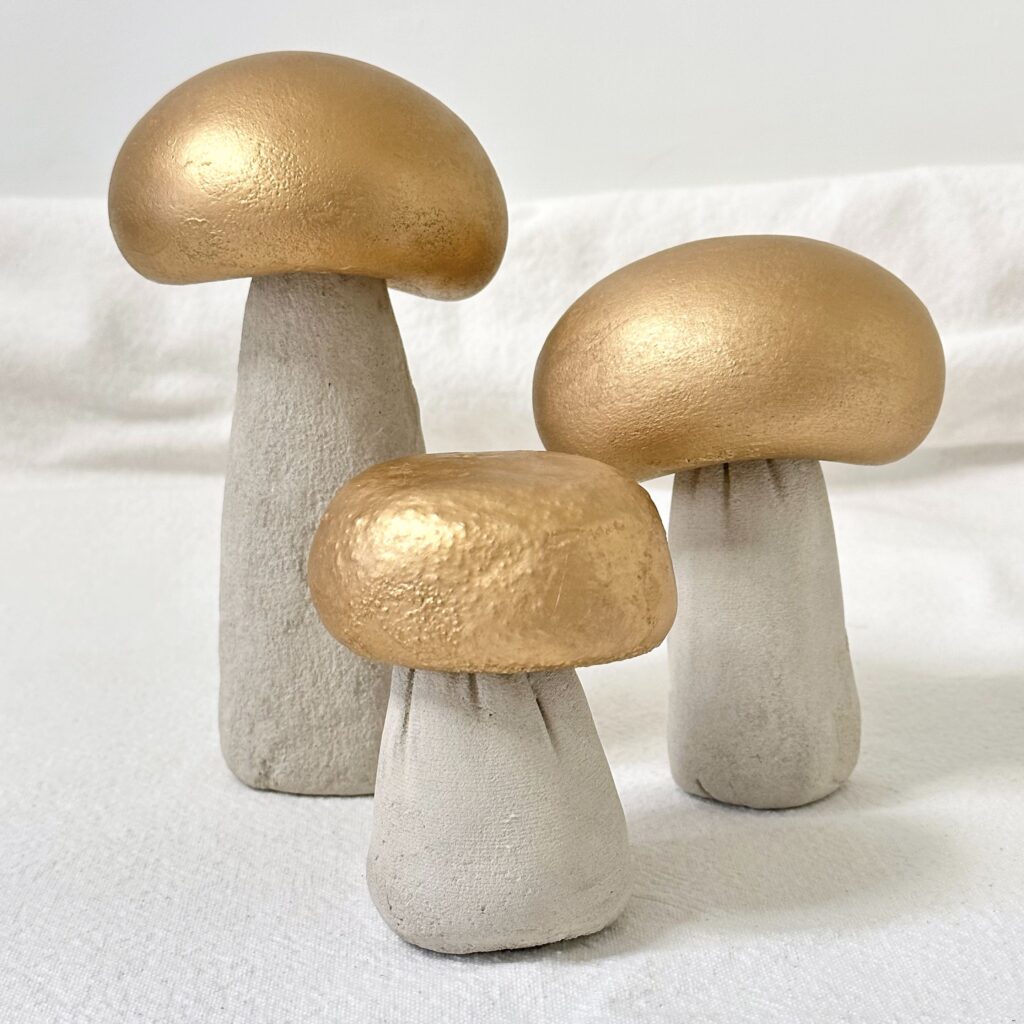
So Much to Love About Concrete Mushrooms
Time to enjoy your concrete mushroom(s)! Style them in your garden or on your patio. They also look great inside the home. Concrete mushrooms add a simple, sweet, and whimsical touch to any space. I hope you enjoy making them as much as I did.

For more fun, easy, and inexpensive DIY projects and crafts, be sure to follow me on Pinterest and Instagram. I look forward to seeing you there! To stay up to date on all my new projects, crafts, and recipes subscribe to my newsletter here. Happy creating!


You are amazing. You make everything look so easy and your projects result in perfection. Love your projects.
Thank you!!!
Thank you so very much for sharing this. I have tried many different tutorials and NONE have worked out for me. The Rapid Set Cement All is really a game changer. I cannot wait to finally be able to make all of the things I’ve wanted to for long.
Thank you thank you thank you!!!!!
You’re very welcome Ana! I’m so happy you like the Rapid Set Cement and the project. Happy creating!