If you love burning candles in your home as much as I do, you are going to love making your own handmade candles. They are so fun and easy to make!
 Making your own candles is a fun and rewarding hobby. It’s also a great way to save money and avoid harmful chemicals that are often found in commercial candles. With a few simple supplies, you can create beautiful and fragrant candles that will fill your home with warmth and ambiance.
Love Runs Deep
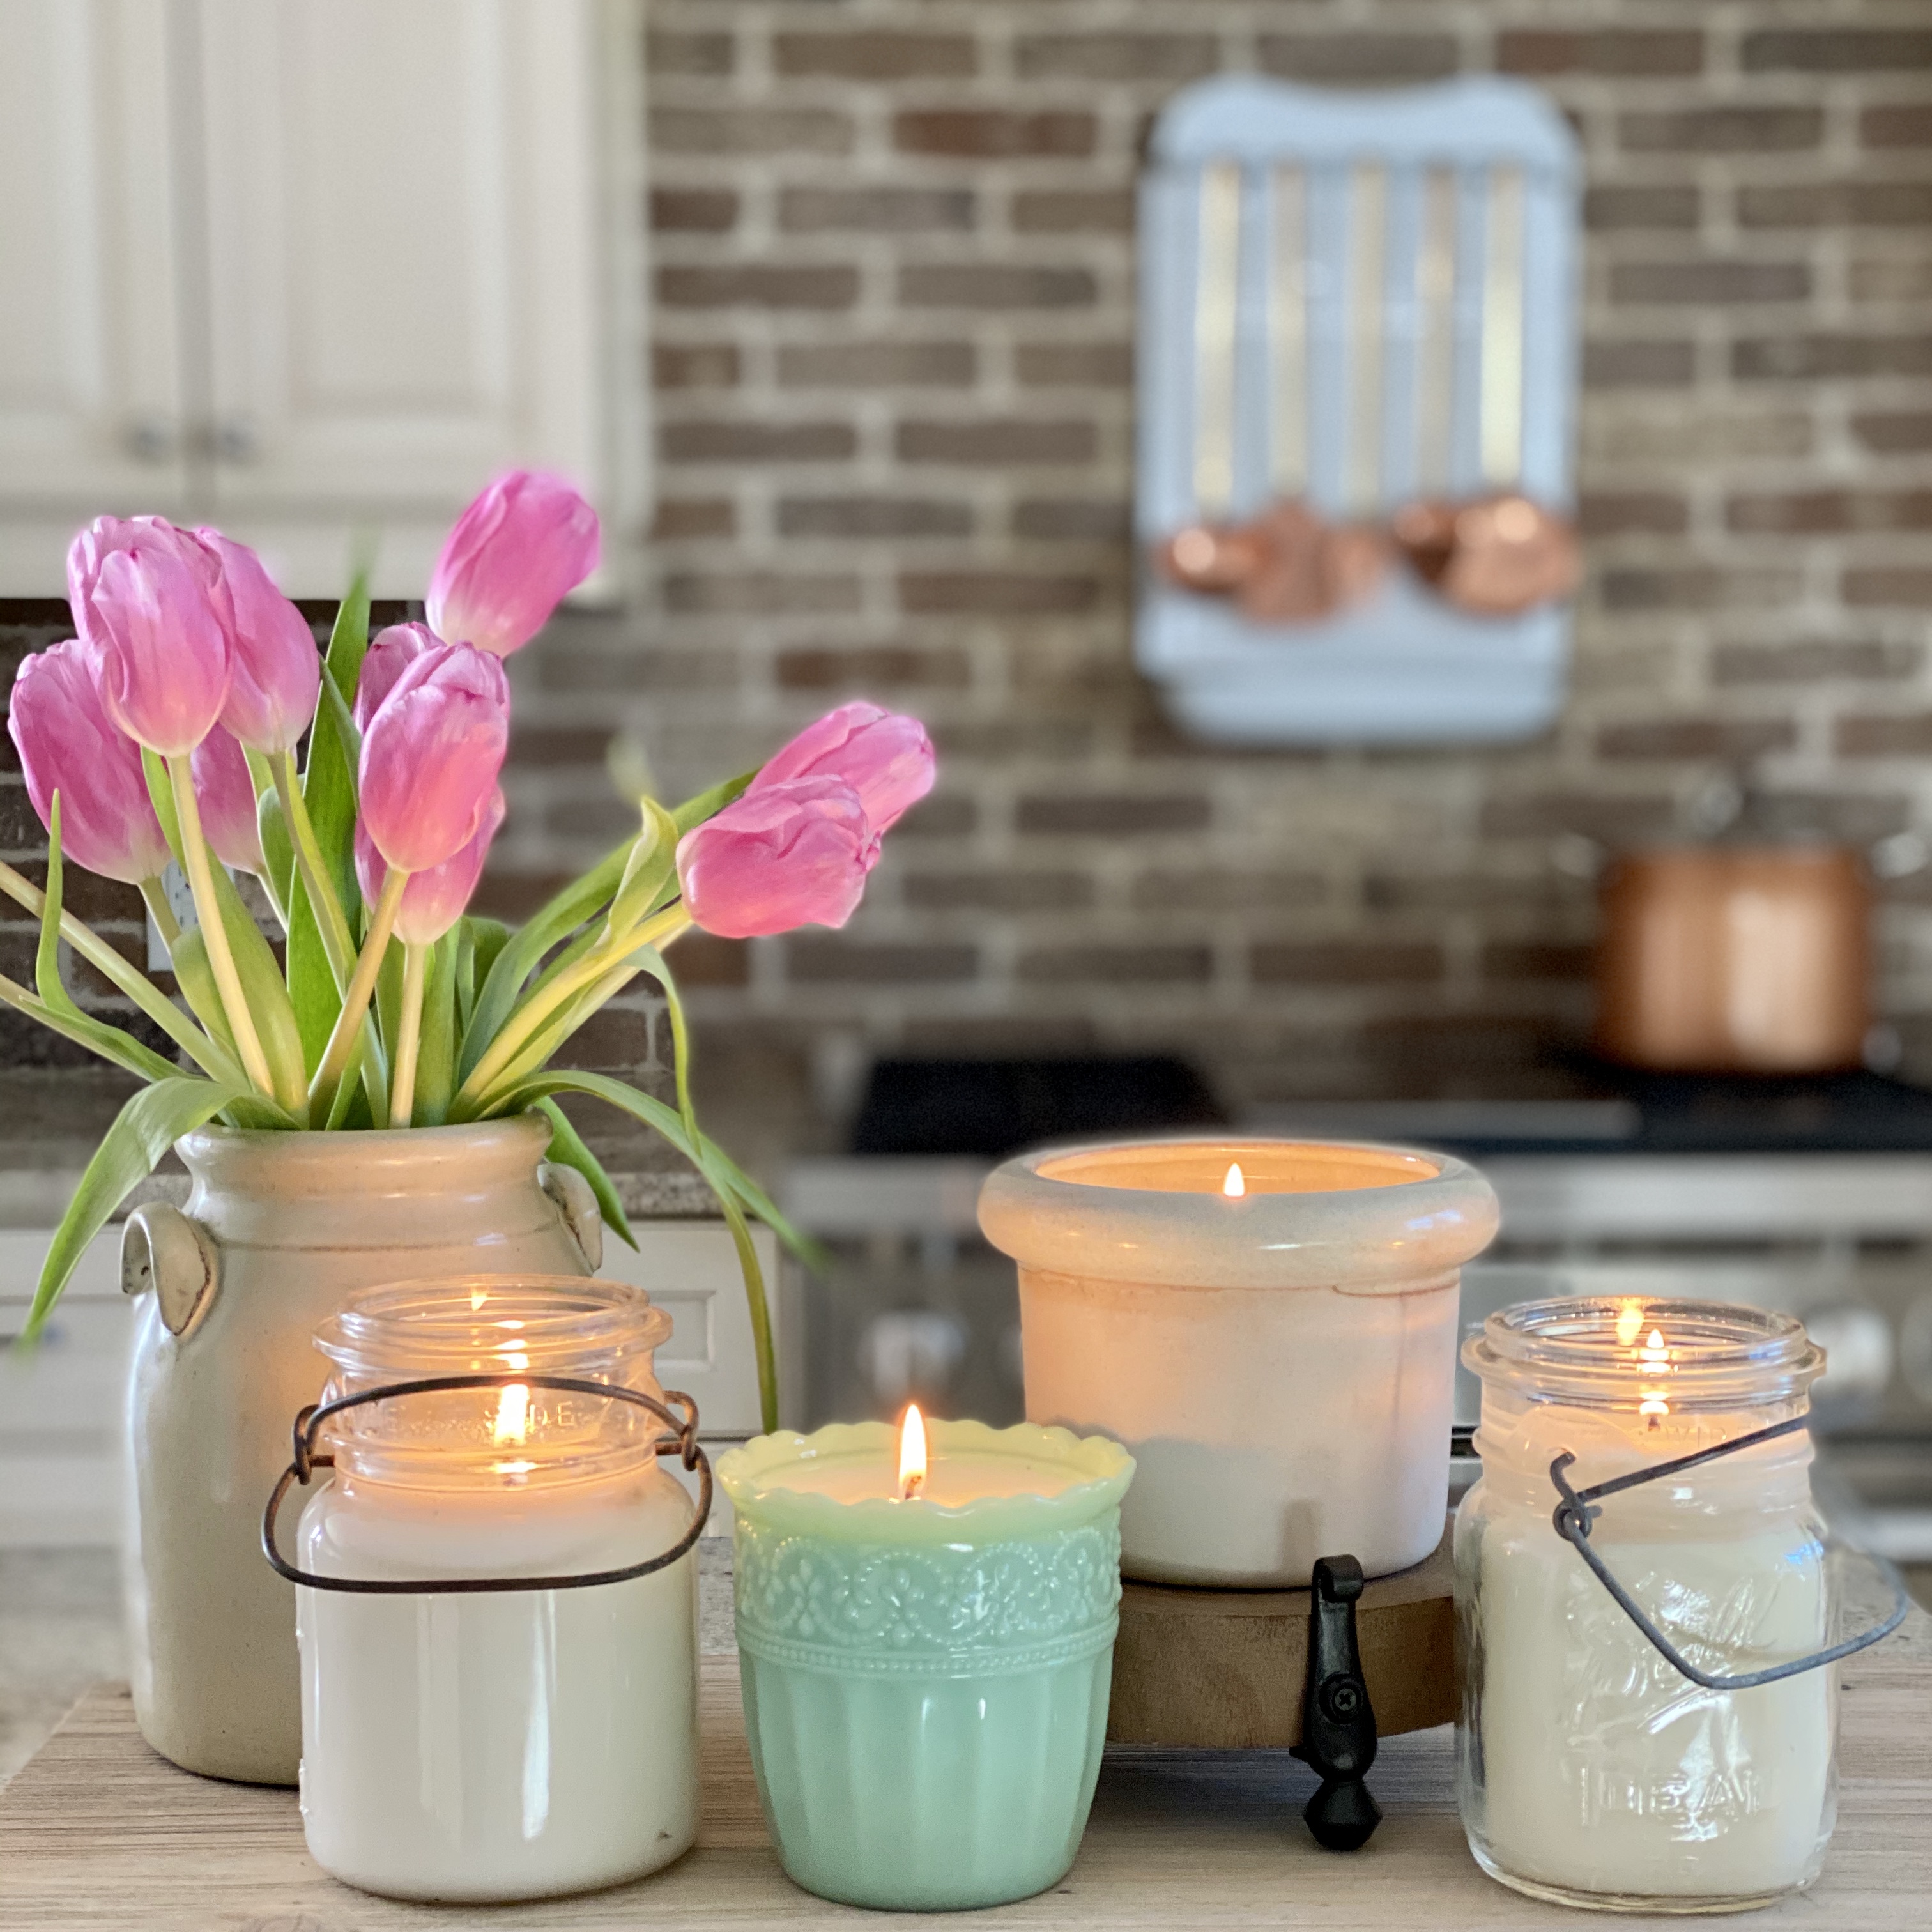
My love for candles runs deep. I mean DEEP, y’all! My love for vintage shopping also runs deep. This post is all about how I brought them both together. Through the years, I have collected many old jars and crocks. Some might say I have too many. Not me though. What I can say is that all my vintage vessels get used around the farmhouse.
With the new year upon us and the overwhelming urge to purge, I was going through the cabinet where I store my vintage vessels and I was shocked. It was more like astounded, at the number of vintage vessels I have acquired over the years. My soft spot for vintage jars and crocks has become, dare I say it, excessive.
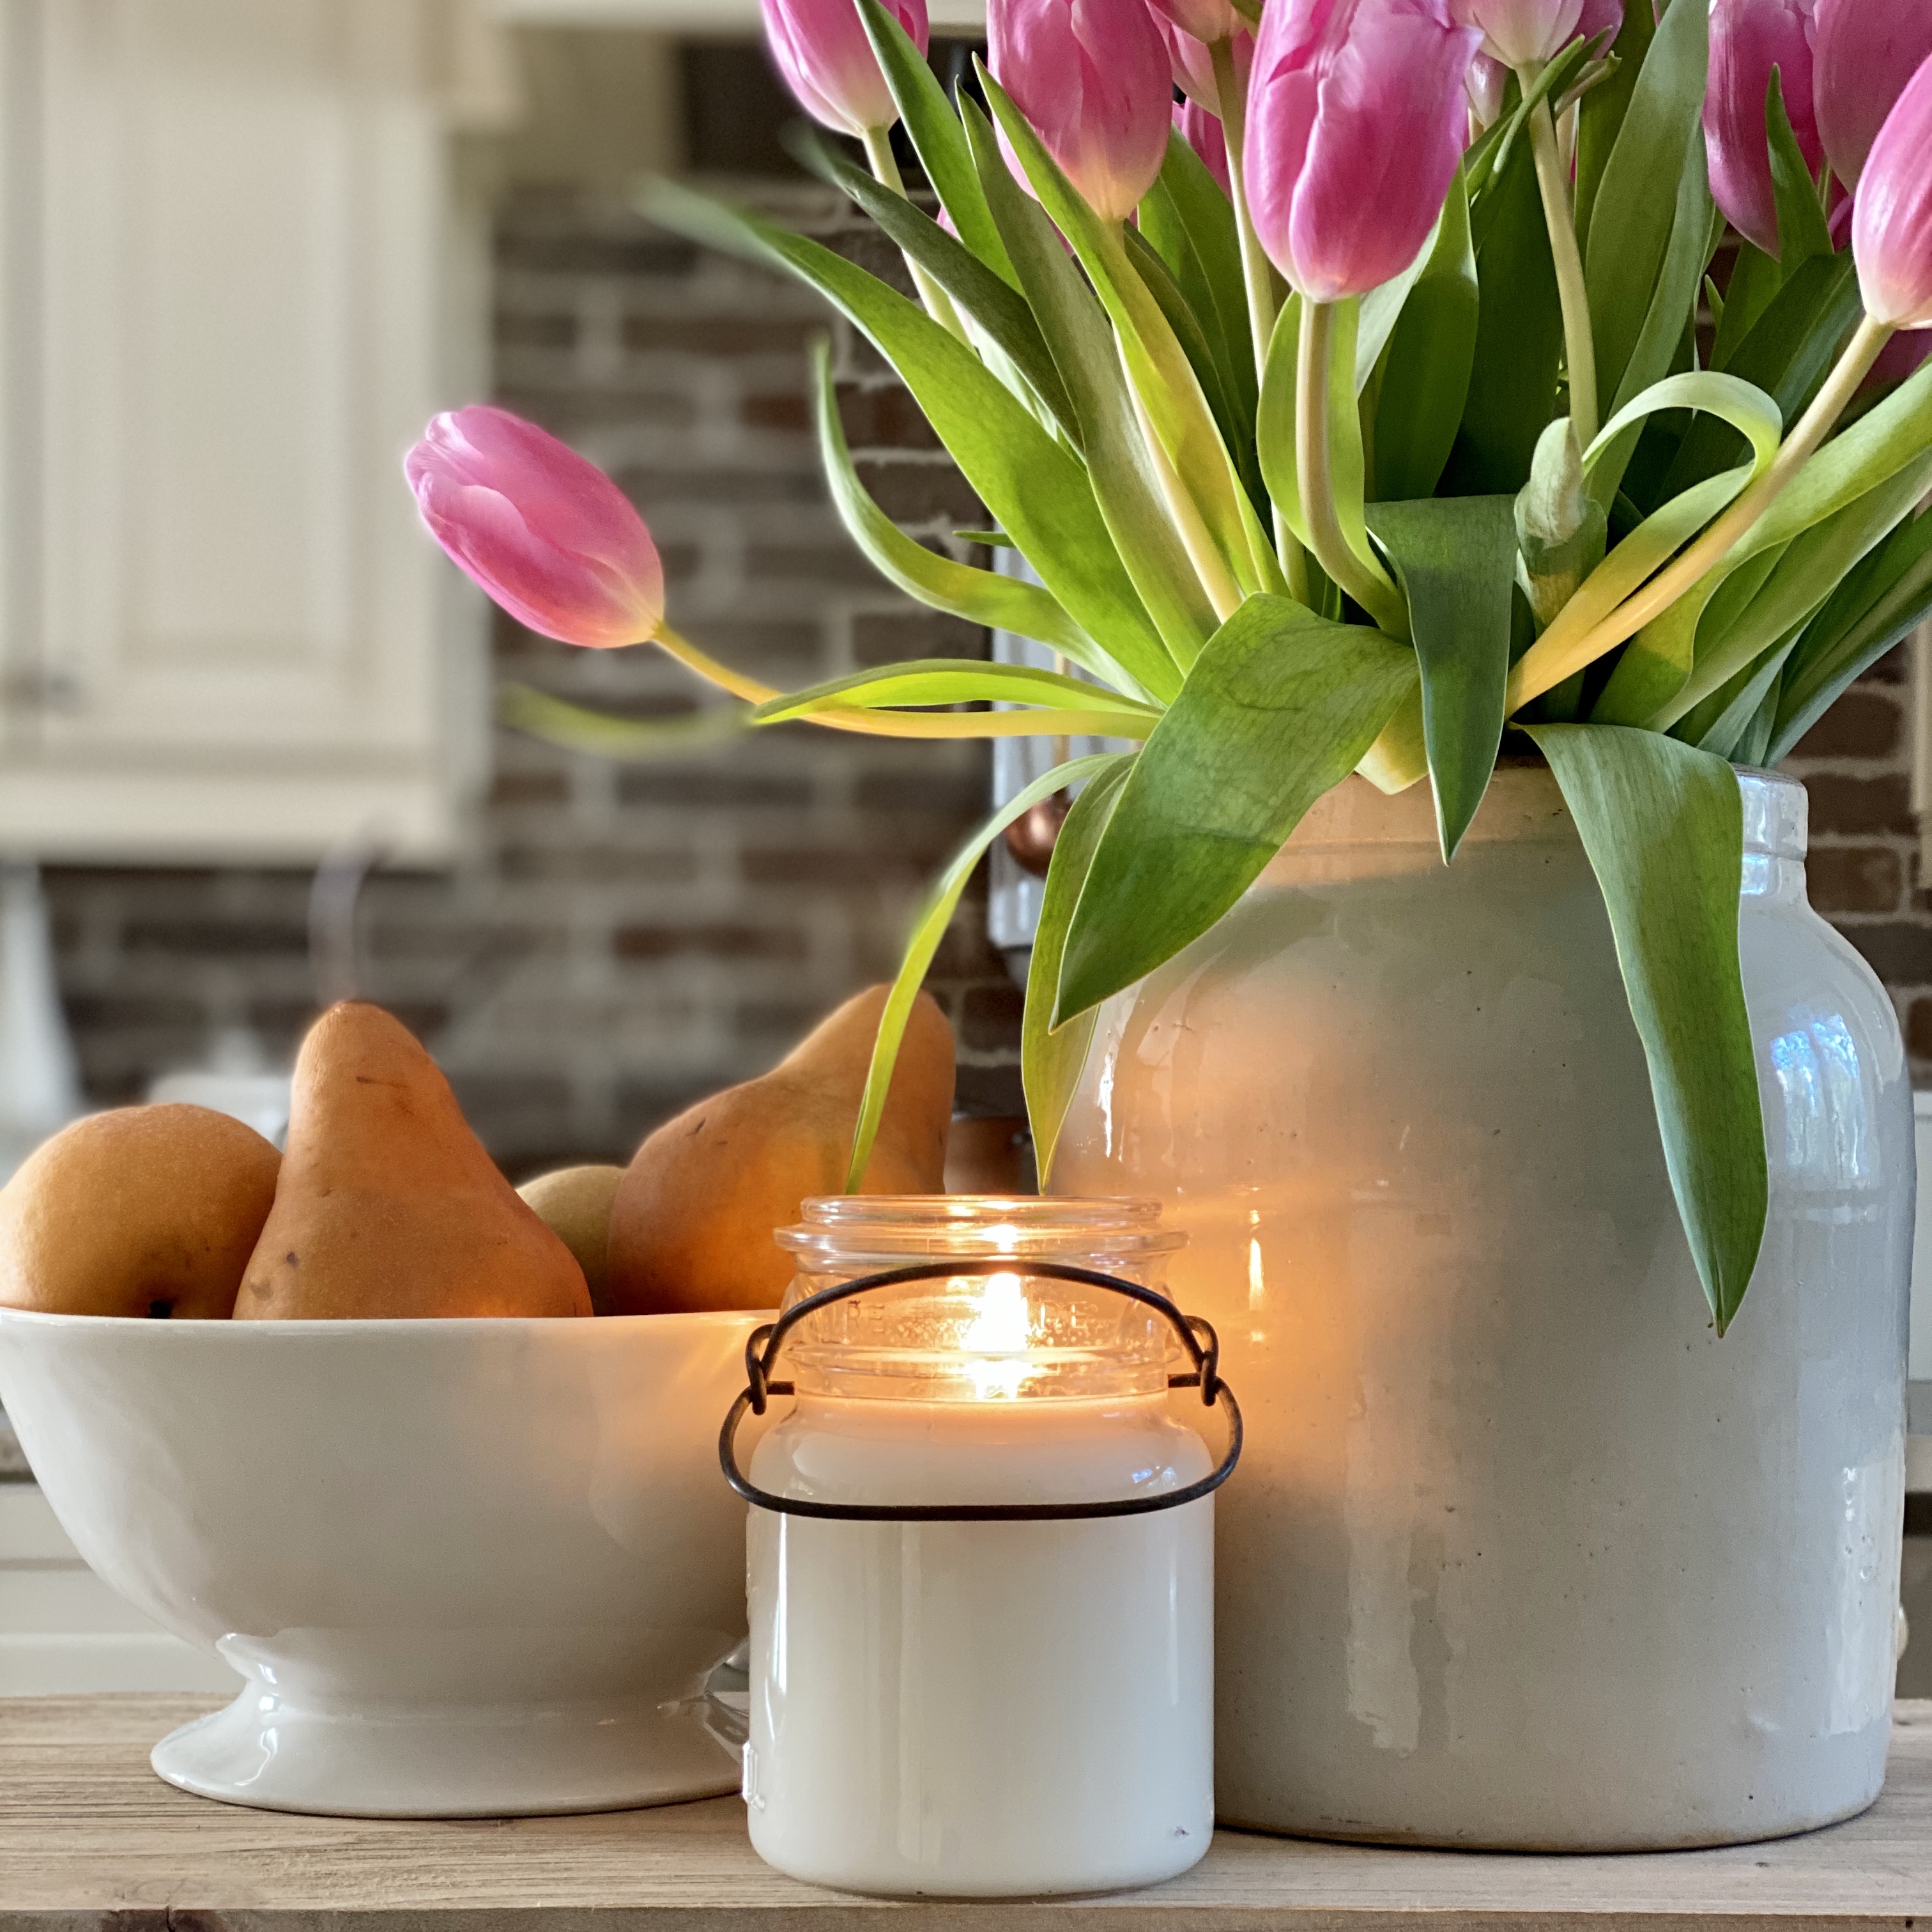
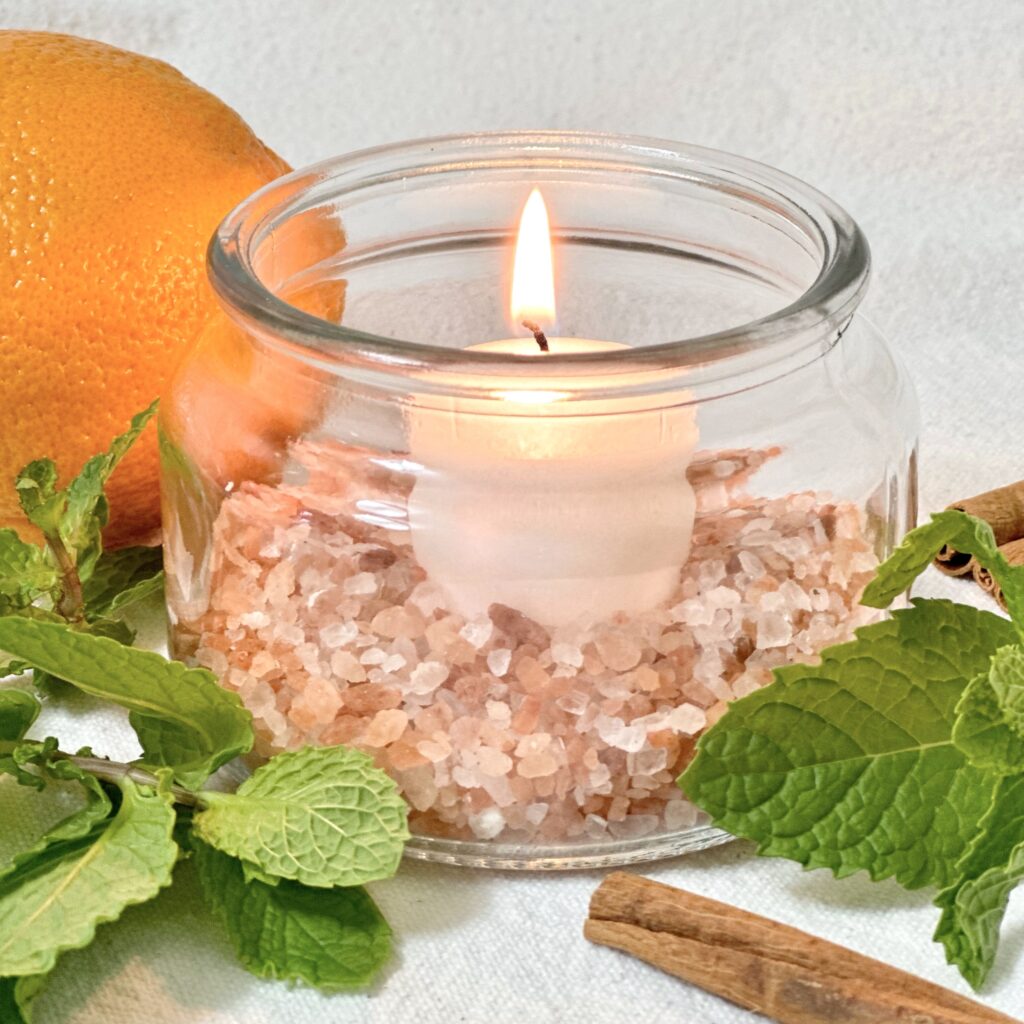
That’s when it came to me. I had always wanted to make my own candles, but never knew what to use to make them in. Up-cycling some of my vintage jars and crocks was the perfect solution!
Materials Needed to Make Handmade Candles
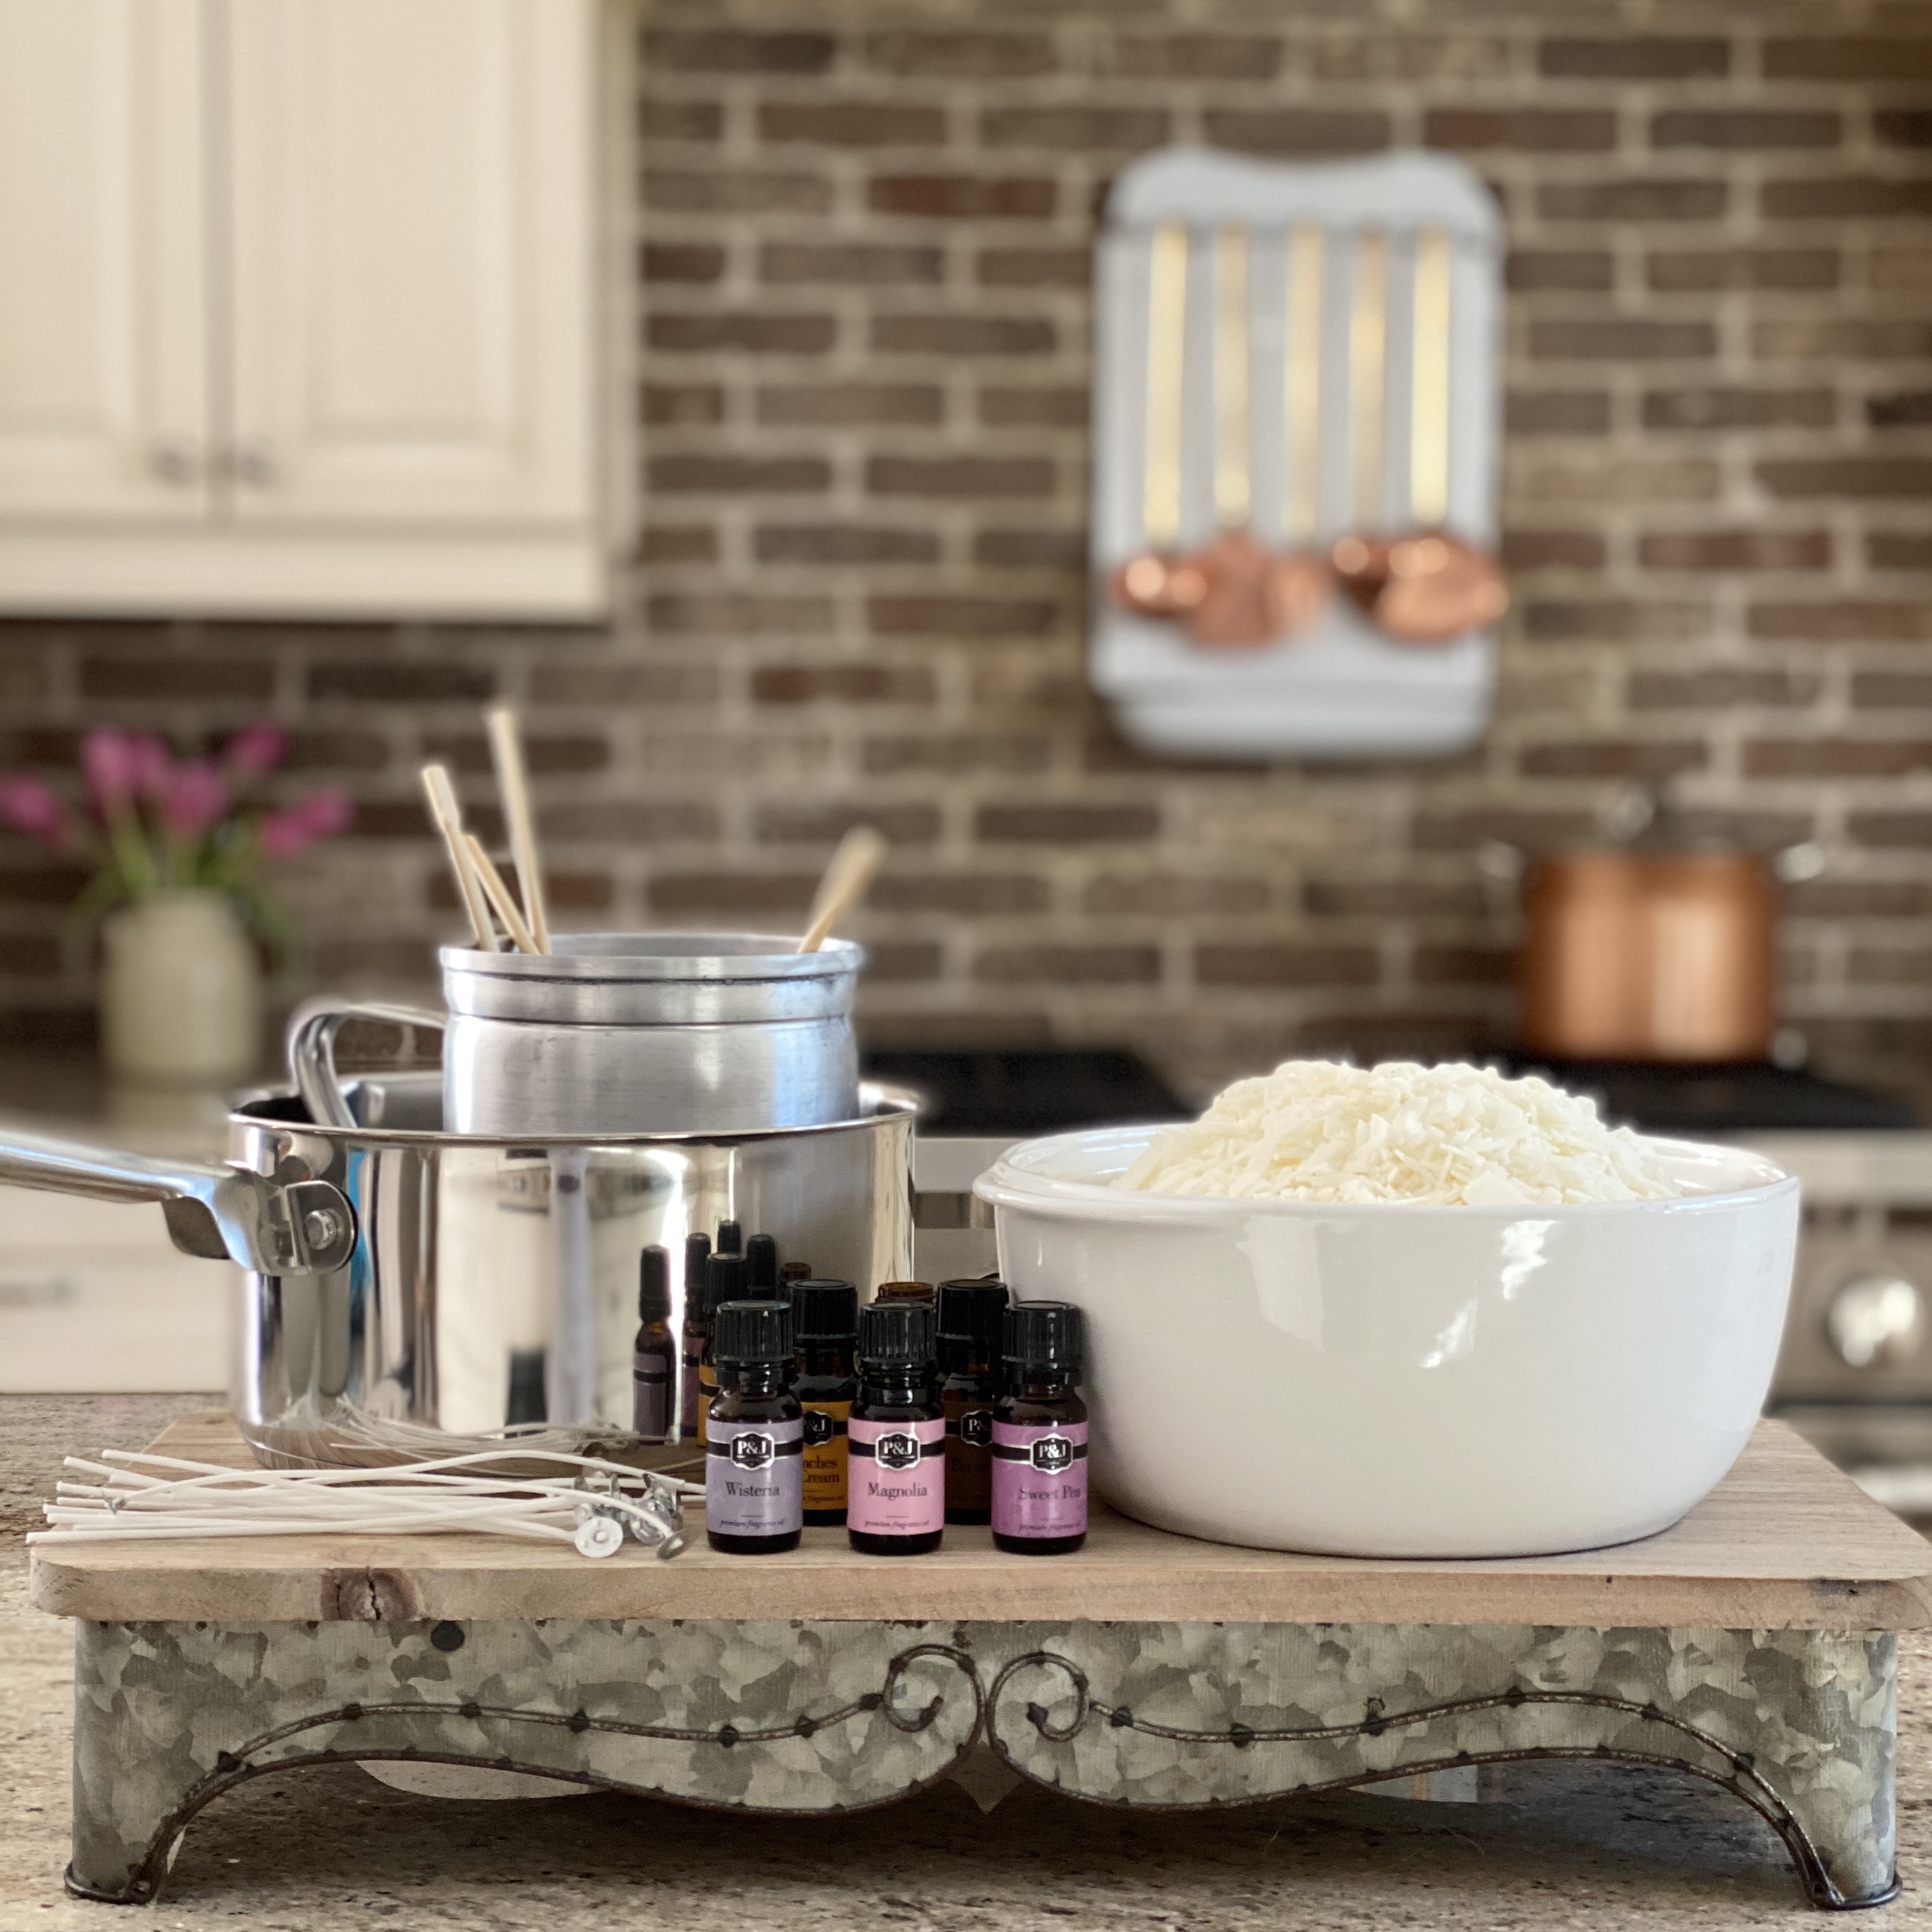
- Candle wax (I used soy wax)
- Candle wicks
- Candle containers (jars, tins, or molds)
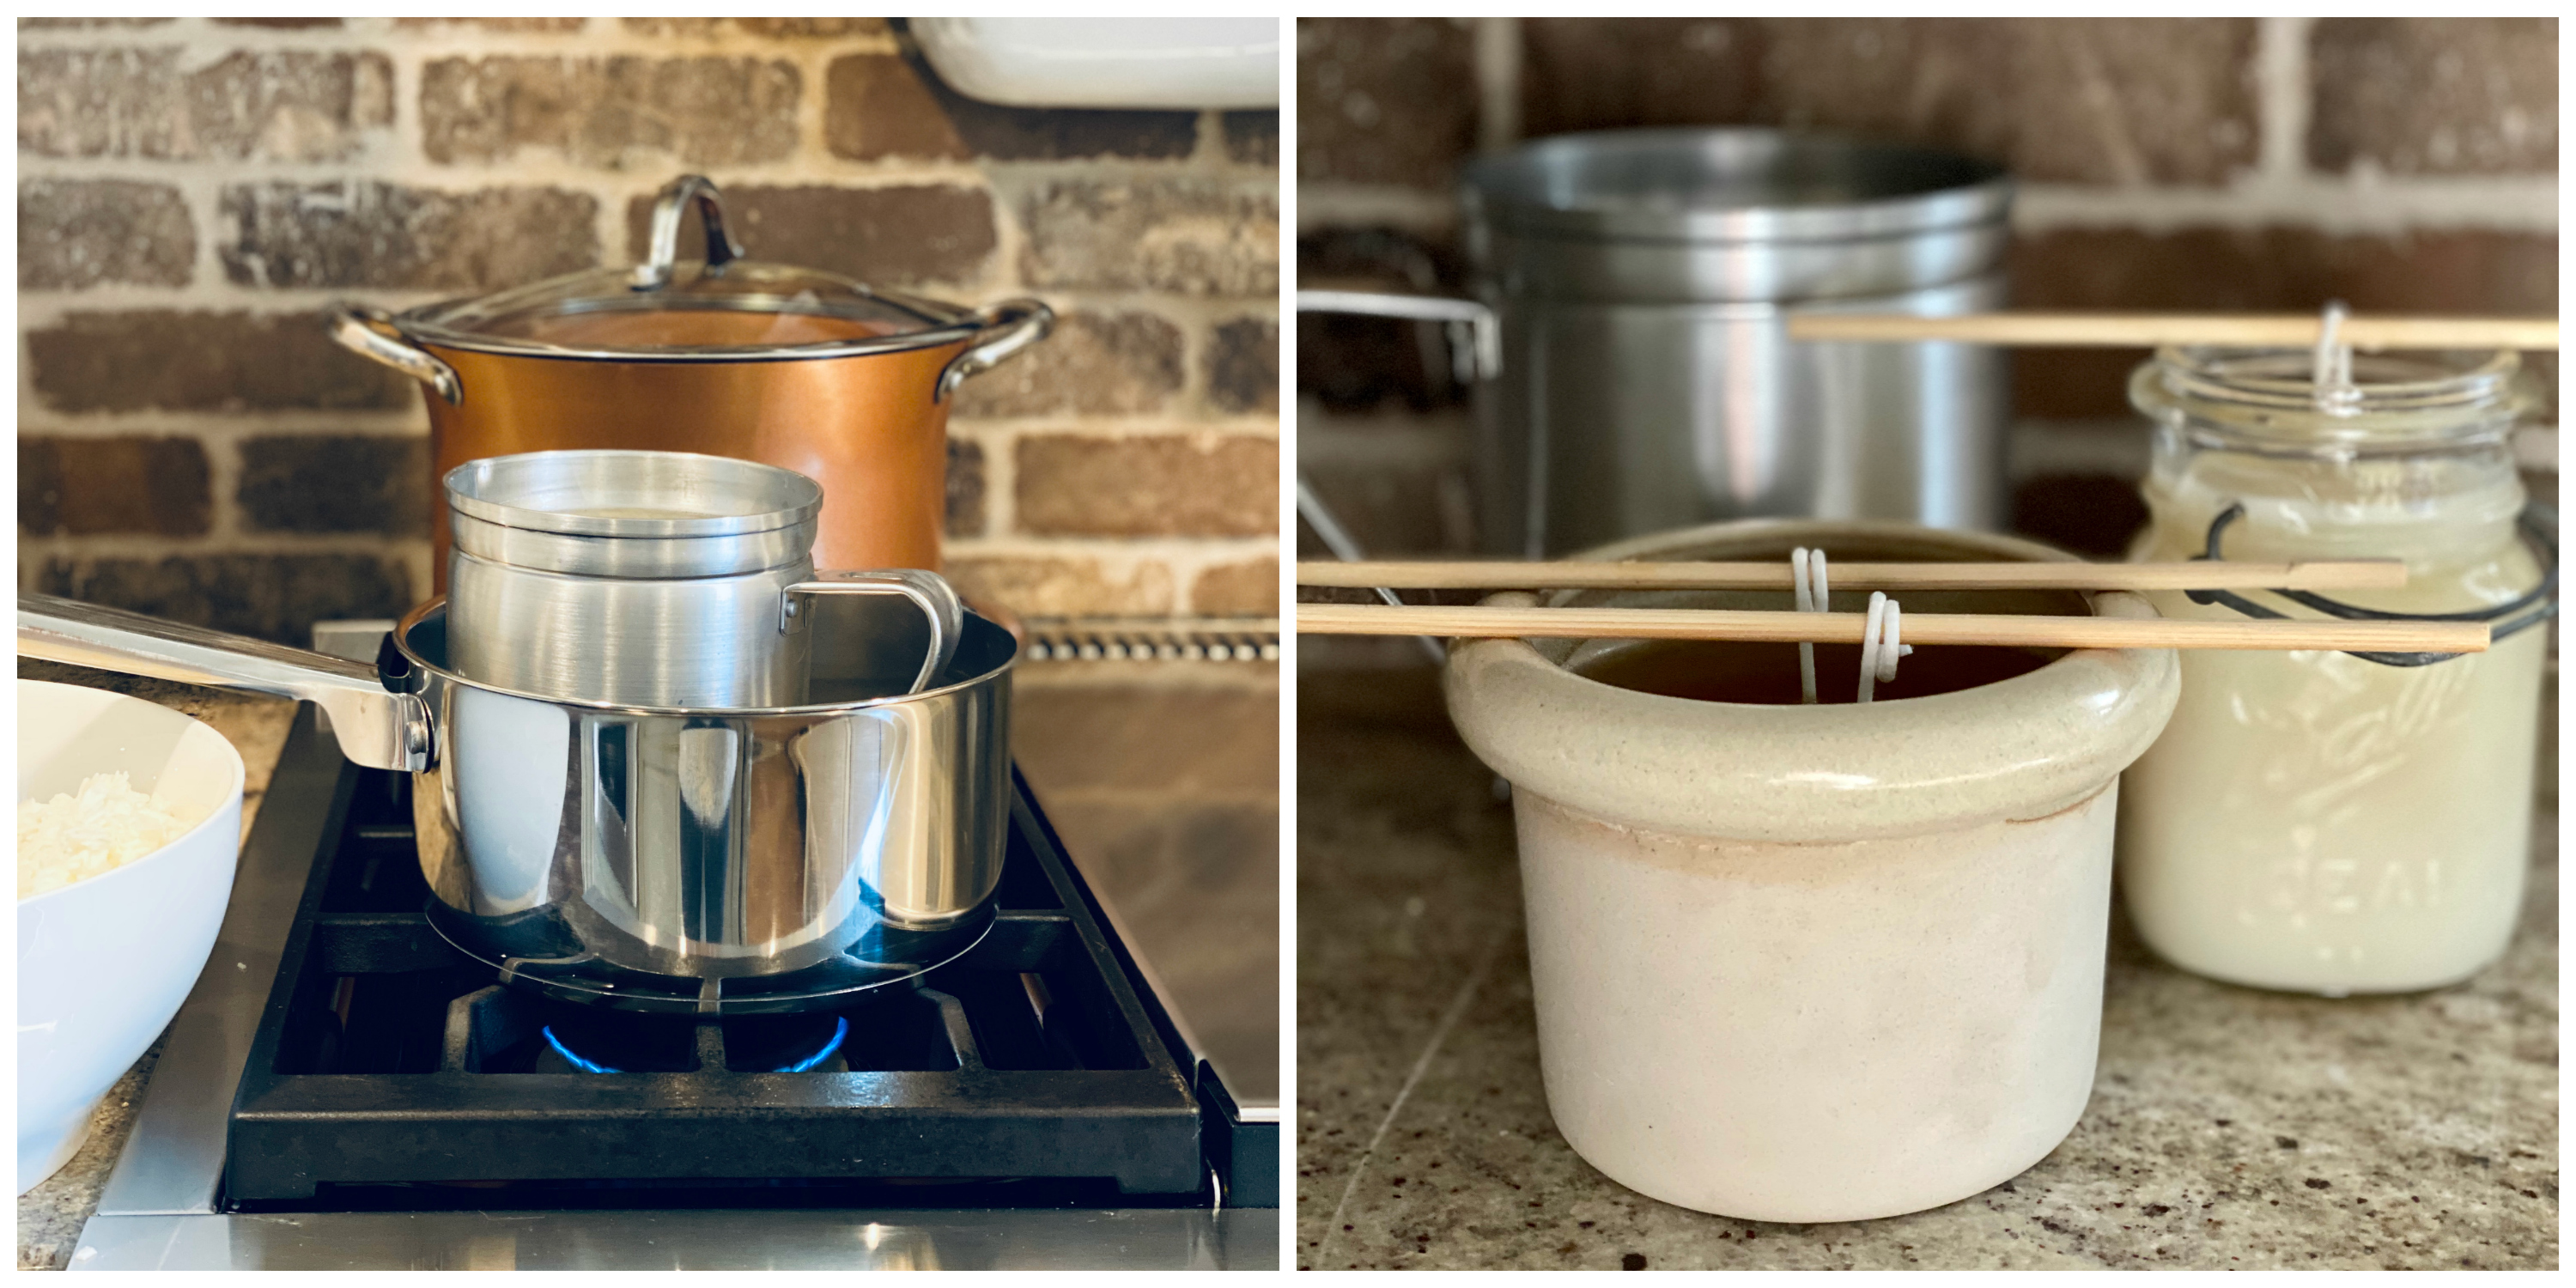
- Double boiler or wax melting pot
- Fragrance oil or essential oil (optional)
- Dye (optional)
- Skewers or popsicle sticks
- Newspaper or brown paper bag
How to make Handmade Candles
- Prepare your workspace. Cover your work surface with newspaper or a brown paper bag to protect it from wax spills.
- Measure and melt your wax. Follow the instructions on your wax packaging to melt the wax. Be careful not to overheat the wax, as this can cause it to catch fire.
- Add fragrance oil or essential oil (optional). Once the wax is melted, stir in fragrance oil or essential oil to your liking. Start with a small amount and add more until you reach the desired scent strength.
- Add dye (optional). If you want to color your candles, add a small amount of candle dye to the melted wax and stir until well combined.
- Wick your candle containers. Center the wick in the bottom of each candle container and secure it in place with a wick holder or skewer.
- Pour the wax. Carefully pour the melted wax into the candle containers, leaving about 1/4 inch of space at the top.
- Let the candles cool and harden. This may take several hours or overnight.
- Trim the wicks. Once the candles have hardened, trim the wicks to about 1/4 inch.
Unique Details and Uses of Homemade Candles
- Use natural ingredients. When making your own candles, you can choose to use natural ingredients such as soy wax, beeswax, and essential oils. This is a great way to avoid harmful chemicals and create candles that are better for your health and the environment.
- Experiment with different scents and colors. One of the best things about making your own candles is that you can experiment with different scents and colors to create your own unique creations. You can even blend different scents to create your own custom fragrances.
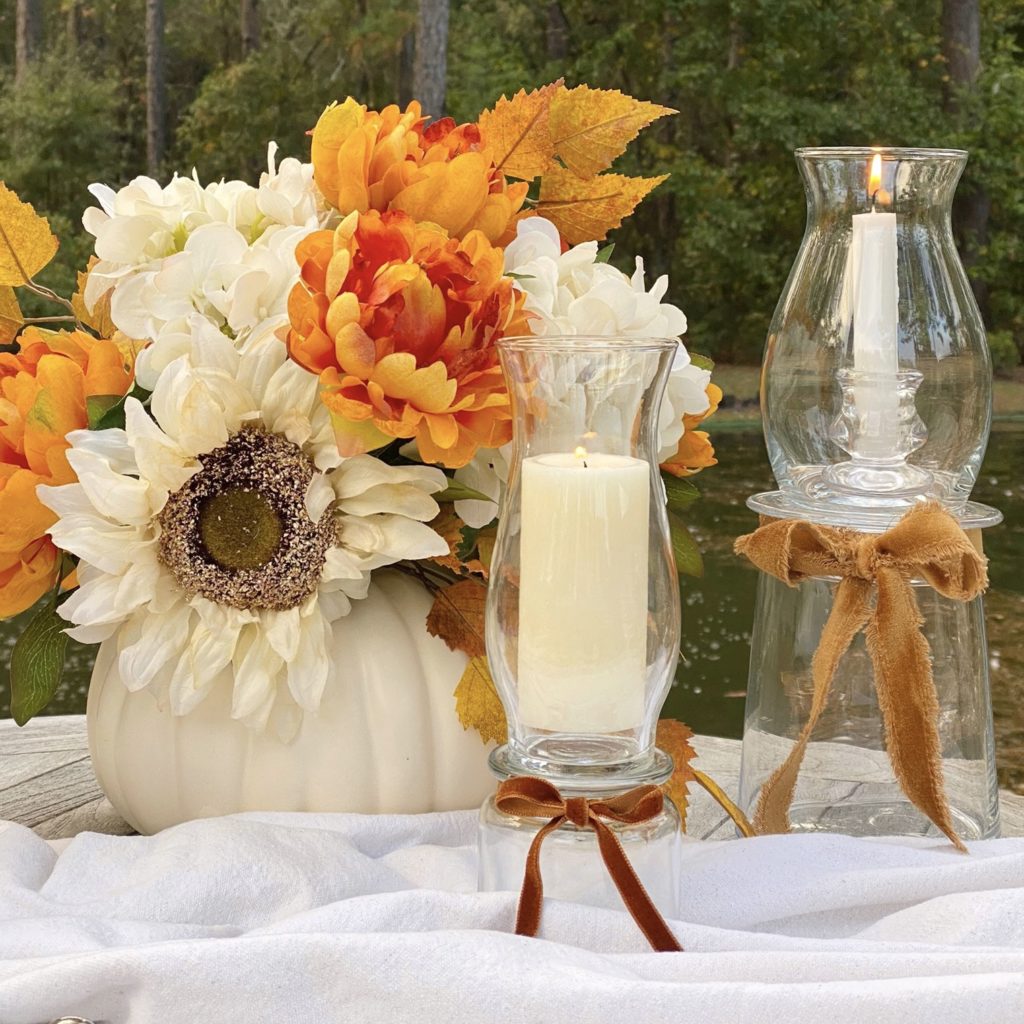
- Use your candles to decorate your home. Homemade candles can be used to decorate your home in a variety of ways. You can place them on shelves, tables, or mantles, or even use them to create centerpieces for your dining table.
- Give your candles as gifts. Homemade candles are a thoughtful and unique gift for friends and family members.You can even personalize them with the recipient’s favorite scent or color.
Additional Tips For Making and Using Homemade Candles
- When melting wax, use a double boiler or wax melting pot to prevent the wax from overheating.
- Be careful not to overfill your candle containers. Leave about 1/4 inch of space at the top to allow for expansion.
- Let your candles cool and harden completely before trimming the wicks.
- Trim the wicks to about 1/4 inch before each use. This will help to prevent the candles from smoking or flickering excessively.
- Never leave a burning candle unattended.
With a little practice, you’ll be making beautiful and fragrant homemade candles in no time!
I loved sharing this handmade candle DIY with you, I hope you enjoy it as much as I do. No vessel is safe in our home now thanks to my new candle making obsession!
More of Easy and Beautiful Home Decor DIYs
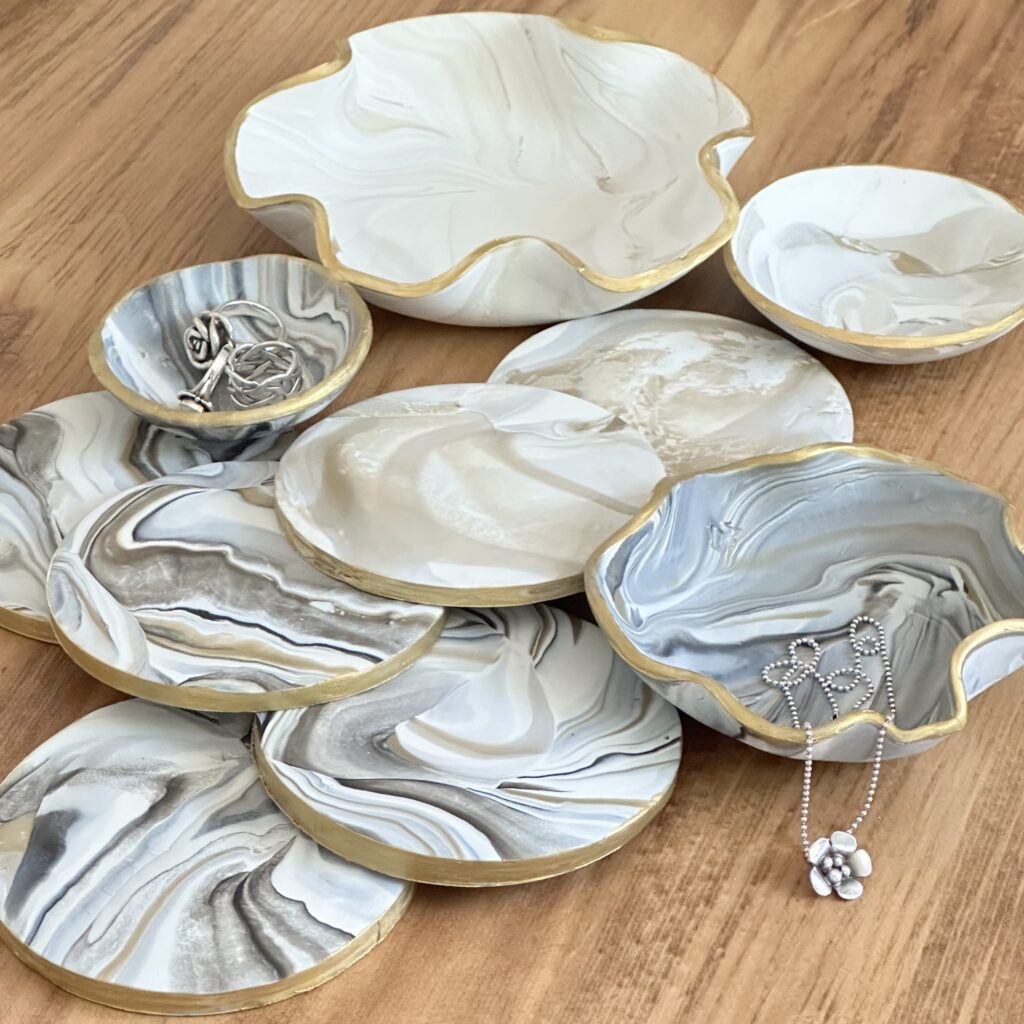
Marbleized Polymer Clay Coasters
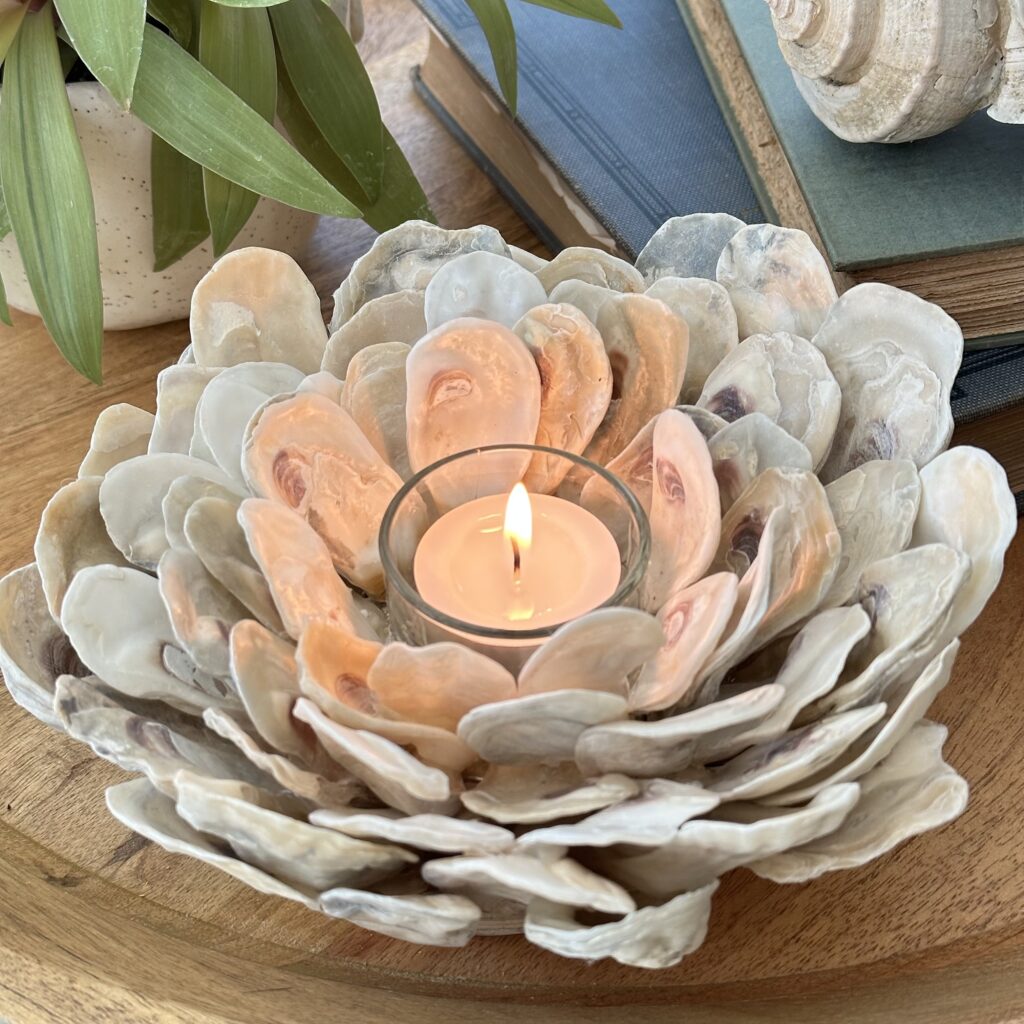
How to Make an Oyster Shell Candle Holder
DIY Diffuser With Himalayan Salt