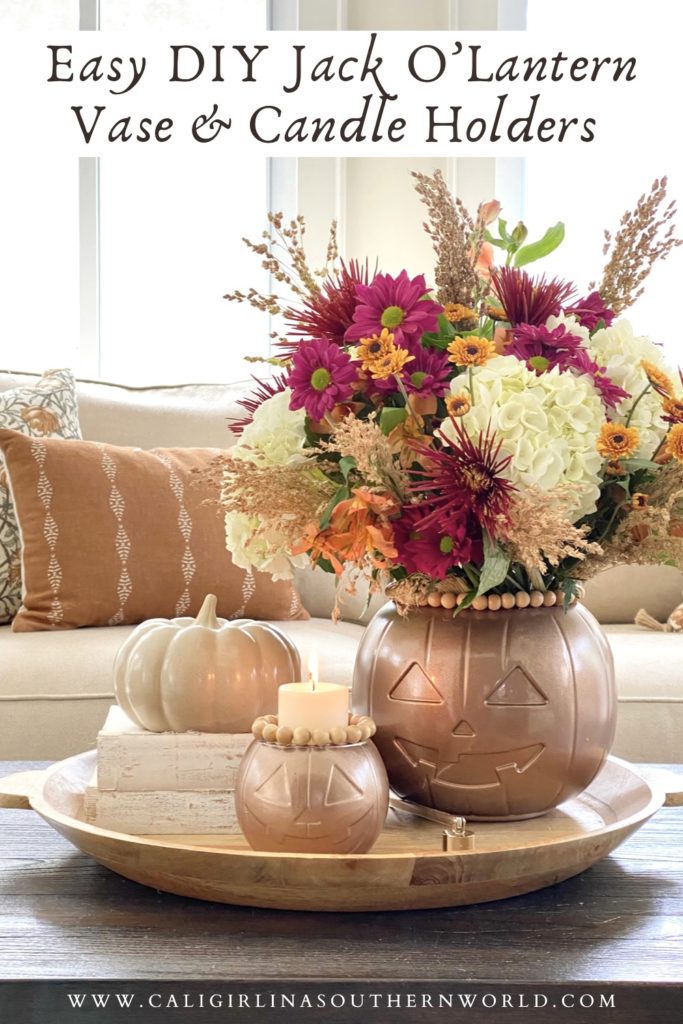
Wait until you see how easy this DIY Jack O’Lantern vase and candle holders are to make! Not only are they easy to make, but they’re beautiful and inexpensive to make too. The vase and the candle holders are the perfect additions to your Halloween decor this year.
This post contains some affiliate links for your convenience. Click here to read my full disclosure policy. As always, thank you for supporting my blog.
Easy and Beautiful Halloween Decor
Although our adult children are out of the house, I still enjoy decorating for the holiday. Of course, I don’t decorate for Halloween the way I used to when the kids were younger, but I still like to add a few Halloween touches around the farmhouse.
Last year, you may remember the DIY Concrete Jack O’Lanterns I made for the front porch. They were so fun to create and decorate with!

4 Reasons To Love This Fall DIY
After the fun I had last year making concrete Jack O’Lanterns, I decided that this year I wanted to use plastic Jack O’Lantern trick-or-treat pails again for another seasonal decor project. Here are four reasons why I love this DIY (and I think you will too)!
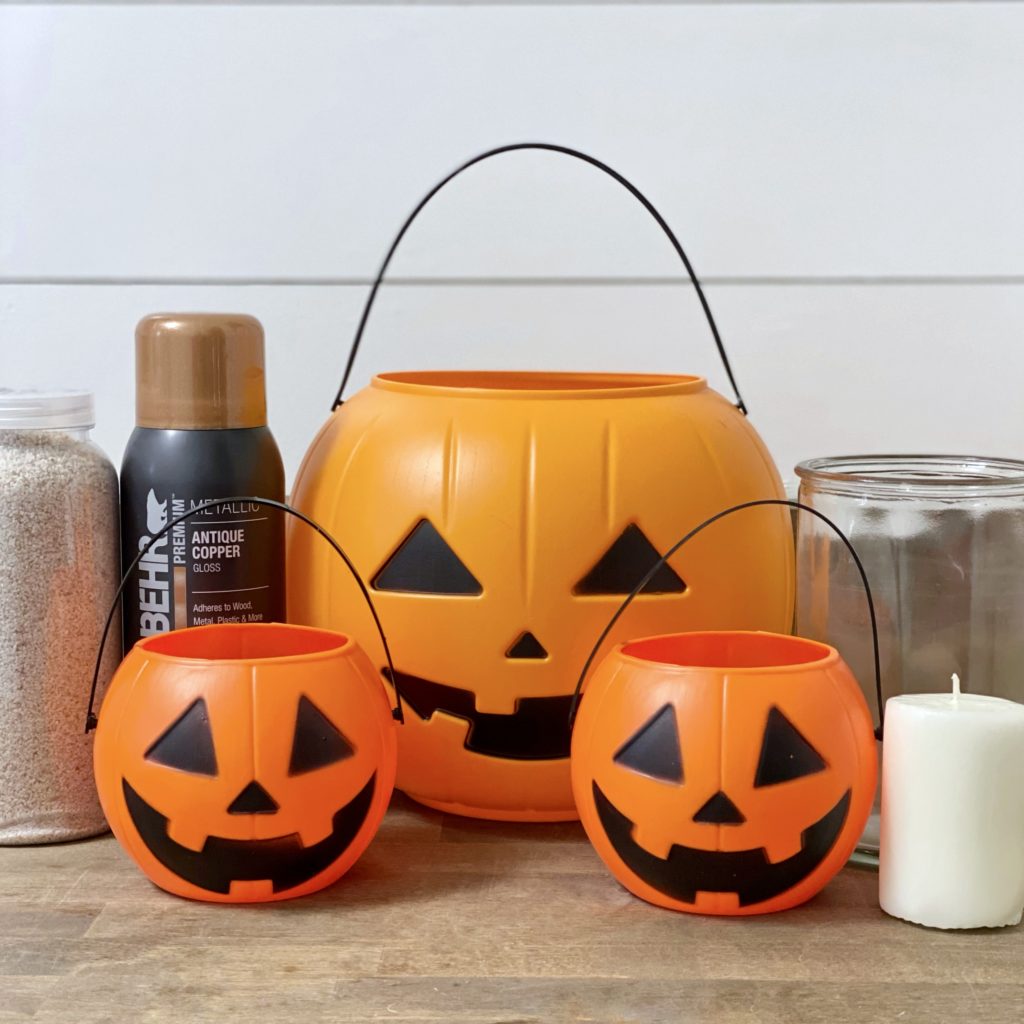
- The supply list is VERY short. All you need are a few plastic Jack O’Lantern trick-or-treat pails and spray paint (the color of your choice). I used a large one large plastic Jack O’Lantern pail for the vase and two smaller (individual size) pails for the candle holders. They can be found at many stores this time of the year including drug stores, dollar stores, and Walmart.
- This DIY is also inexpensive. The supplies to make the three pieces cost less than $10.
- It’s also a quick fall project. I completed all three pieces in a hour.
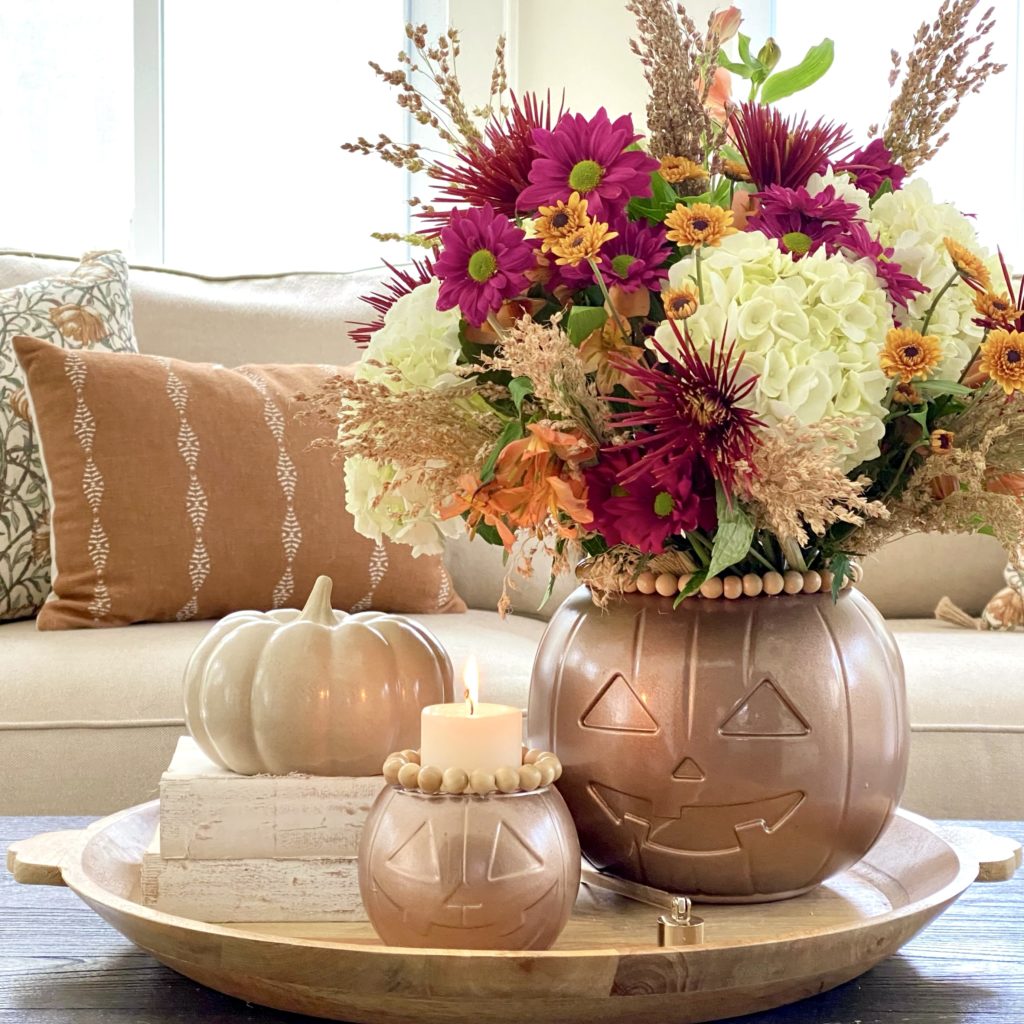
- Lastly, this easy DIY Jack O’Lantern vase and the candle holders turned out beautifully and make the perfect additions to my Halloween home decor. I styled them on a tray for the kitchen island and I love how they look!
Supplies Needed to Make A DIY Jack O’Lantern Vase and Candle Holders
DIY Jack O’Lantern Vase
There are only three things needed to make this fun and beautiful Halloween themed vase:
- Large plastic Jack O’Lantern trick-or-treat pail
- Spray paint (Color of your choice.)
- Glass vase (It should fit inside the Jack O’Lantern pail.)
- 1/2-inch wood beads – Optional
- Hot glue – Optional
I used an Antique Copper colored spray paint. However, you can also use gold, brass, bronze, silver, or even matte black for a more modern look. Choose a color that compliments your style and your home decor.
The glass vase I used inside my Jack O’Lantern was an old one from an arrangement that my mom sent me for my birthday. This project is a great way to use those inexpensive florist vases. A large mason jar would work well too.
DIY Jack O’Lantern Candle Holders
Here is what you need to make these sweet and stunning Halloween candle holders:
- Small plastic Jack O’Lantern trick-or-treat pails
- Spray paint (Color of your choice. I used the same color as I did on my vase.)
- Sand
- Candles
- Candle rings (faux floral, berries, vines, etc.) – Optional
How to Make a DIY Jack O’Lantern Vase and Candle Holders (Easy as 1,2,3)
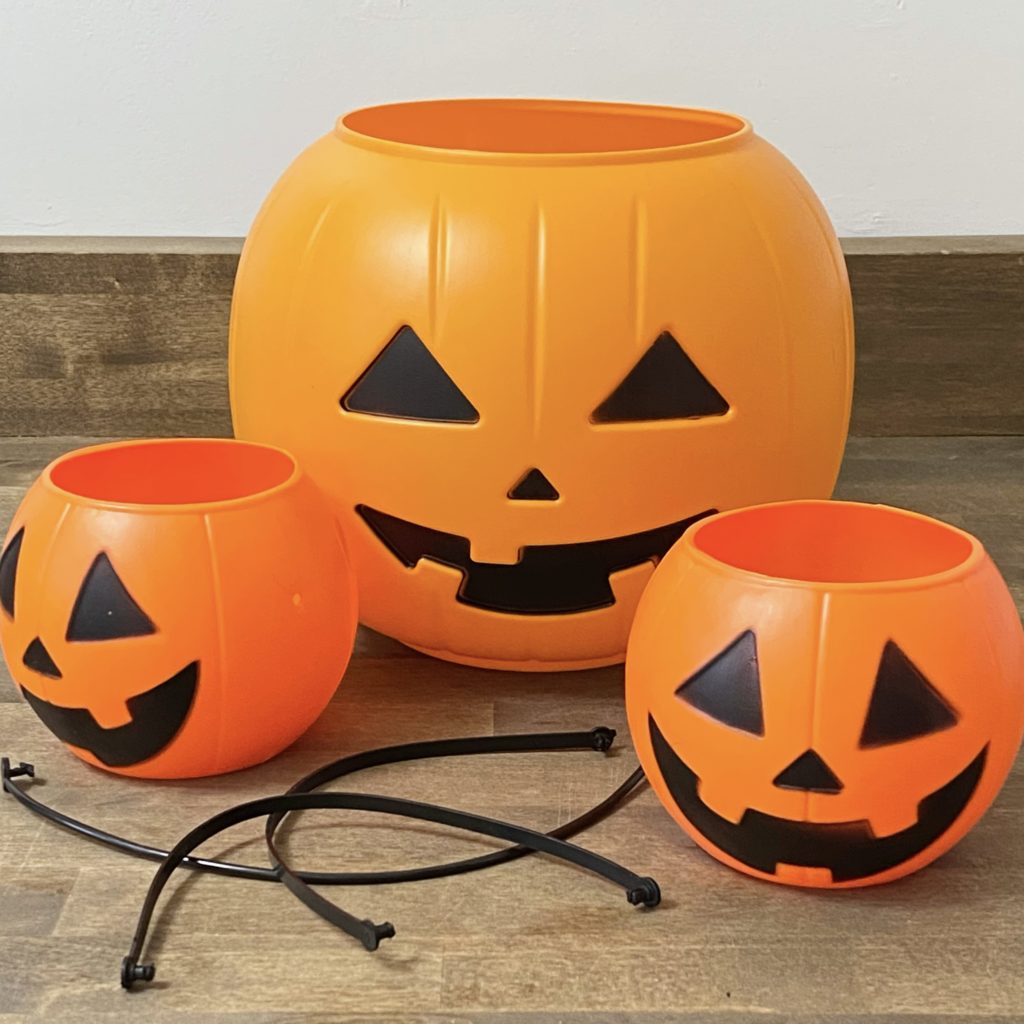
1.) Remove Handles
Remove the plastic handles of the plastic Jack O’Lantern pails.
2.) Paint
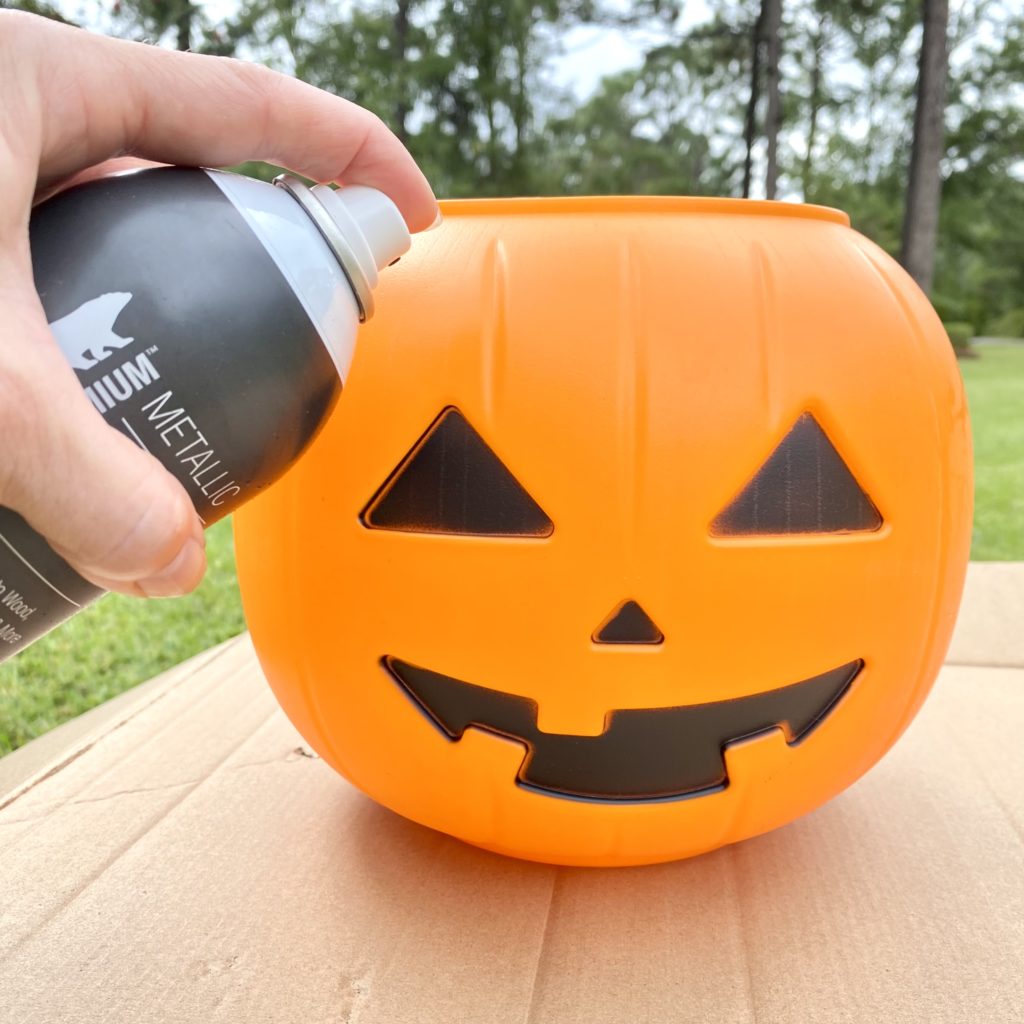
In a well ventilated area (ideally outside), spray the outside of the plastic Jack O’Lanterns with the color of your choice. Be sure to protect the surface you will be spraying the trick-or-treat pails on. I use cardboard. Hold the spray paint can upright. Move it from side-to-side while spraying the paint lightly and evenly about 8-10 inches from the Jack O’Lanterns. Allow the paint to dry about an hour before applying a second coat (for the best coverage). I used two coats of paint on my Jack O’Lanterns.
3.) Fill and Decorate
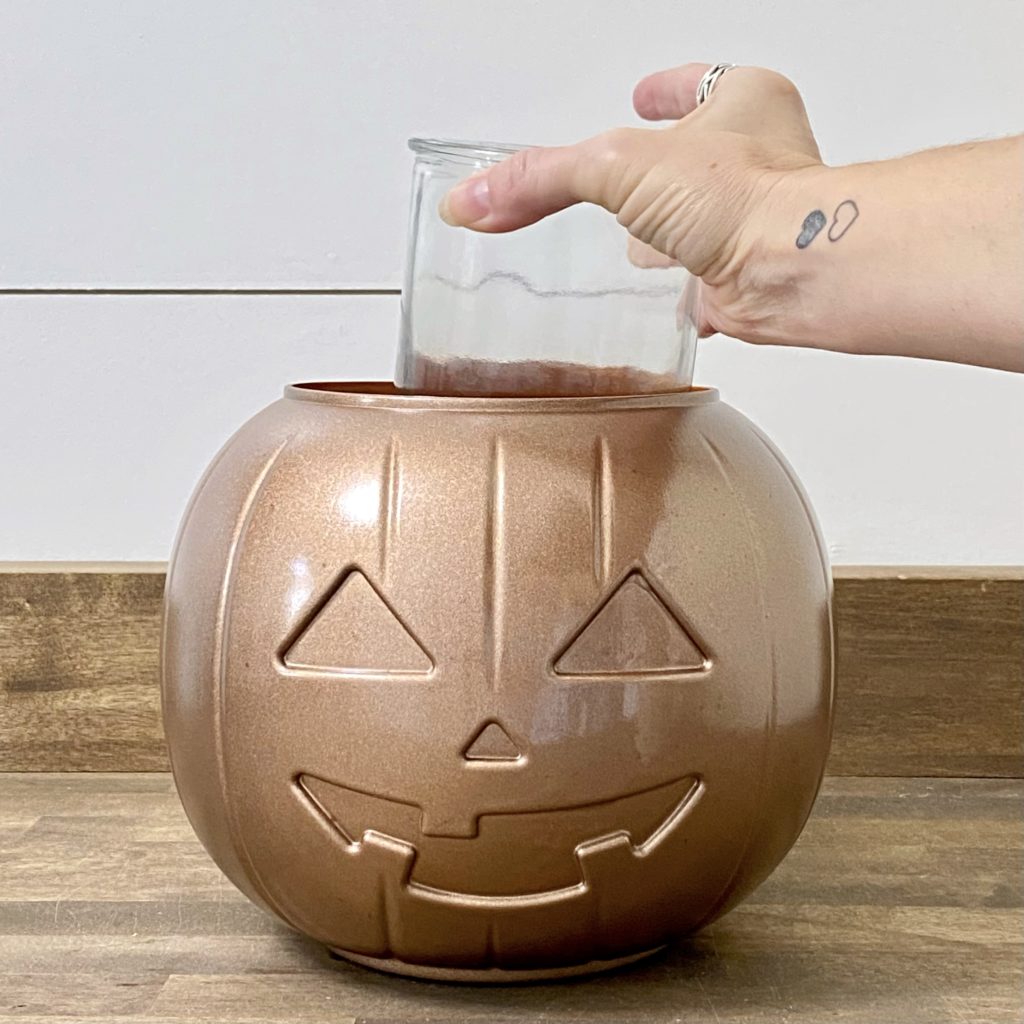
Once the paint is dry, place a glass vase inside the large Jack O’Lantern.
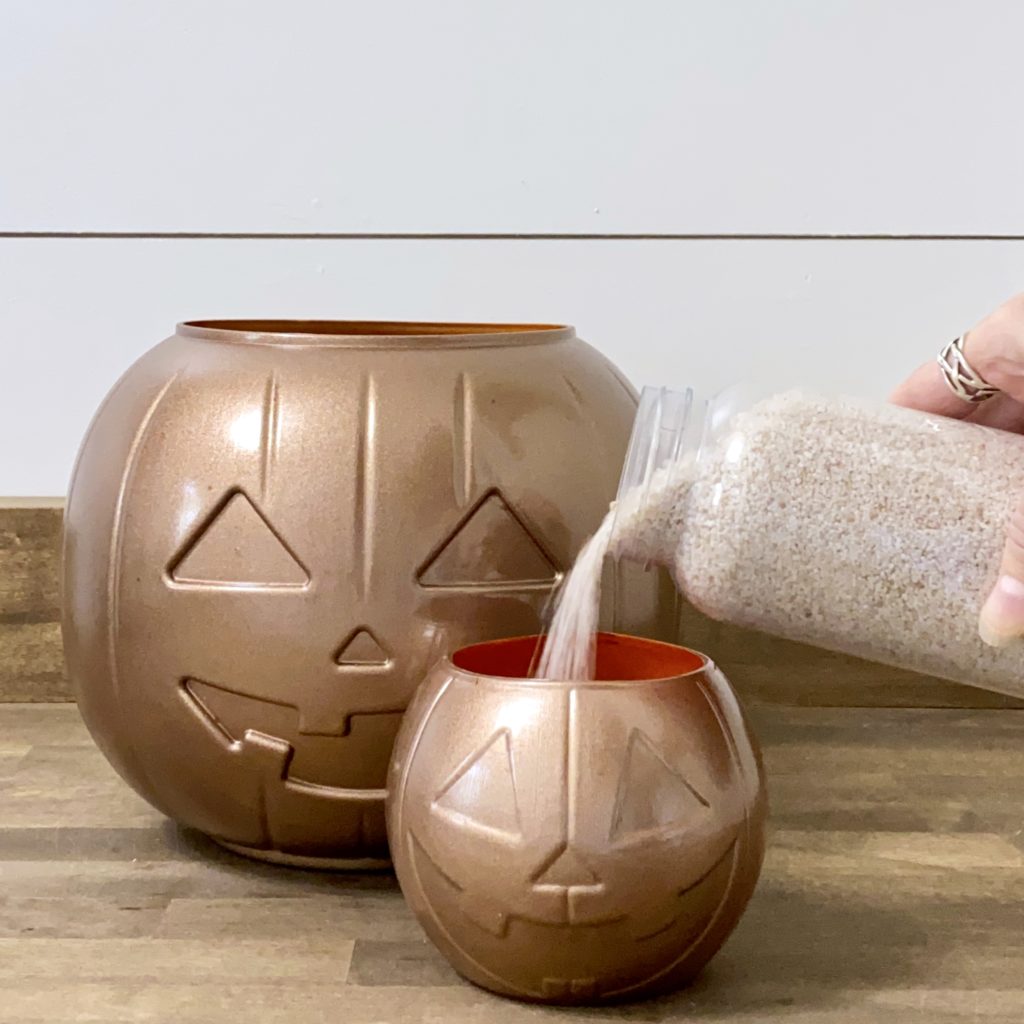
For the candle holders, pour some sand in the smaller Jack O’Lanterns and place candles inside. The sand will help elevate and hold the candles.
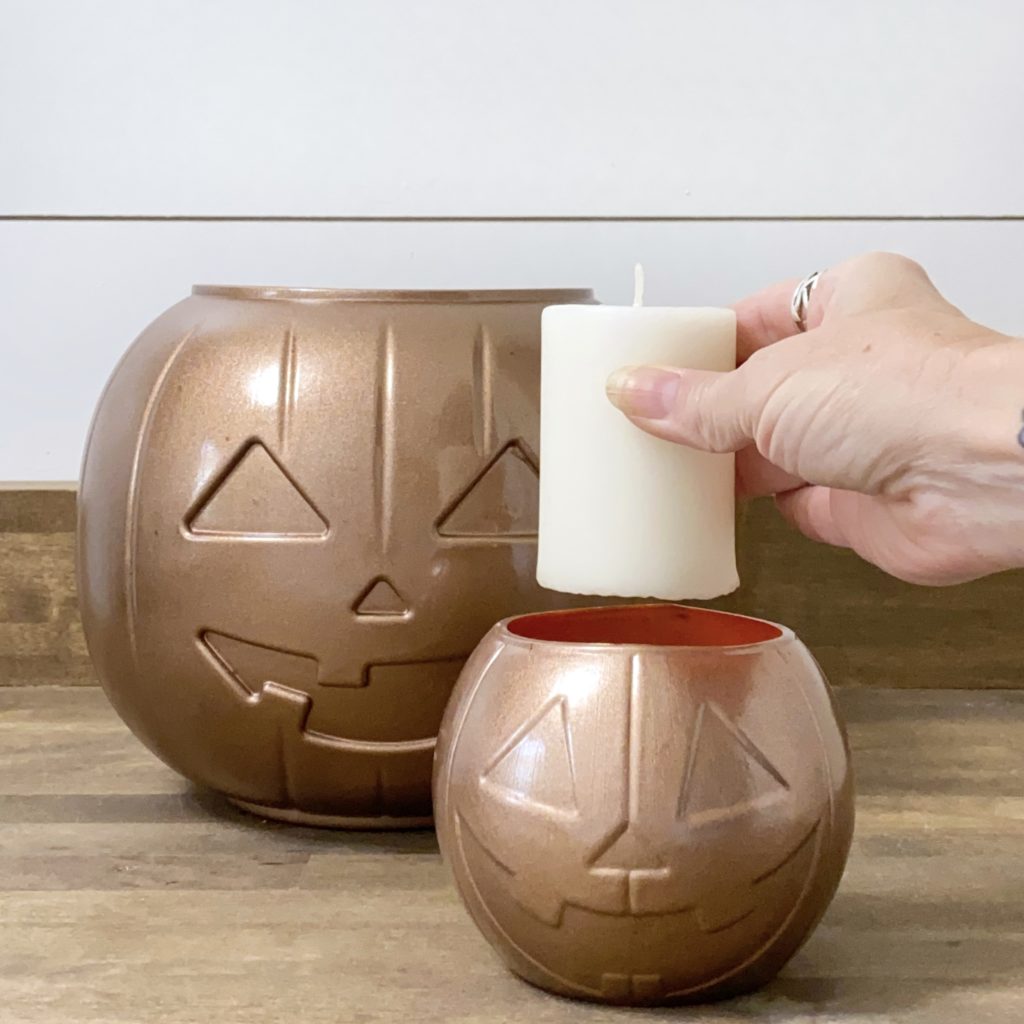
So easy right?! Now it’s time to fill the vase with water, arrange some fresh or faux flowers in the DIY Jack O’Lantern vase and light the candles inside the Jack O’Lantern candle holders.
Add a Finishing Touch
I love using leftover craft items- when I have them. Waste not, want not. That’s my motto. Therefore, I used some leftover 1/2-inch wood beads sealed with Shellac that I had leftover from a past project, a DIY Wood Bead Cake Stand. They were perfect for adding a finishing touch to my DIY Jack O’Lantern vase and candle holders. I love the added visual appeal and texture they give the Jack O’Lanterns. What do you think?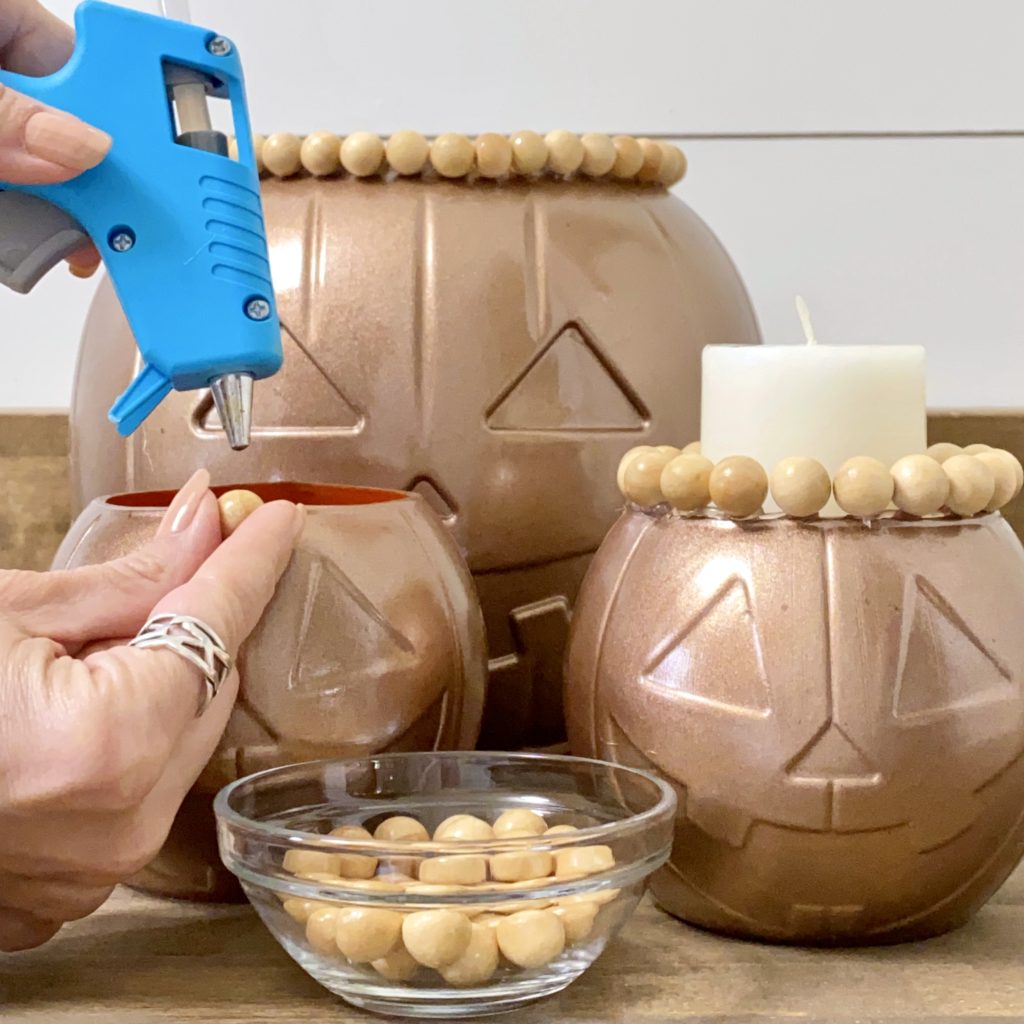
I hope you enjoy this easy fall DIY as much as I did. It was a pleasure to share it with you. If you are looking for more beautiful, easy, and fun fall DIY projects, you may also enjoy these:
How to Make Napkin Rings for Fall
Follow me on Pinterest and Instagram for more farmhouse inspiration including easy DIYs, delicious recipes, home decor styling tips and trick, gardening, and so much more.
Pin this to make later!