
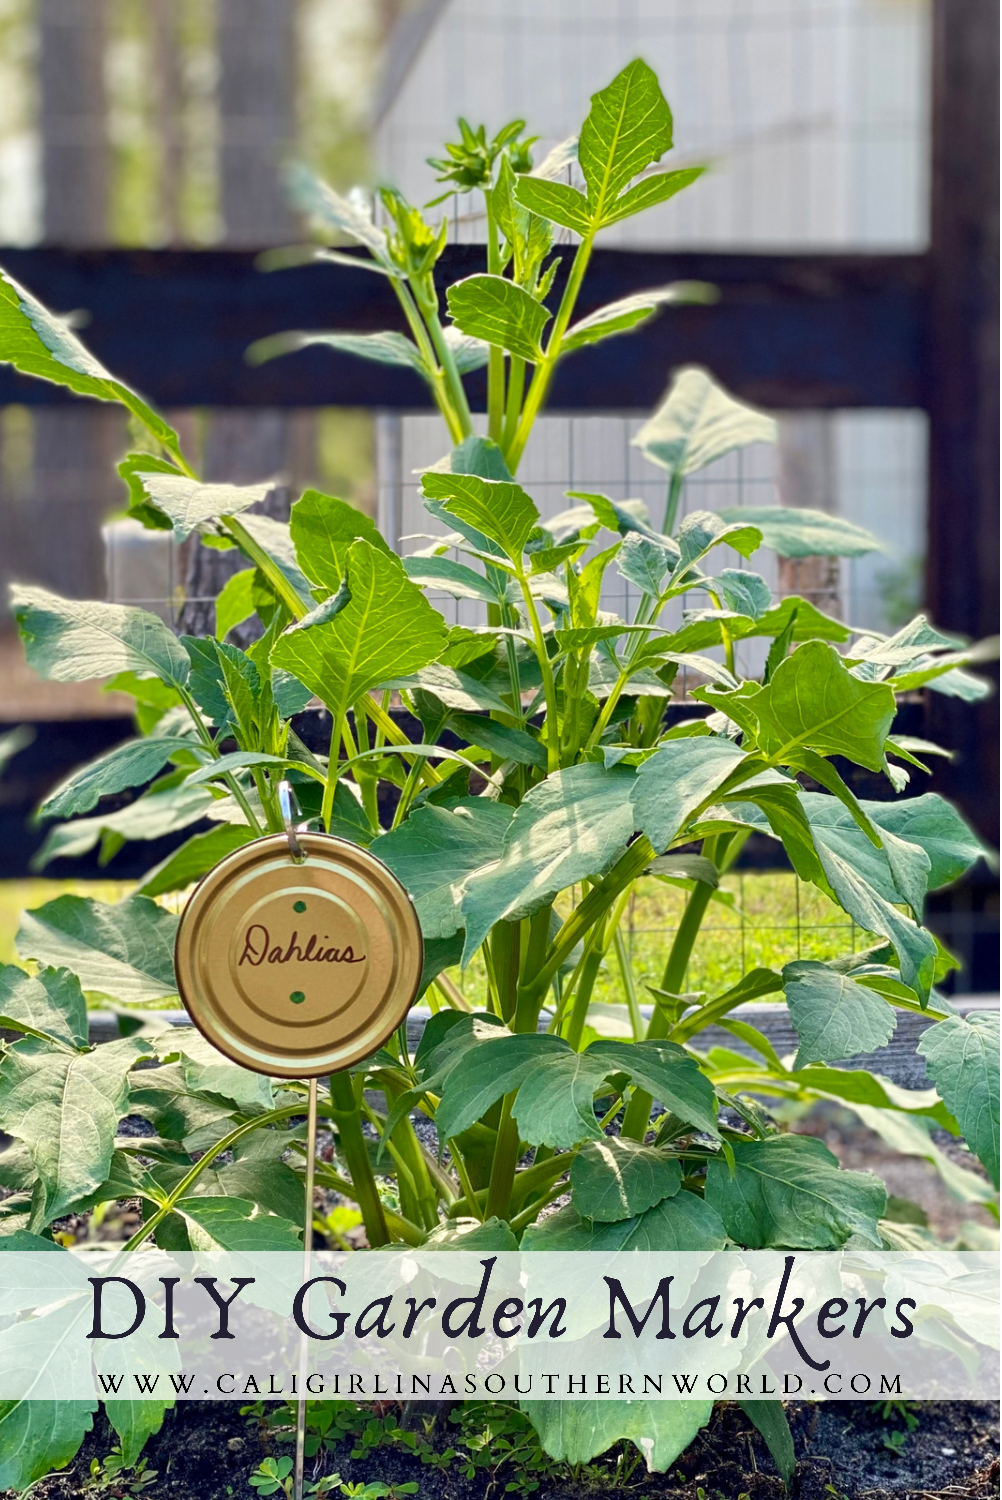
With the gardening season upon us, there is no better time to make these easy, fun, and beautiful upcycled DIY garden markers. What better way to “go green” than in the garden by upcycling tin can tops to mark all your plants, flowers, and trees.
Garden markers are essential for every garden.
Every year when I start to plant the garden, I am faced with the same question. What am I going to use to mark my plants and flowers? In the past, I have tried not using markers. Surely, I will remember what I planted, right?! Wrong. I can’t remember what I had for breakfast, I’m not sure what made me think I’d ever remember what I planted in the garden weeks earlier. Inevitably, without markers, I forget at least a couple varieties of things I planted in the garden that season and then kick myself for not marking them.
In my experience, plastic markers from the home improvement store get brittle and end up breaking due to the fluctuating weather conditions here in the south. I have also tried higher-end, beautiful, copper markers that were given to me as a gift. Although they looked gorgeous in the garden, after a year, they were unusable for the next season.
Hard as I’ve tried, I cannot find a garden marker that will last more than one season. I also know from experience that going without markers is not the best idea. Therefore, this year I was determined to come up with a DIY garden marker that I can use season after season… Guess what? I think I found it!
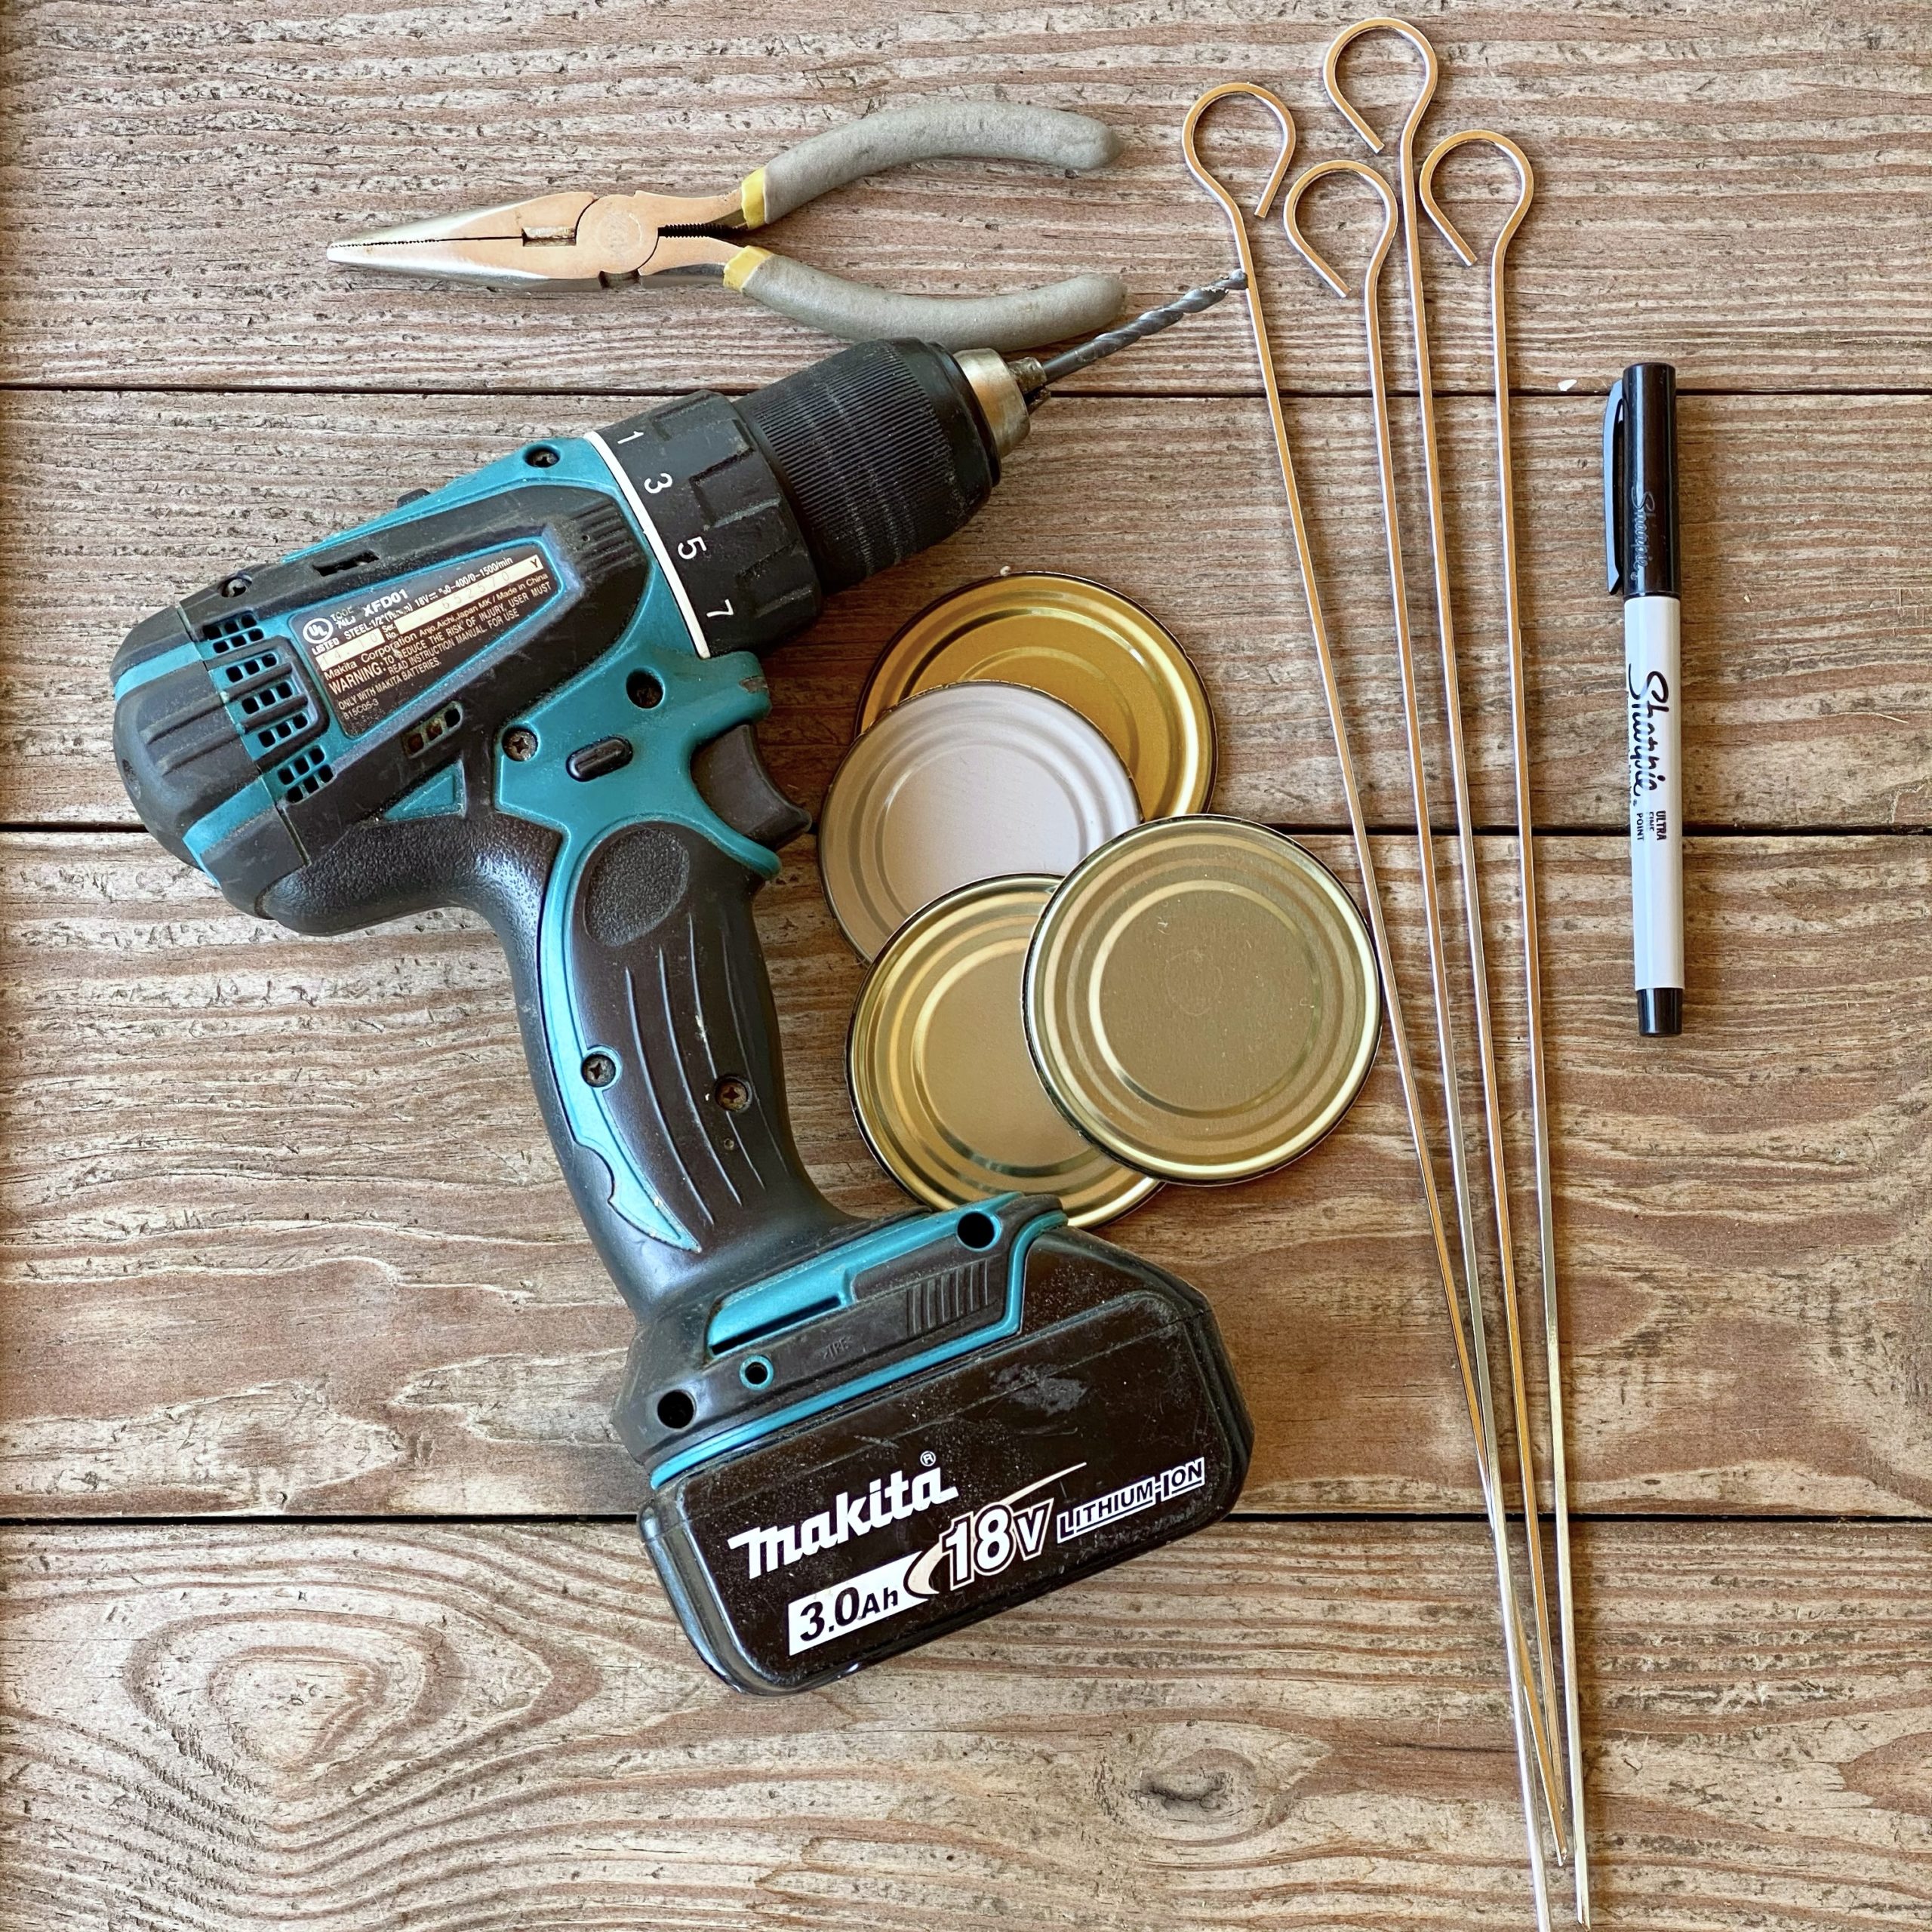
Everything you need to make your own DIY garden markers:
- Tin can tops (as many needed to mark garden plants and flowers)
- Metal BBQ skewers (old metal clothes hangers work too)
- Pliers
- Drill (or hammer and nail)
- Waterproof pen
My favorite kind of DIY involves recycling, repurposing, or upcycling. Why not use what we already have or something we would likely be throwing away for a new purpose? The beauty of these DIY garden markers is that they are very inexpensive to create because they use things that most people have at home right now.
Instead of throwing away or recycling tin can tops after opening a can, save them for this project. Side note: I strongly recommend a smooth edge can opener that cuts the top off a can with a smooth edge for this project. Not only is the smooth edge on the top more aesthetically pleasing, but it is safer because the edges aren’t sharp. The metal is also less likely to rust with a smoother edge rather than a sharp one, therefore, the DIY garden markers will last longer. Win-win.
I found some very inexpensive metal BBQ skewers at my local grocery store, but old metal clothes hangers will work for this project too. Pliers will be needed to bend the metal and a drill (or nail) will help make a hole in the tin can top so that the marker can hang from the metal skewer or old clothes hanger.

How to make DIY garden markers:
Once the tin can tops have been collected, it’s time to make DIY garden markers.
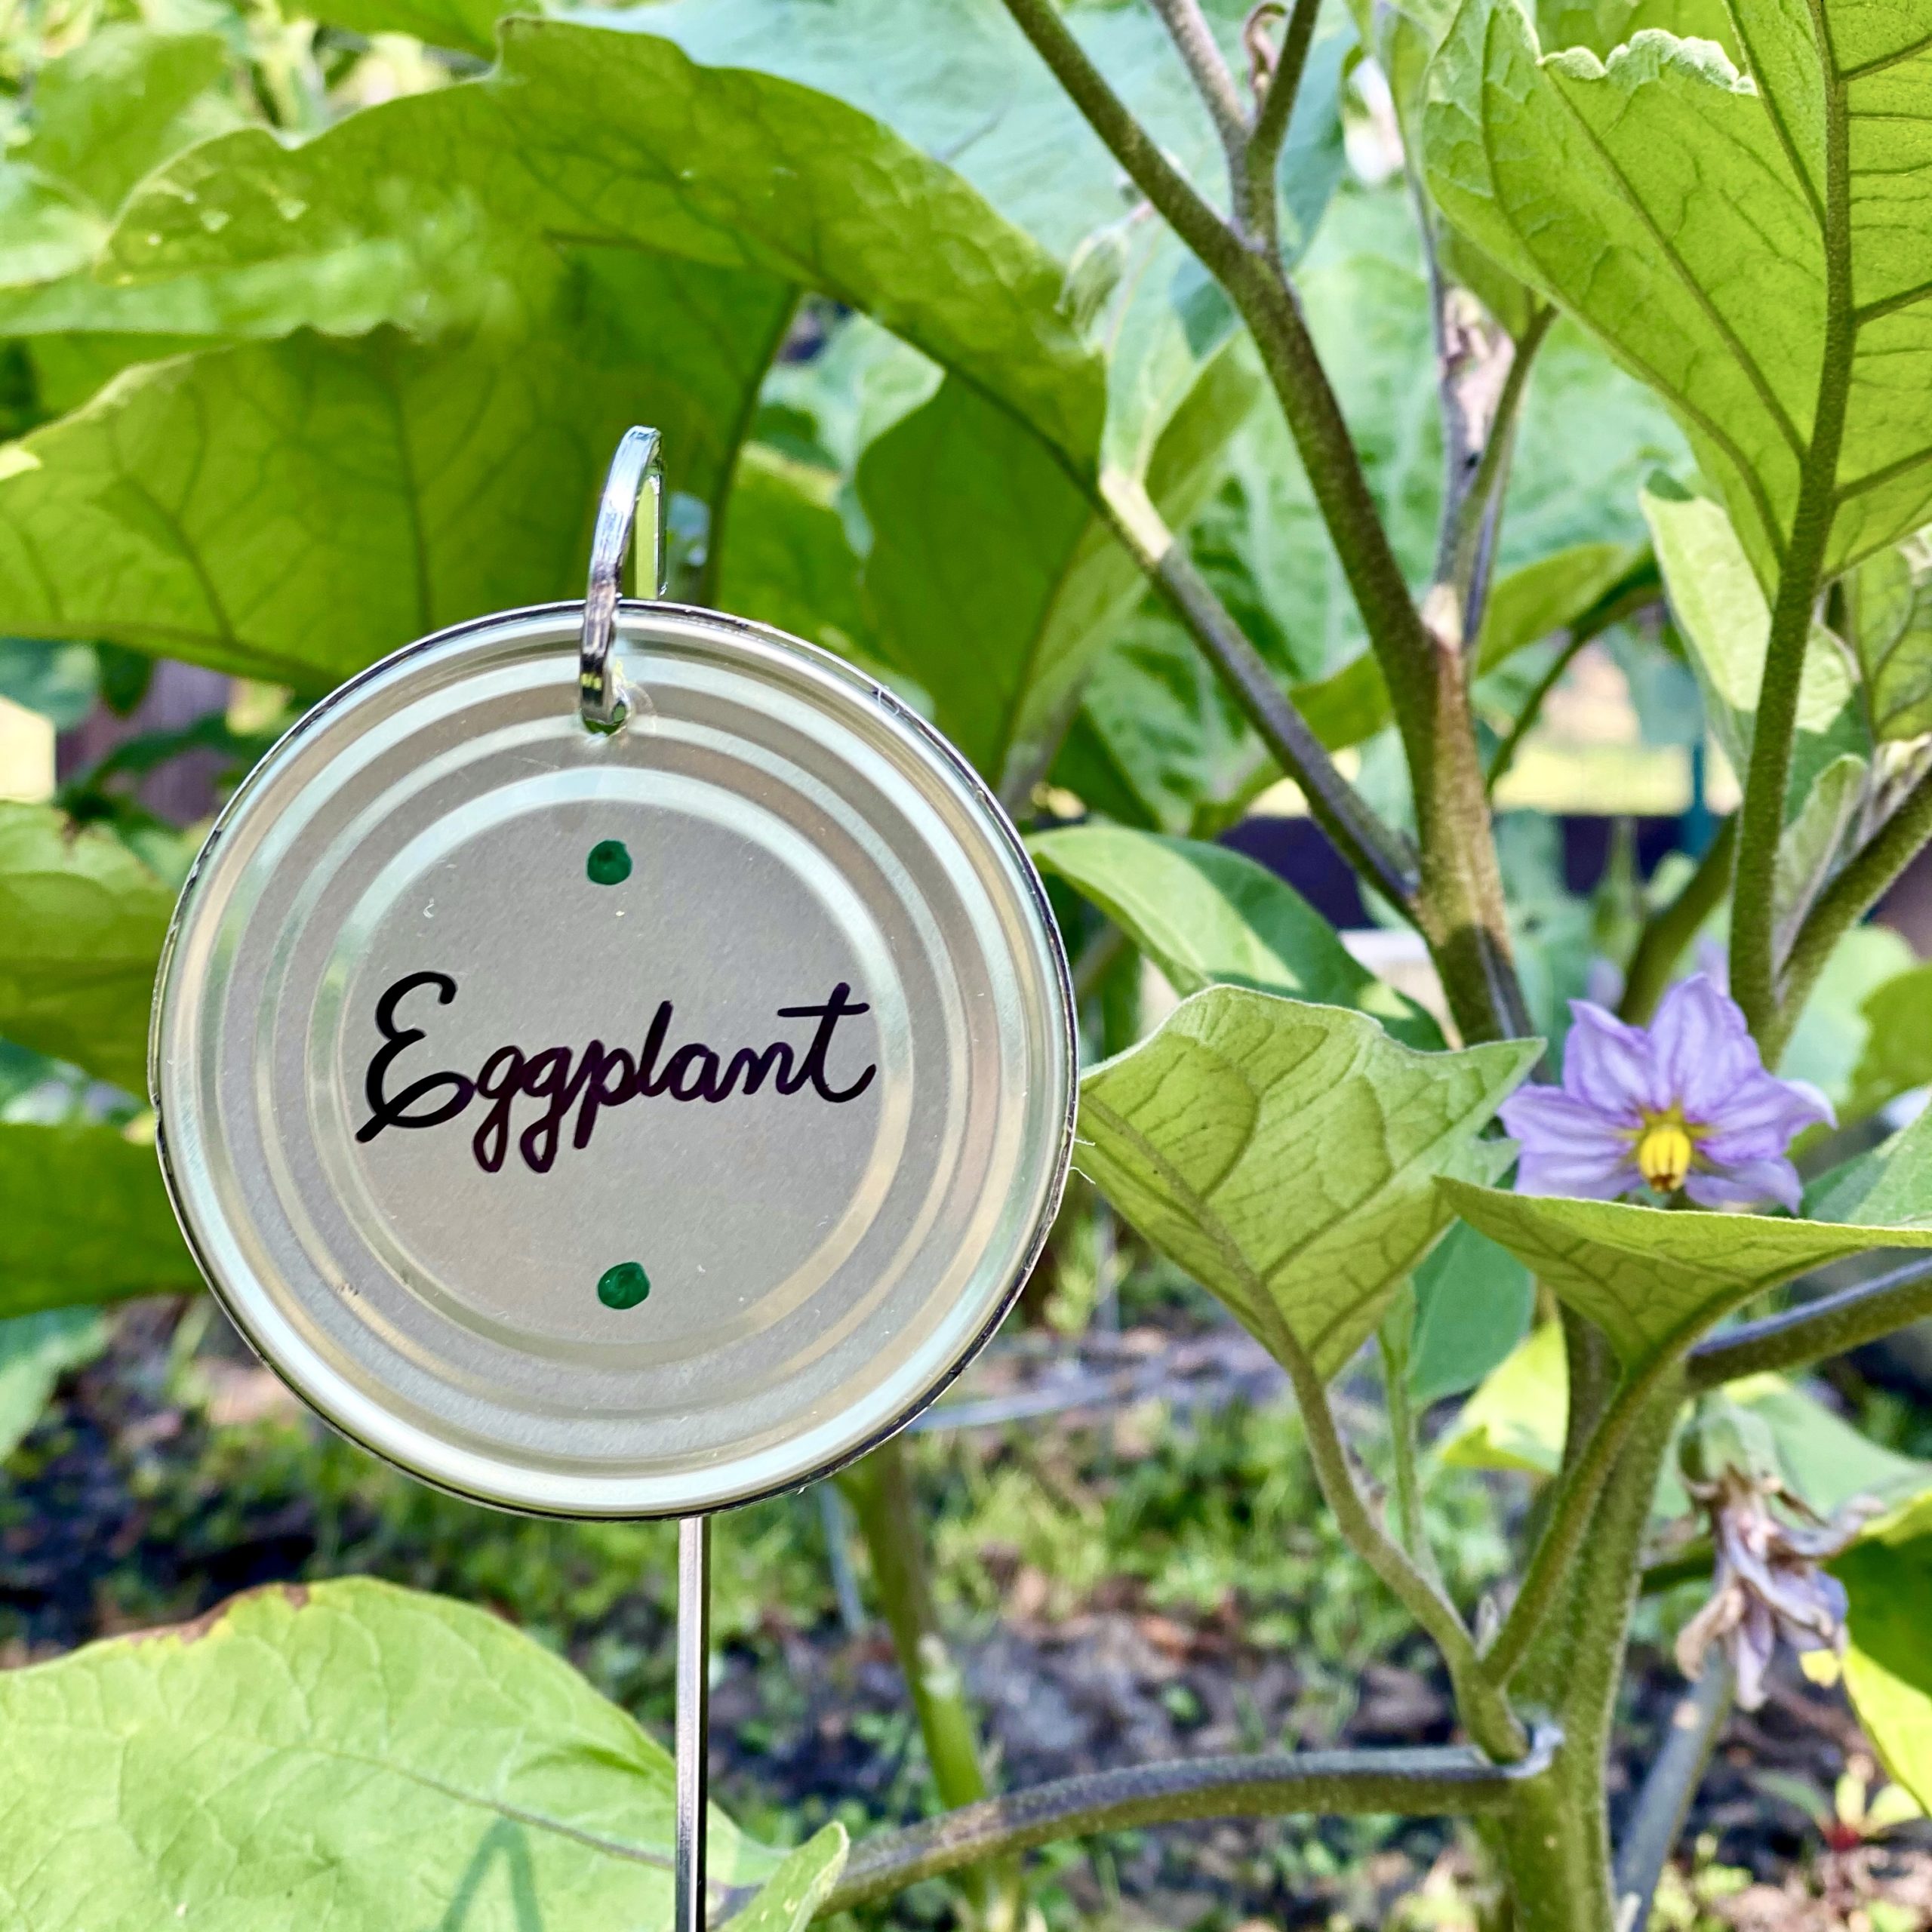
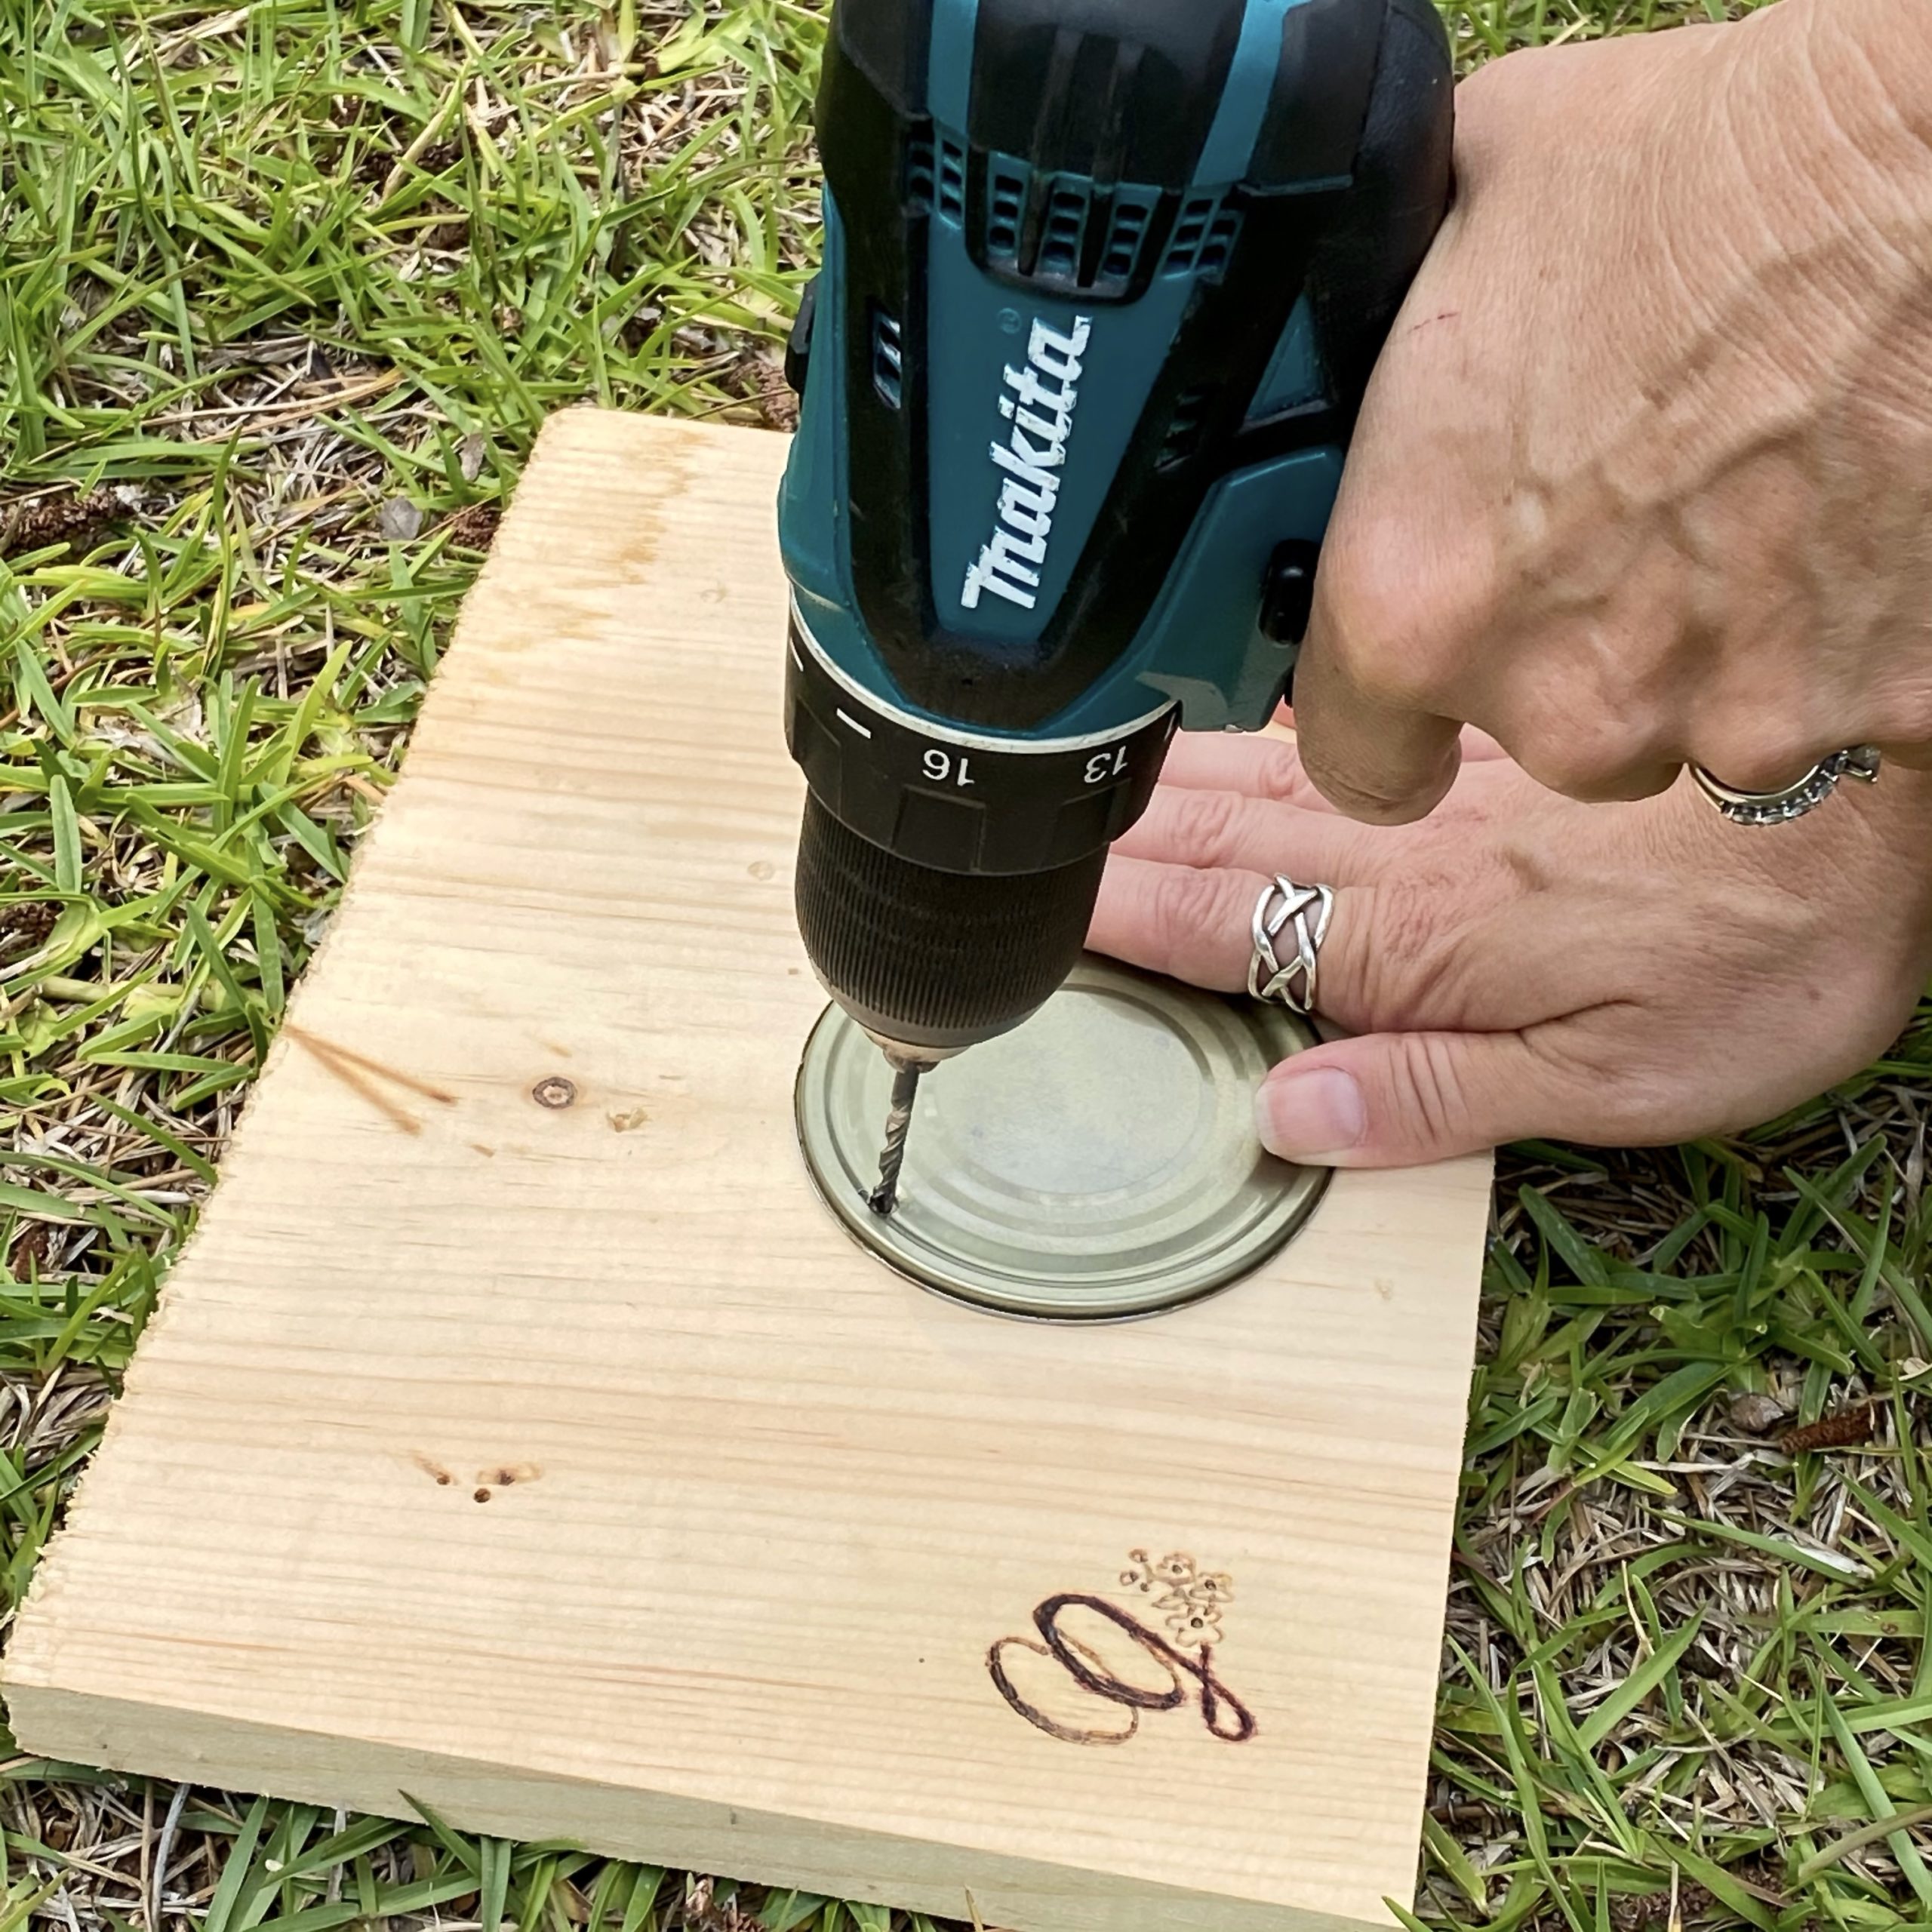
- Using pliers, bend the skewer at a ninety-degree angle so that the opening at the round end is facing up. (See image above.)
- Using a drill bit slightly larger than the circumference of the skewer and drill a hole at the edge of the can top. (Hammering a nail into the top to make a hole also works if you don’t have a drill.)
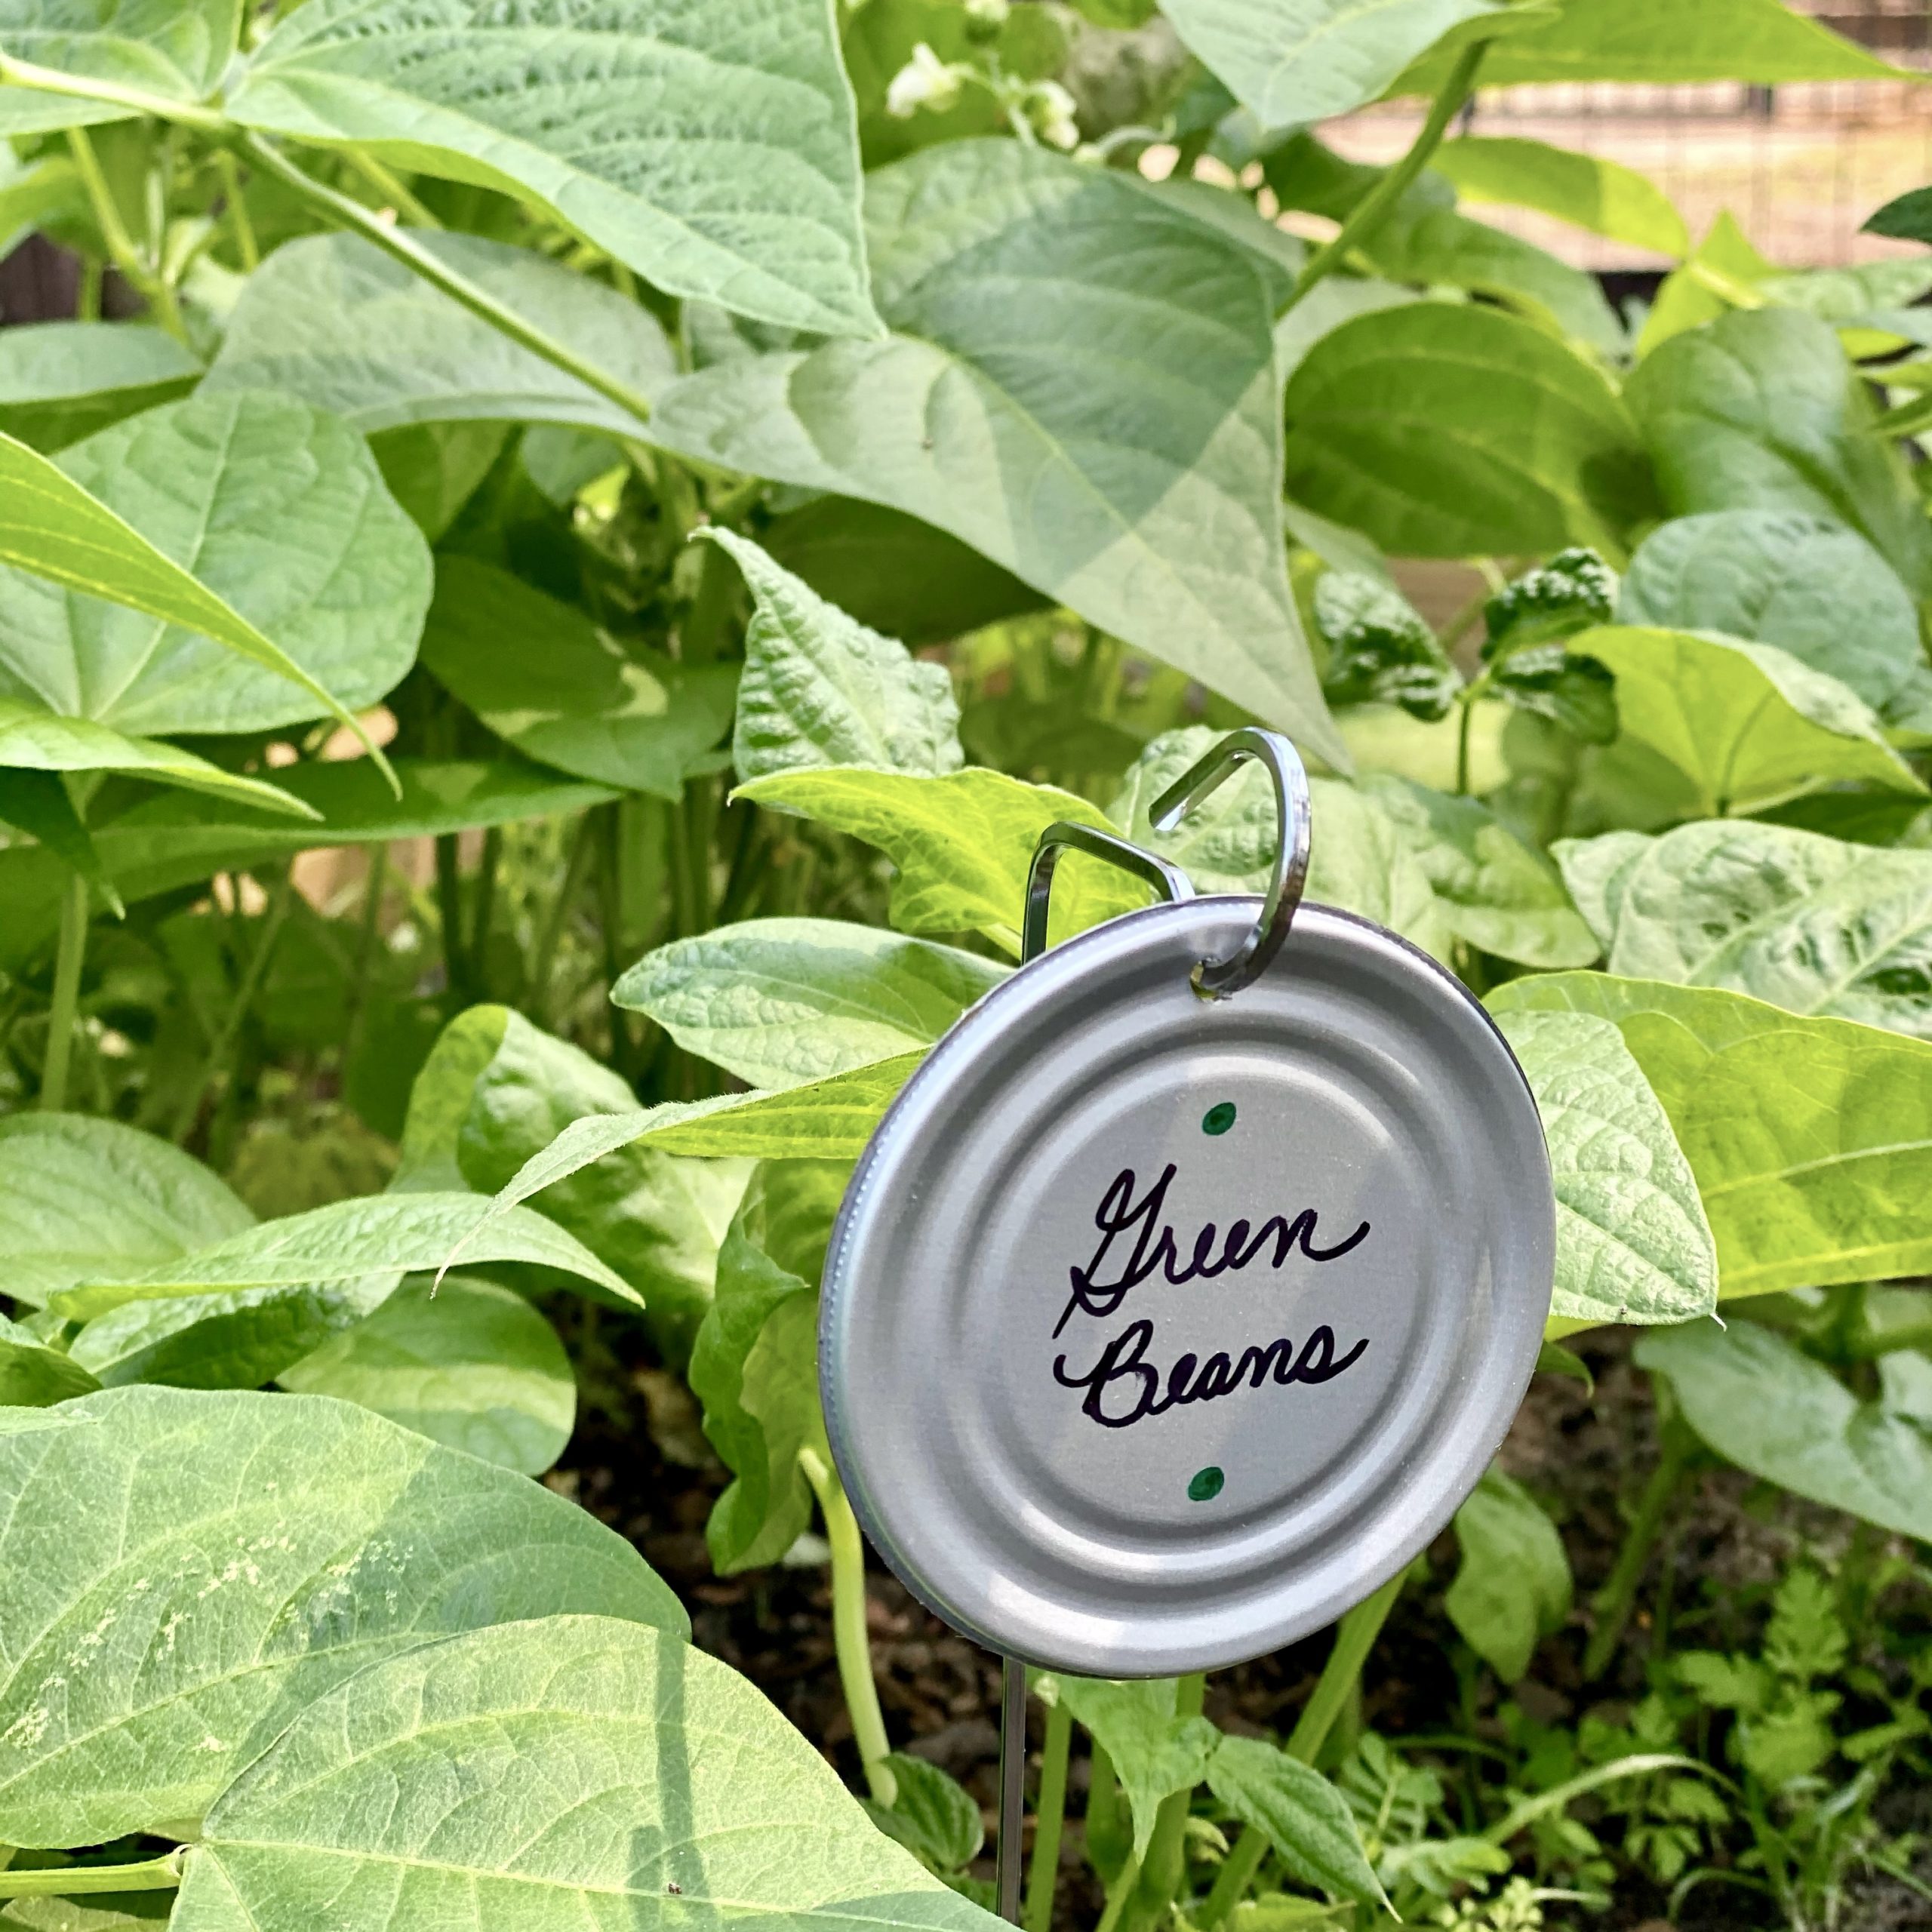
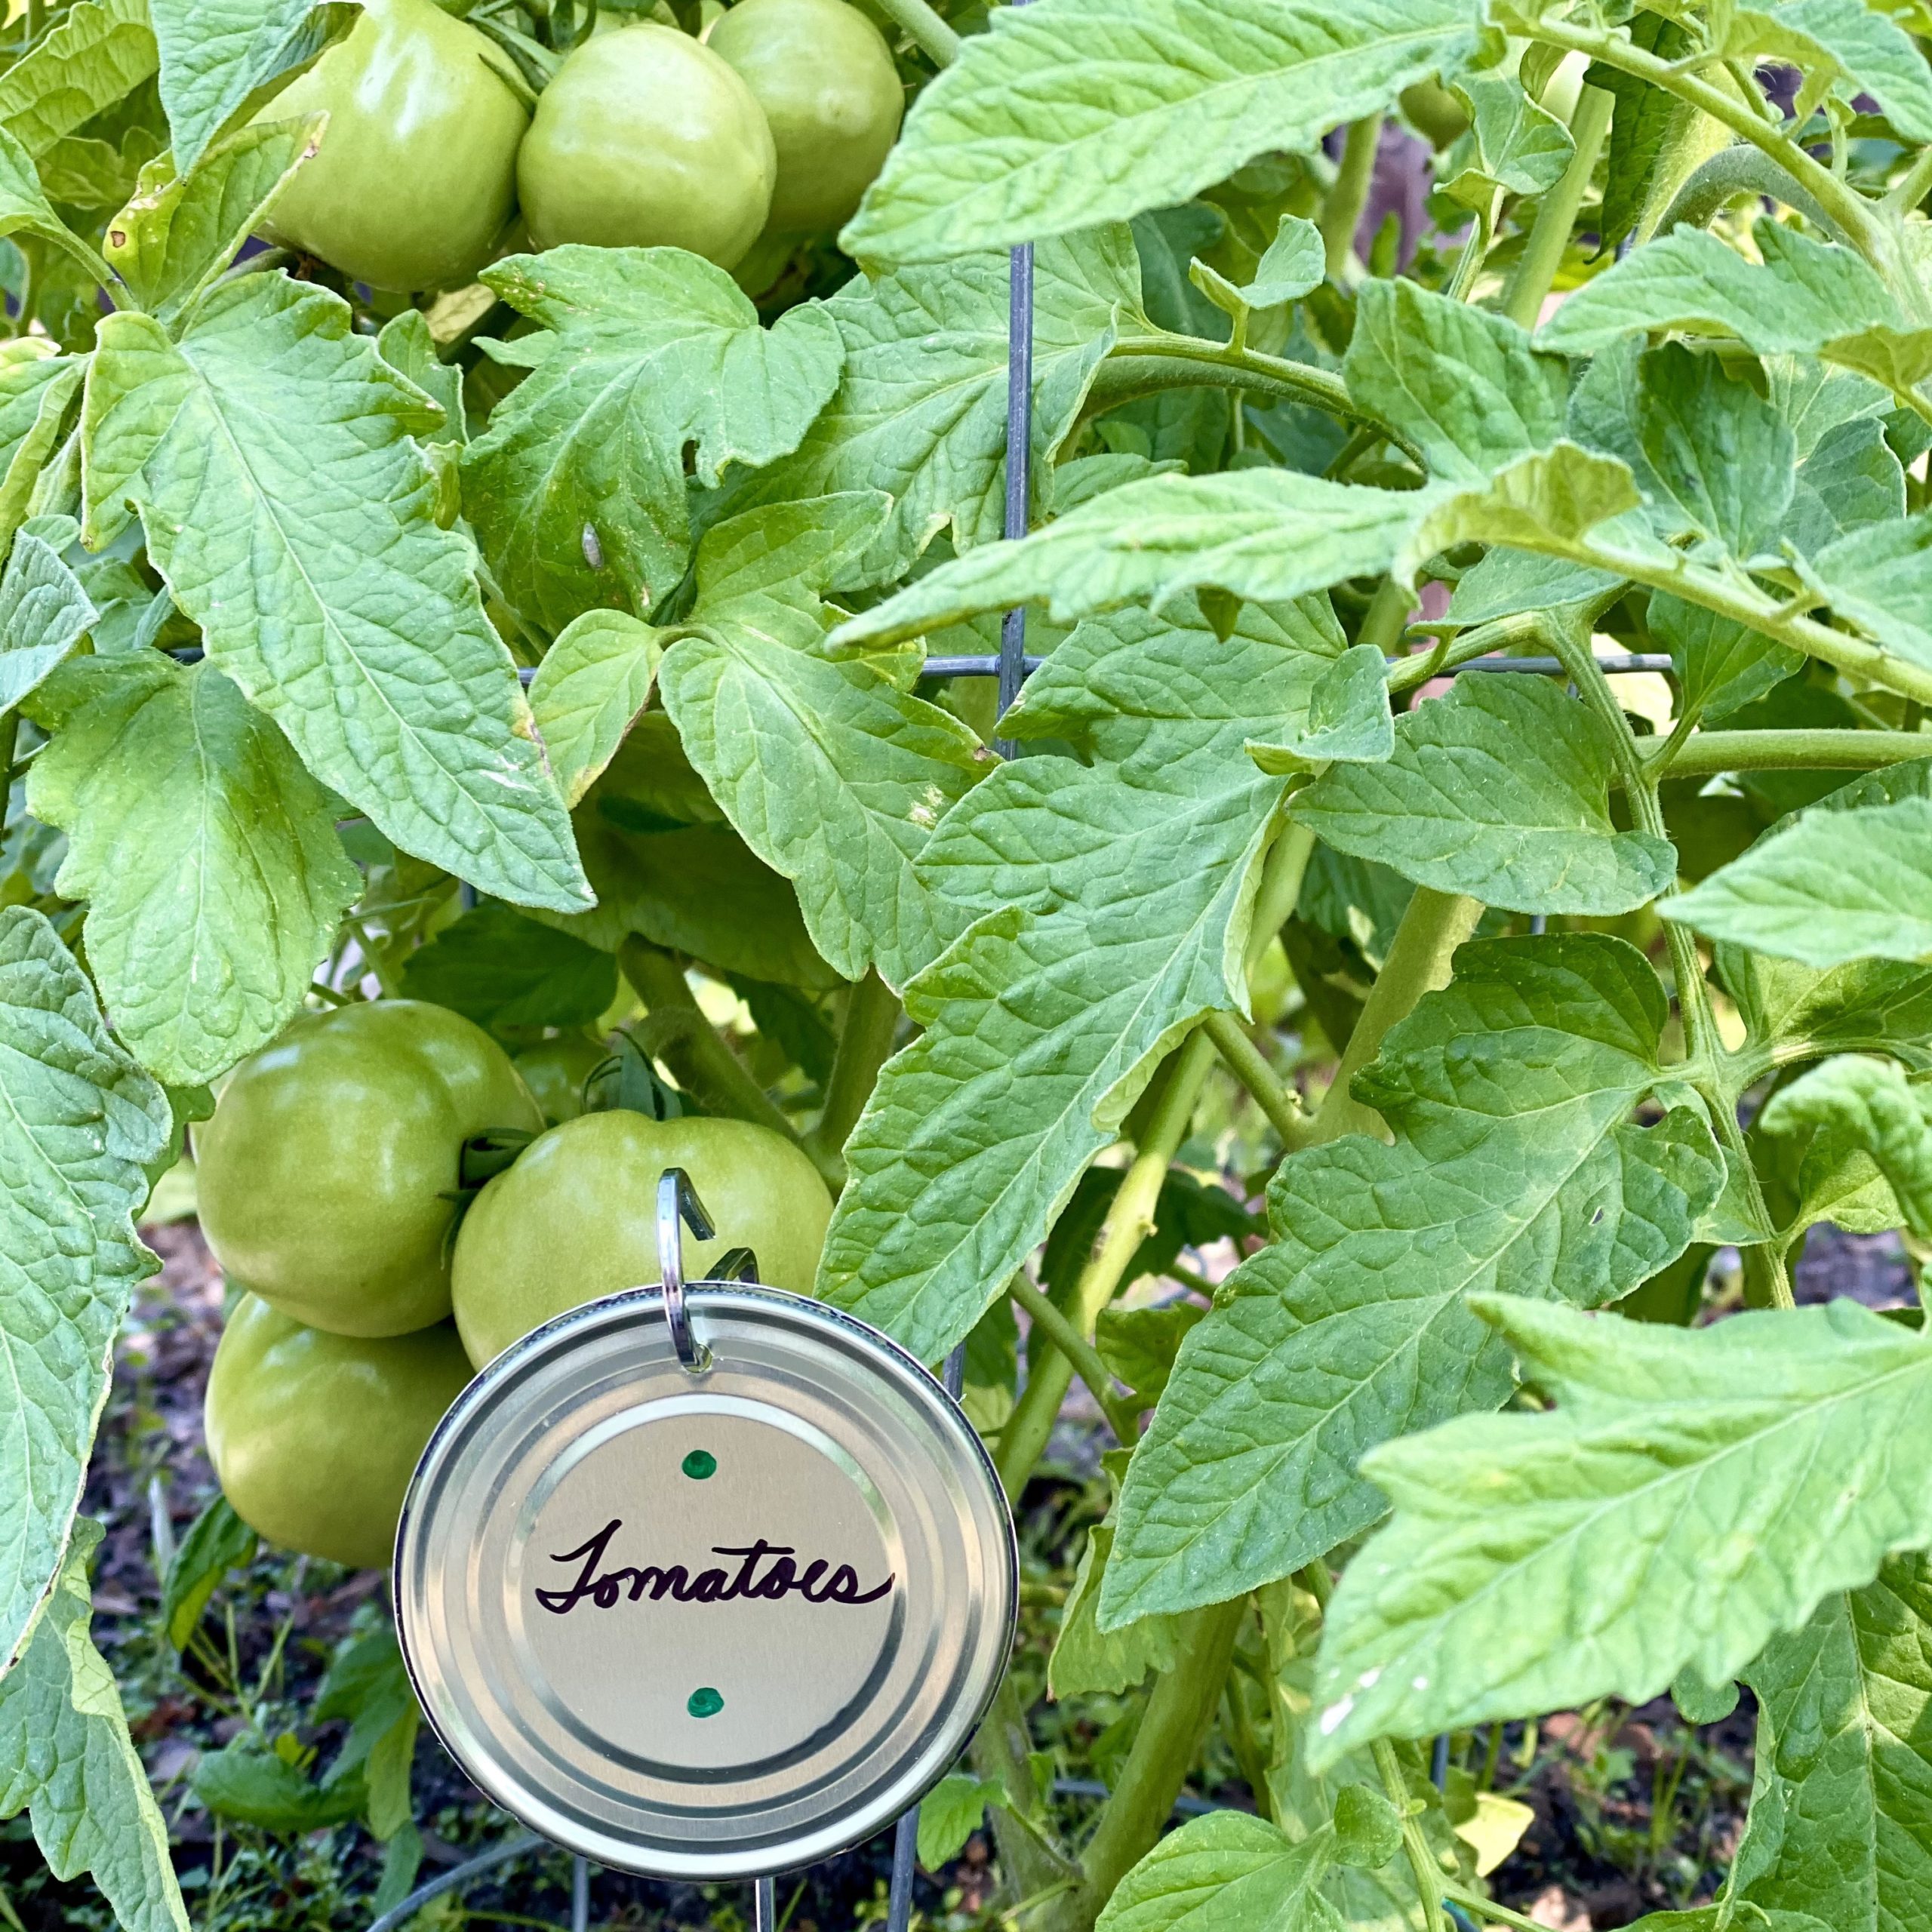
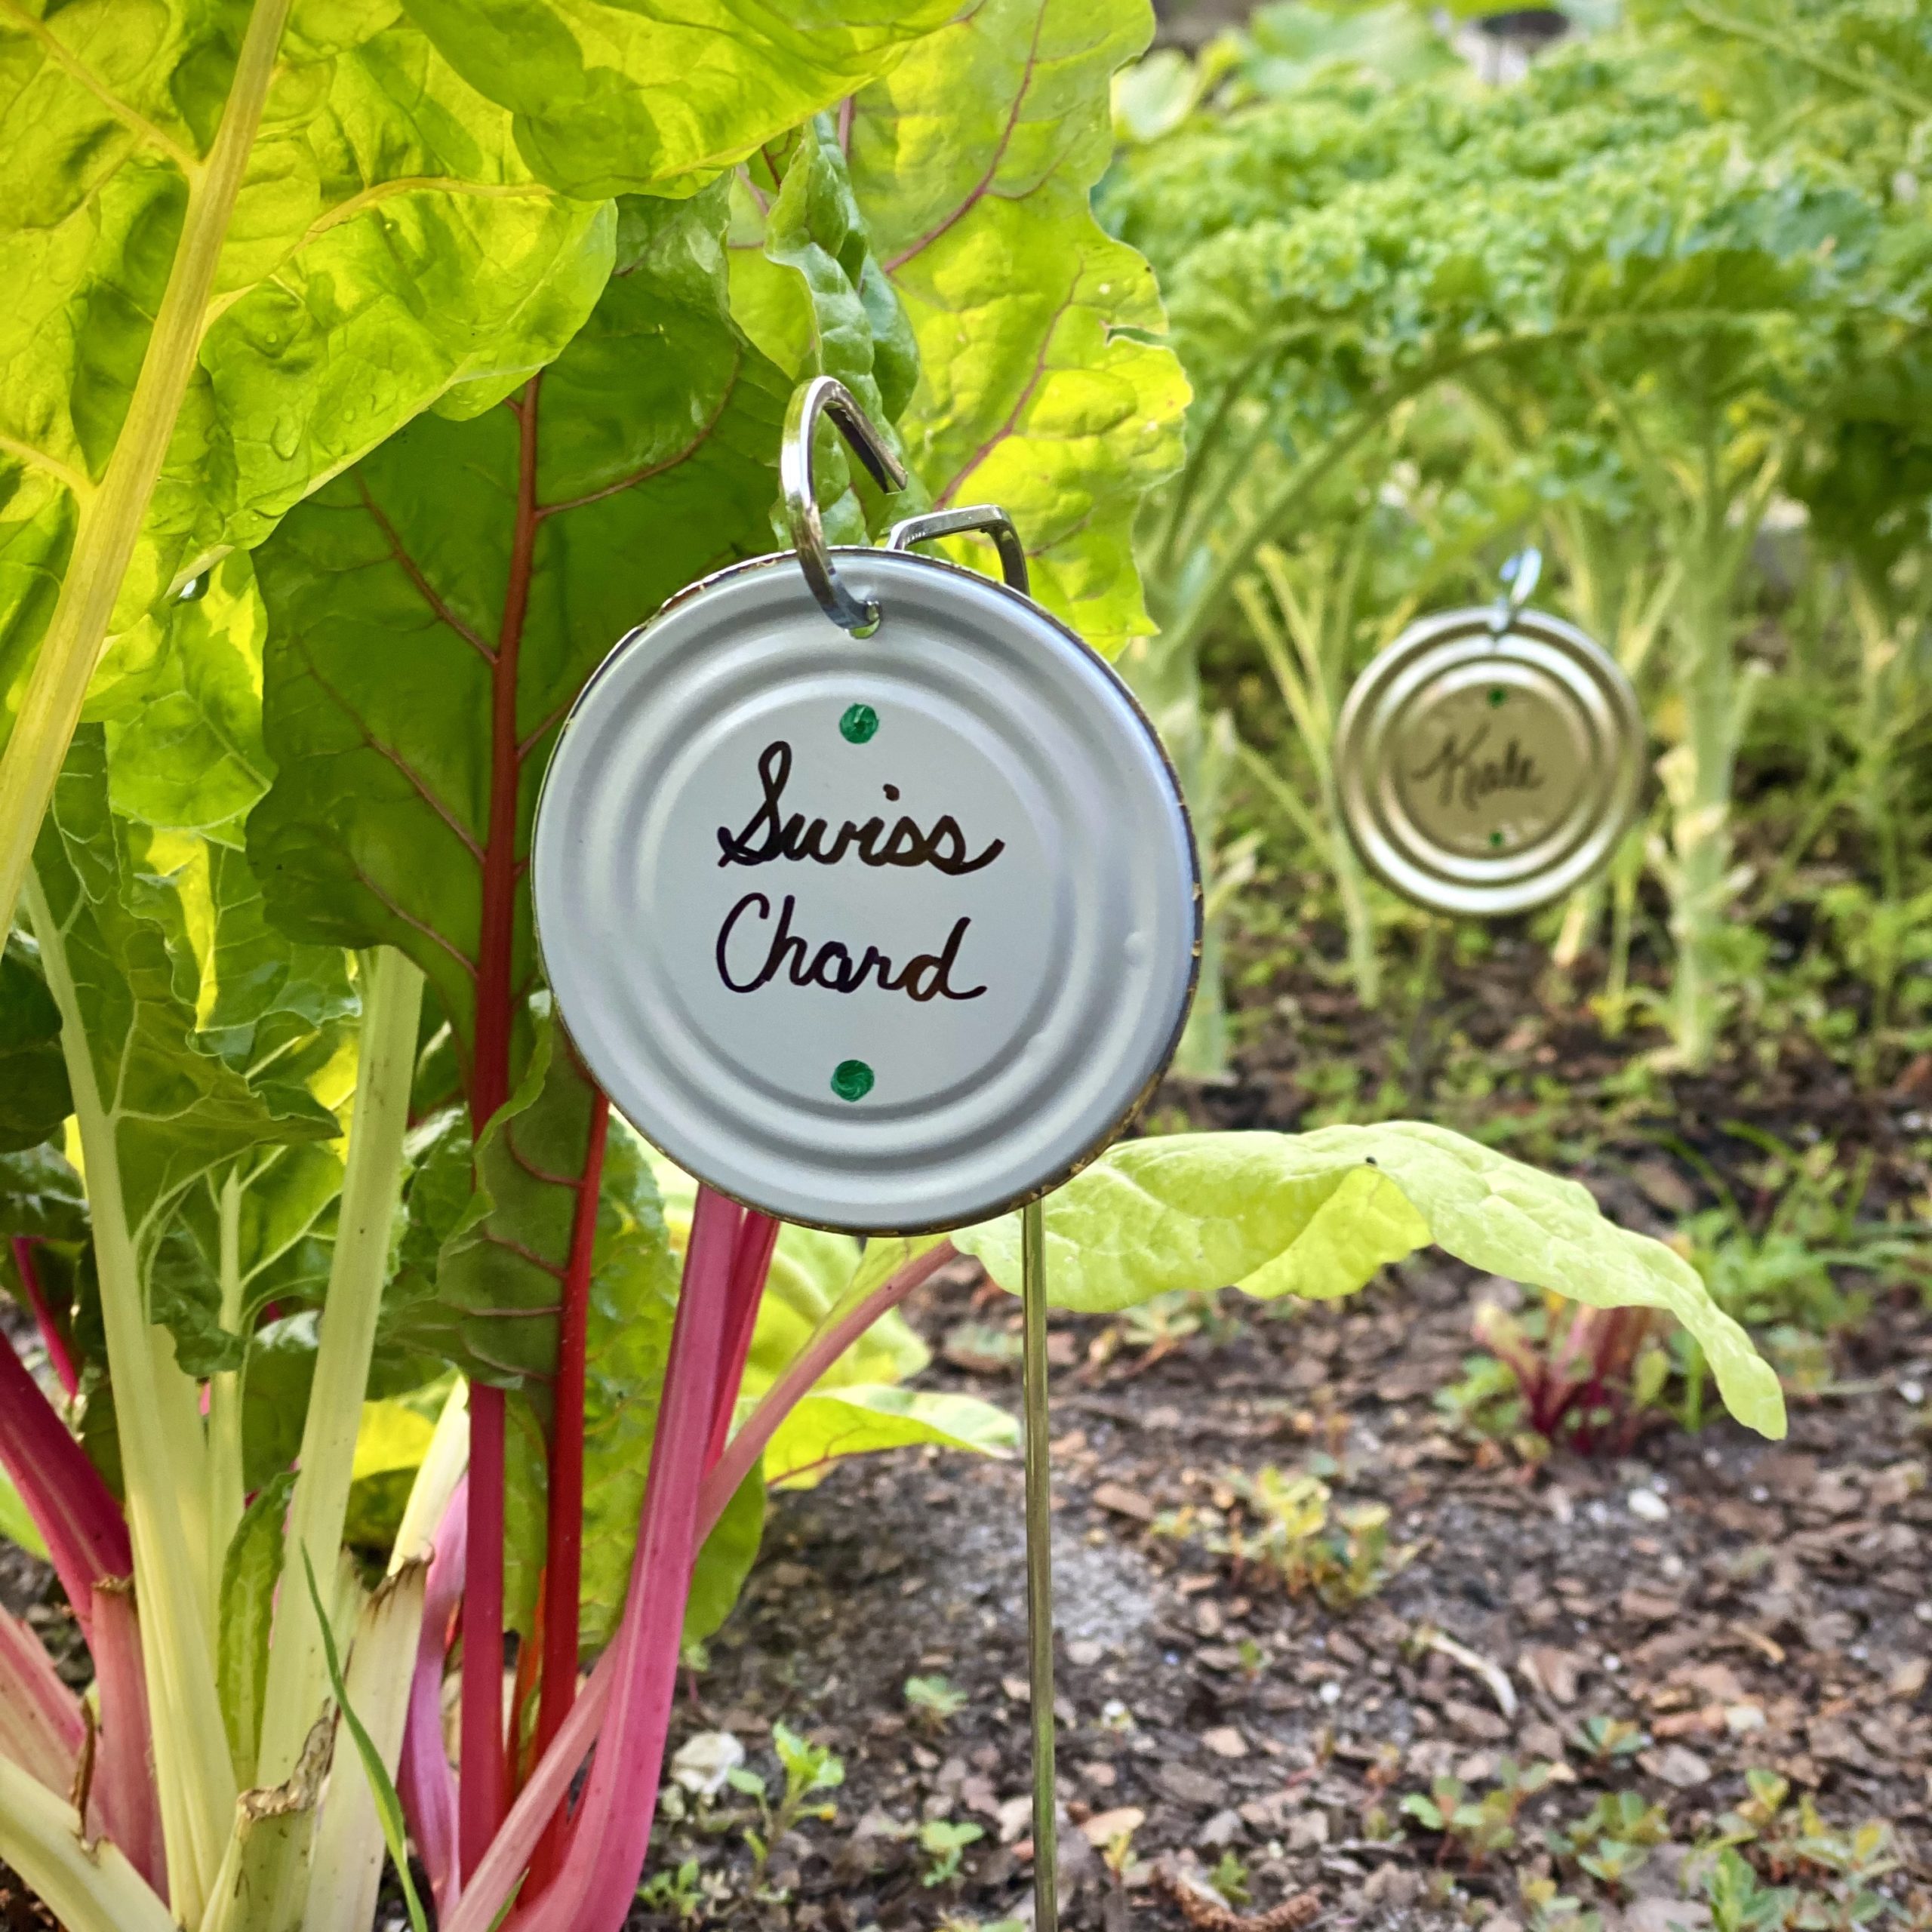
- With a waterproof pen, write the name of the plant that it will mark.
That’s it! Can you believe it!? In three easy steps, you can make these great DIY garden markers for your garden. All that is left to do is to hang the tin can top from the metal skewer or hanger and mark the garden plants accordingly. I love an easy, useful, upcycled, and fun DIY project. This one fits the bill perfectly!

Happy gardening.
Healthy plants, bountiful crops, and cute garden markers make for a very happy gardening season. Have fun making DIY garden markers of your own. Make them as simple or as ornate as you like. DIYs are all about having fun and enjoying the creative process. If you make your own garden markers, be sure to share them with me. I’d love to see your creations!
I look forward to sharing more of my garden throughout this season with you on Pinterest and Instagram. I hope you’ll join me there!
If you are looking for more fun and easy DIYs (the only kind of projects I do), you may like these ideas:
- DIY Color Block Vase
- 4 Ways of Using Wood Cutting Boards in Decor + An Easy Cutting Board DIY
- DIY Wood Riser
- DIY Wood Farmhouse Tray
Pin this idea for later so you can find it easily once you’re ready to make your own DIY Garden Markers.


Great idea Meeghan I love it
Thank you so much Diane!
How do you get the sharp edges off the can lids
Thank You
Hi Debbie! I used a smooth-edge can opener to take the tops off the cans.
I don’t have a smooth edge can opener, but couldn’t I use a canning jar lid just as well? Also, why is there more than one hole in the lids?
Yes, a canning jar lid will also work. There is only one hole in the lid to hang it from the metal skewer. The other two holes I made with a permanent marker for decoration.
[…] DIY Garden Markers […]