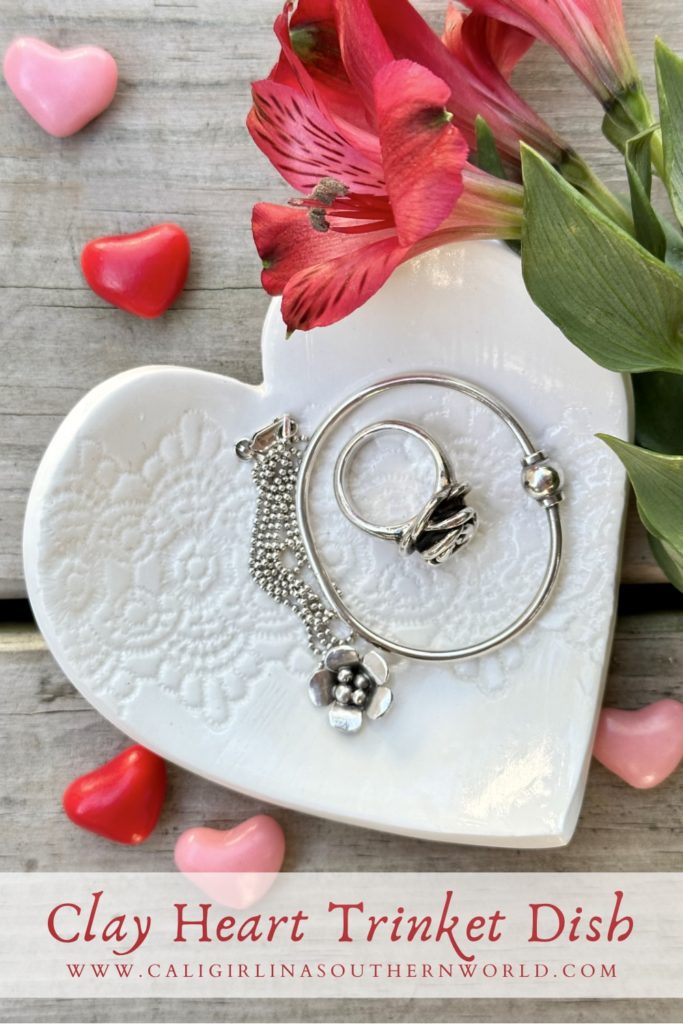
I love how this DIY clay heart trinket dish turned out! Making one (or more) is so easy to do with just a few supplies and about 30 minutes. It looks beautiful displayed on a nightstand, a vanity, on the bathroom counter, on an entry table, or anywhere.
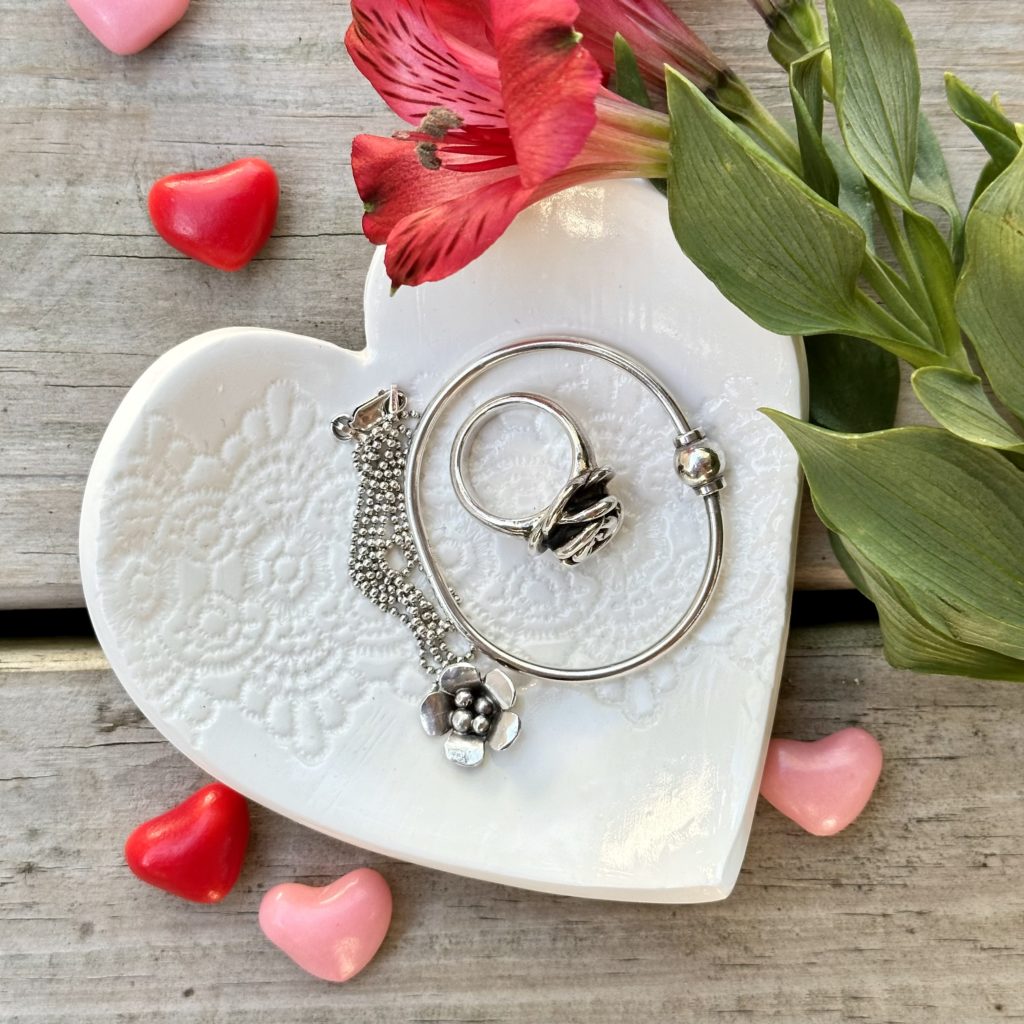
This craft is quick, easy, and inexpensive. This adorable dish can be completely personalized to fit any style. I can’t wait to show you how you can make one of your own. If you make one for yourself, you might as well make a couple more. They make the perfect gifts for Valentine’s Day, Mother’s Day, or a birthday.
This post contains some affiliate links for your convenience. Click here to read my full disclosure policy. As always, thank you for supporting my blog.
Supplies Needed to Make a Clay Heart Trinket Dish
With just a few supplies, you can make this special dish for yourself or someone you love. Here is everything you need:
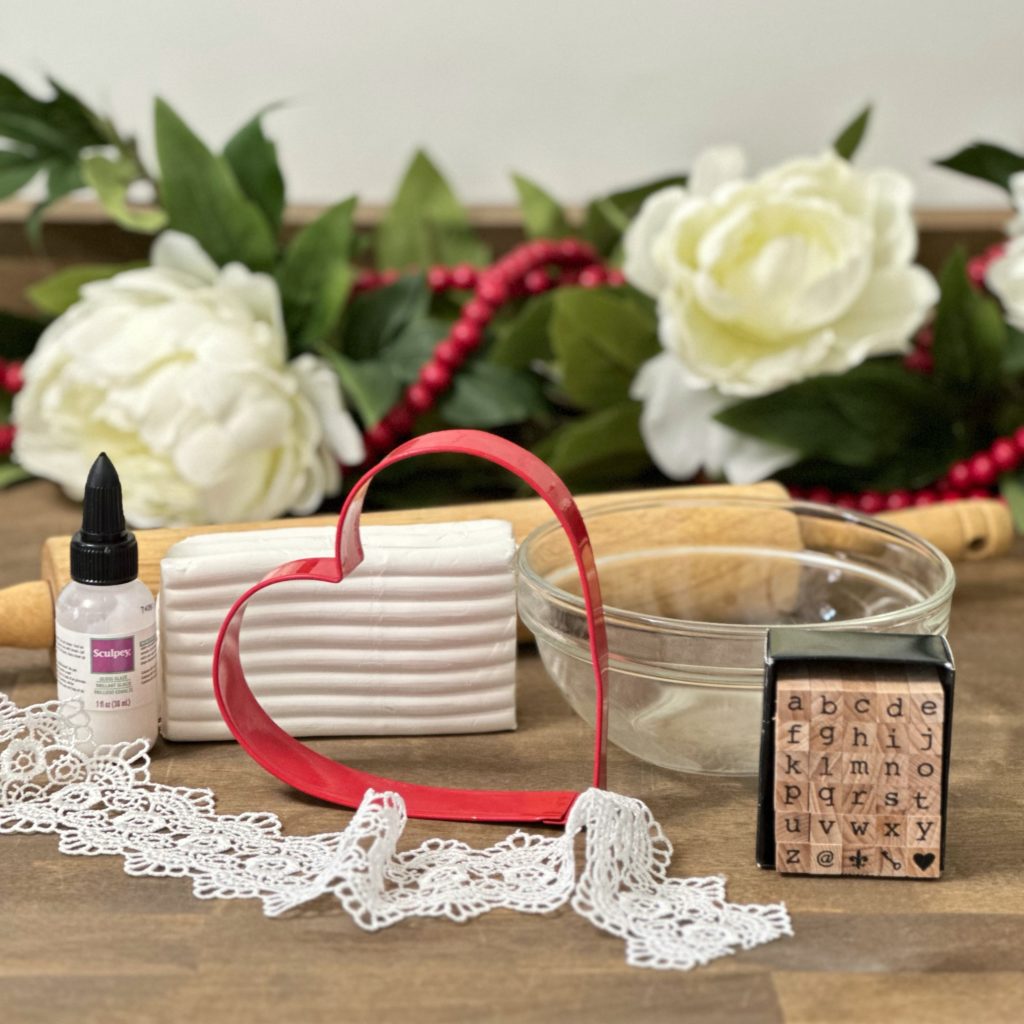
- Oven-drying clay (I used white.)
- Rolling pin
- Lace, embossed rolling pin, rubber stamps, or something to make an impression (or design) in the clay (I used a piece of lace.)
- Heart shape cookie cutter (I used the largest size I have, it was about 5 inches.)
- Glass bowl that is oven-safe (Measuring approximately 5-6 inches in diameter.)
- Small paintbrush
- Acrylic paint (optional)
- Gloss glaze (optional)
Shop This Post:
How to Make a Clay Heart Trinket Dish
Making a clay heart trinket dish is so quick and easy. In about 30 minutes you can make one or more.
Roll and Cut:
First, preheat the oven to 275 degrees, according to the directions on the clay package. Grab enough clay that you can knead it into about a 4-inch ball. If you are using a 1-pound package of clay, you will grab about half of it. Begin to knead the clay a bit to make it more mailable and pliable. Once it’s softened up, roll the clay out onto a clean, dry, hard, and flat surface with a rolling pin. Continue to roll out the clay until it’s about a quarter of an inch thick.
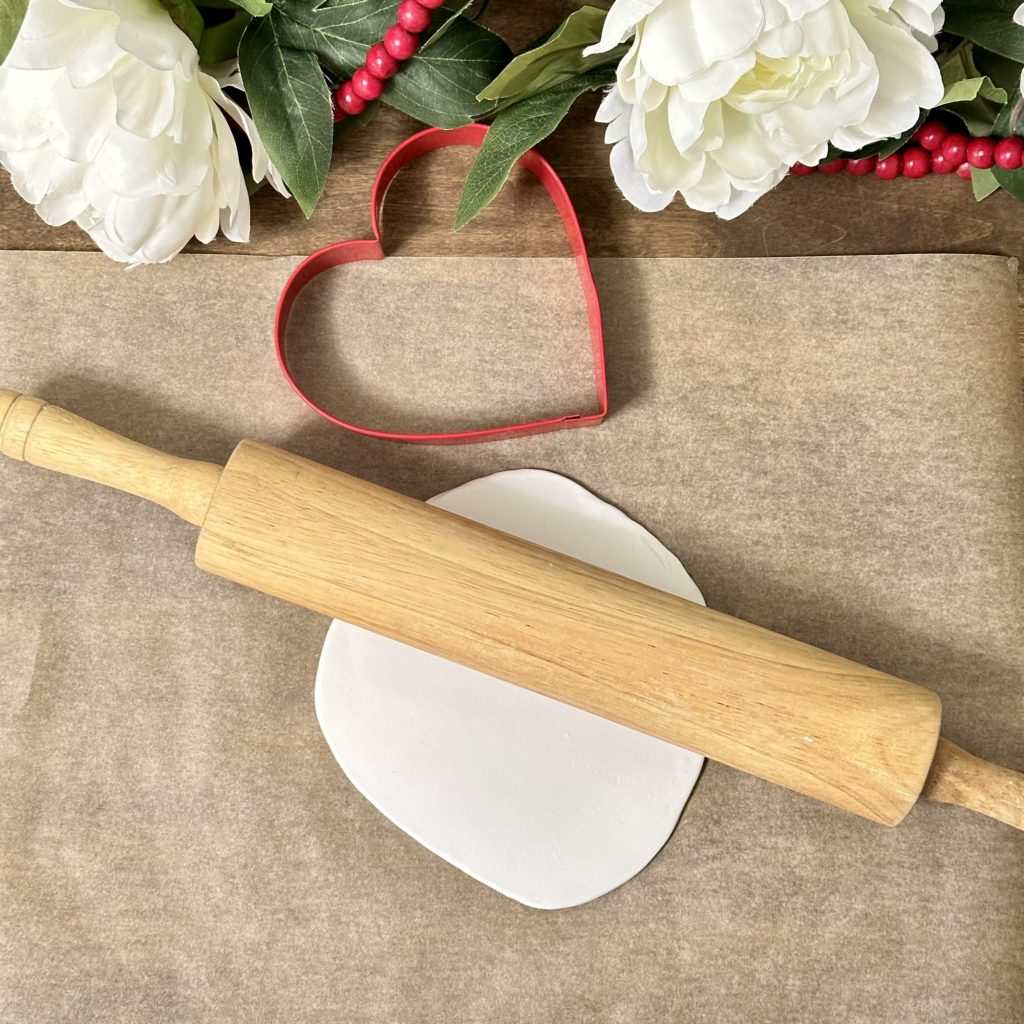
Next, gently roll the lace, embossed rolling pin, or whatever you are using to make your decorative impression in the clay over it.
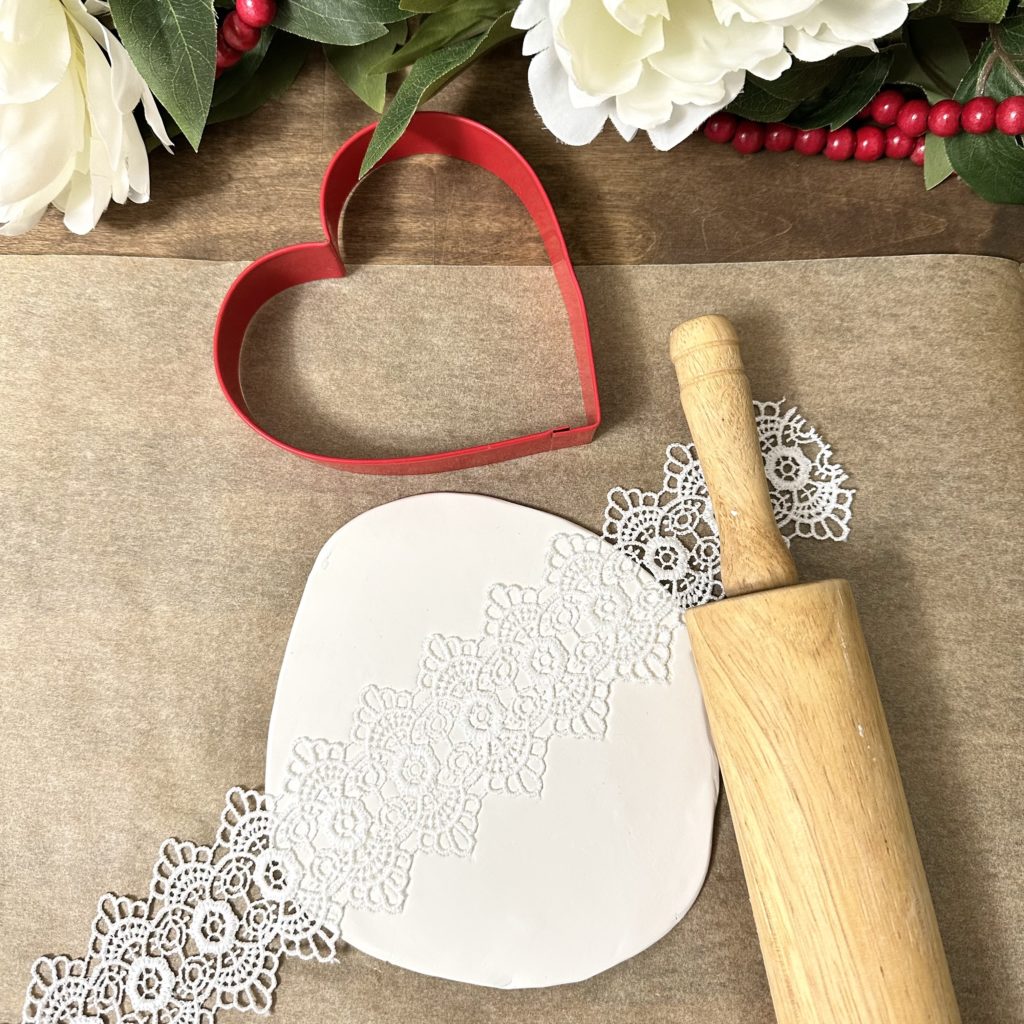
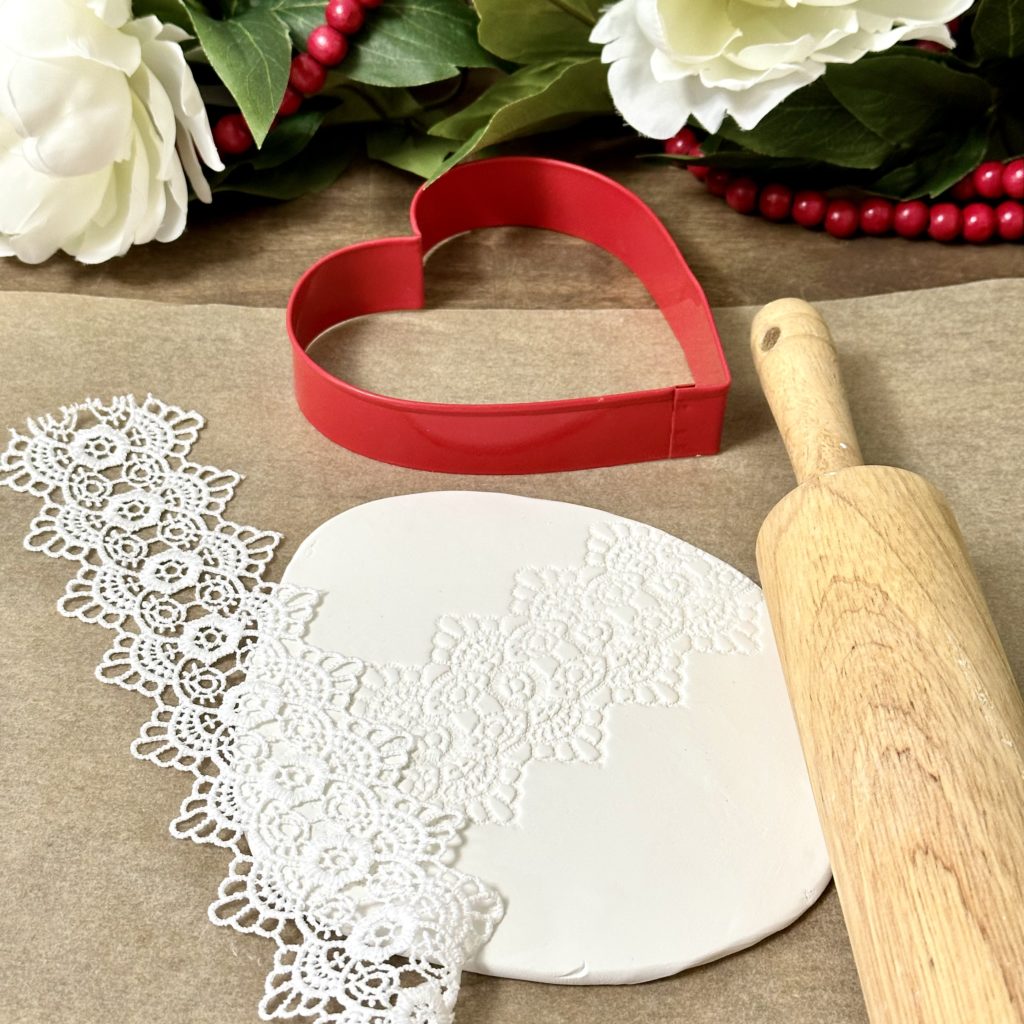
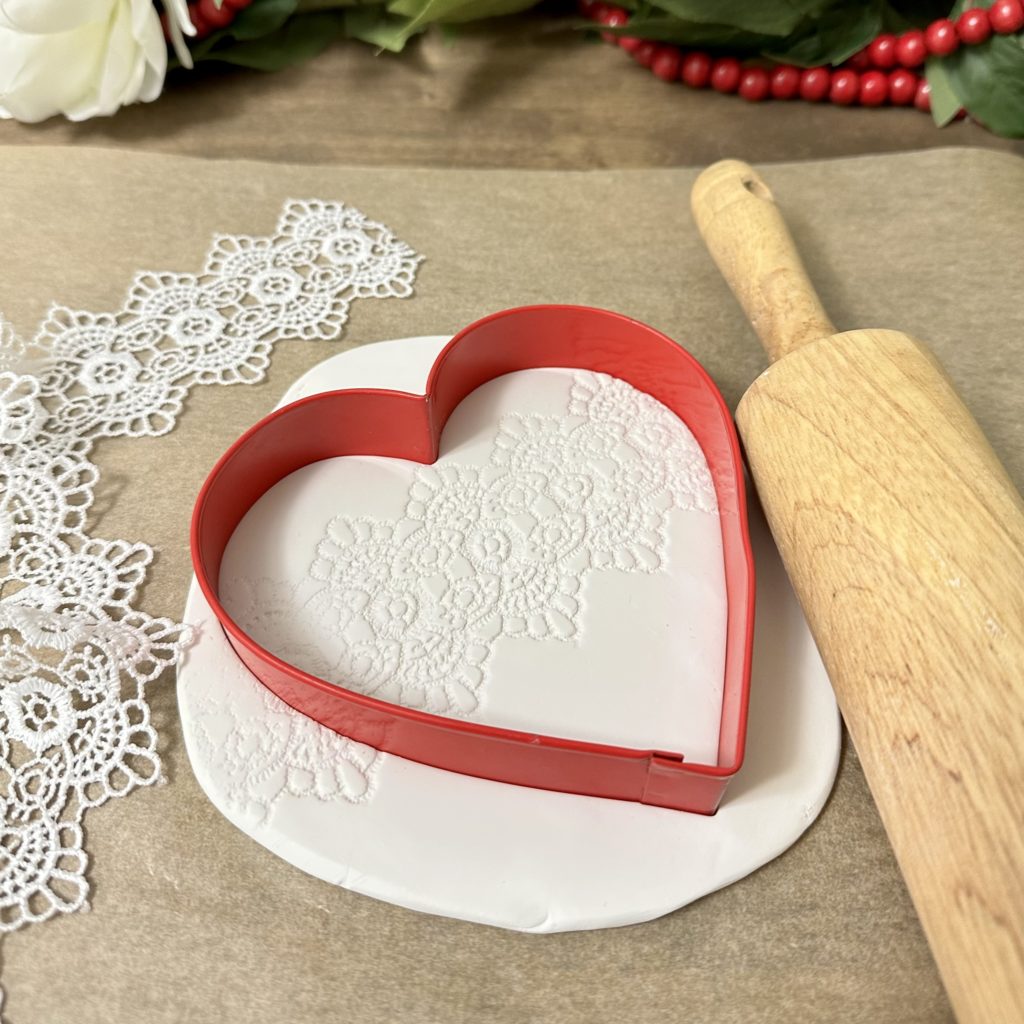
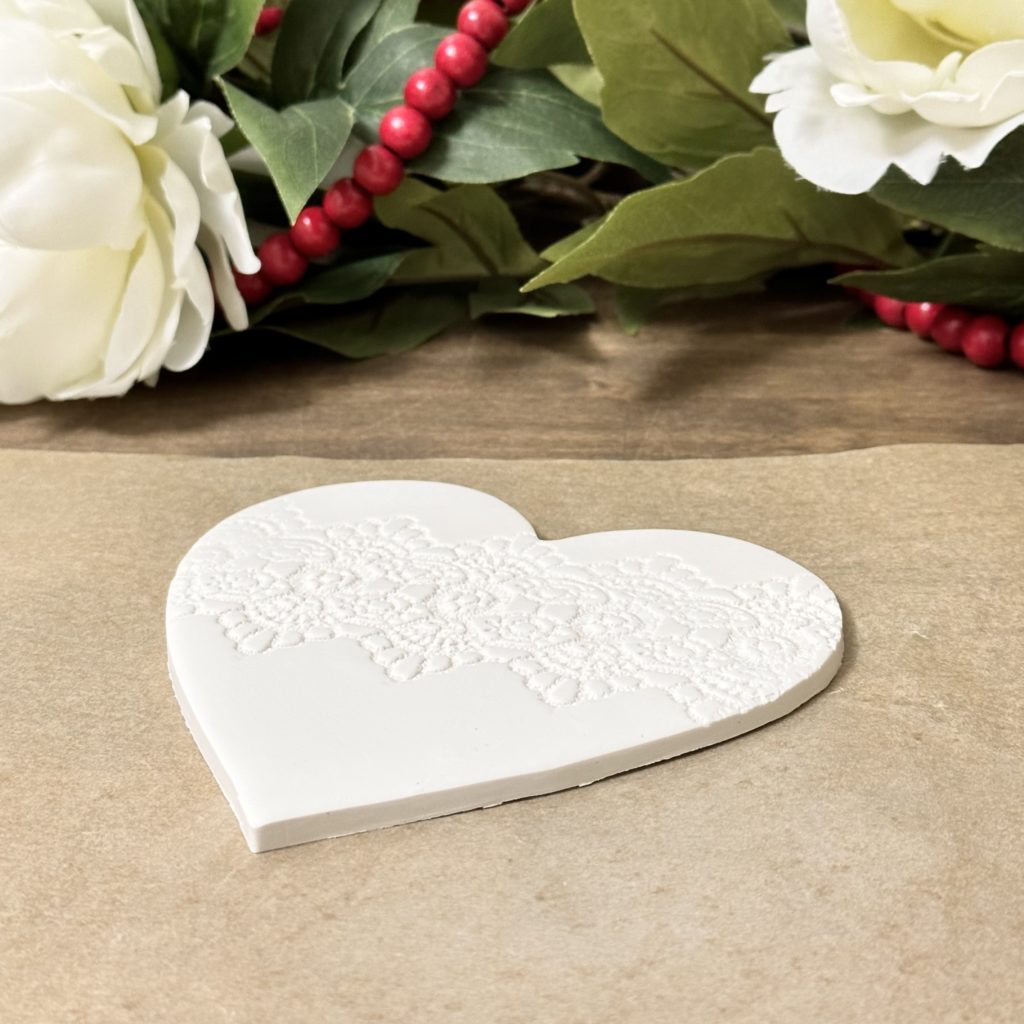
Then press the heart shape cookie cutter into the clay. Remove the outer edges of the clay from around the cookie cutter and then carefully remove it.
Place and Bake:
Gently peel the clay off the work surface and place it into the oven-safe glass bowl. The edges of the heart (particularly the top and the bottom) will stick up a bit. The turned-up edges are what create the concave shape in the heart and create the “dish.”
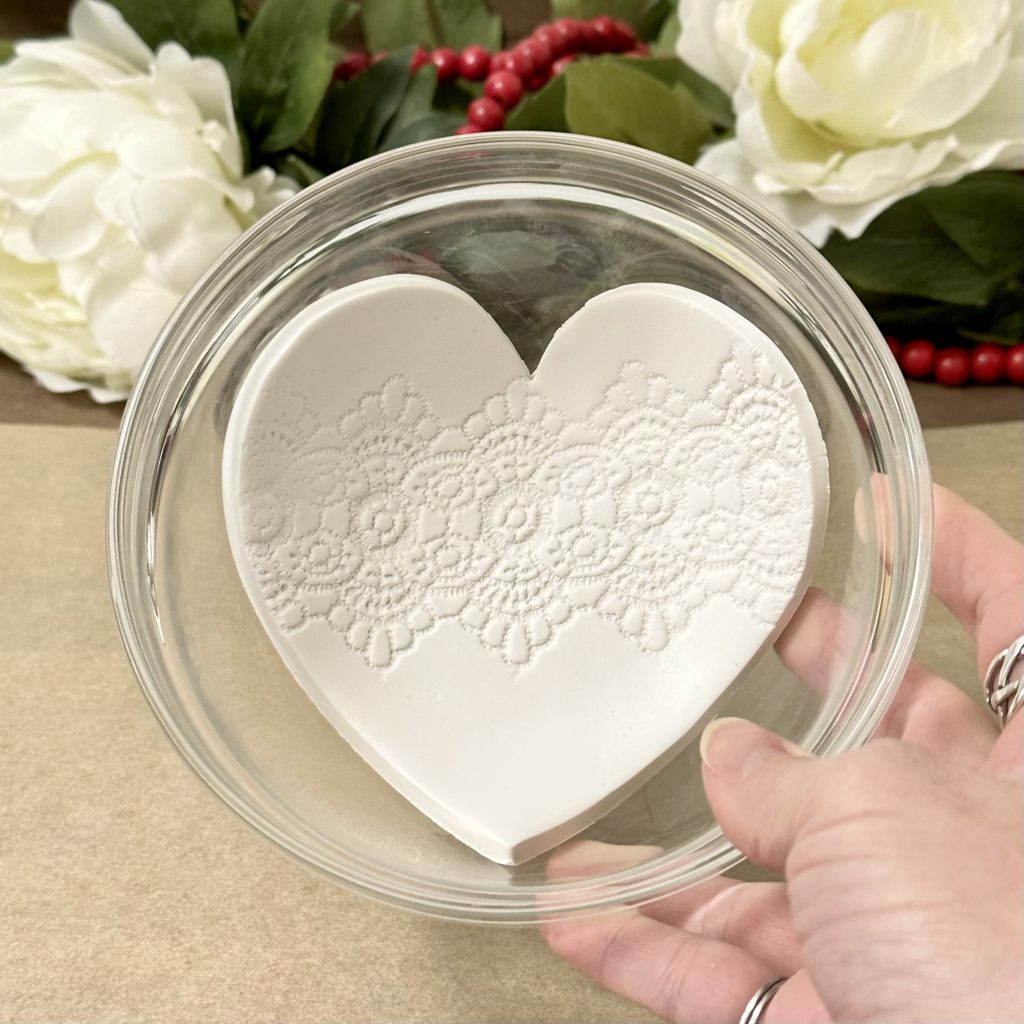
Place the bowl in the oven for about 15 minutes to bake the clay. Note: The longer the clay is left in the oven the less white it becomes. If you are looking for a more vintage look, keep the clay in the oven for about 5-10 minutes longer and it will turn more of an ecru (or beige) color. Once the clay is done baking, take the bowl out of the oven and allow it to cool for about 30 minutes before trying to remove the dish.
Paint and/or Glaze:
After the clay heart trinket dish has cooled, if there are any rough edges on it, they can easily be smoothed out with some 320-grit sandpaper. For the final step, paint and/or glaze the dish. I did not paint my dishes, I just glazed them. Remember, as I always say… Get creative and make the project your own. If you prefer to add some color or more design to your dish, feel free to paint it with any acrylic paint you like. You don’t have to do it my way. The most important thing about this project is that you have fun!
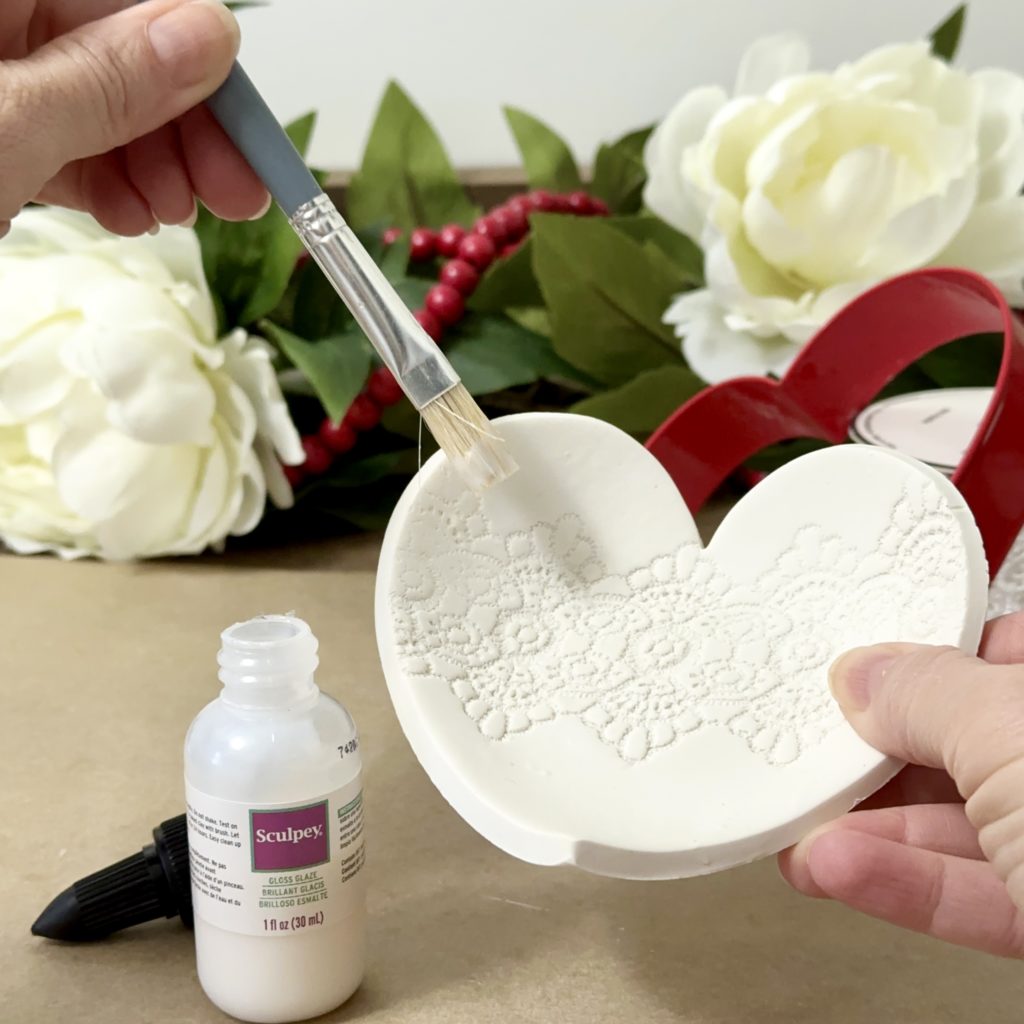
When I glazed my dishes, I first applied the glaze to the tops and sides of them. I let them dry for about an hour and then glazed the dishes’ bottoms. Allow the glaze to dry for about 24 hours (according to the package directions).
But Wait… There’s More!
The idea of making these dishes in the shape of a heart was inspired by Valentine’s Day being just around the corner. However, you can make these dishes in all sorts of shapes including round, square, a shamrock for St. Patrick’s Day, or leaf for fall… Just to name a few ideas. The sky is the limit!
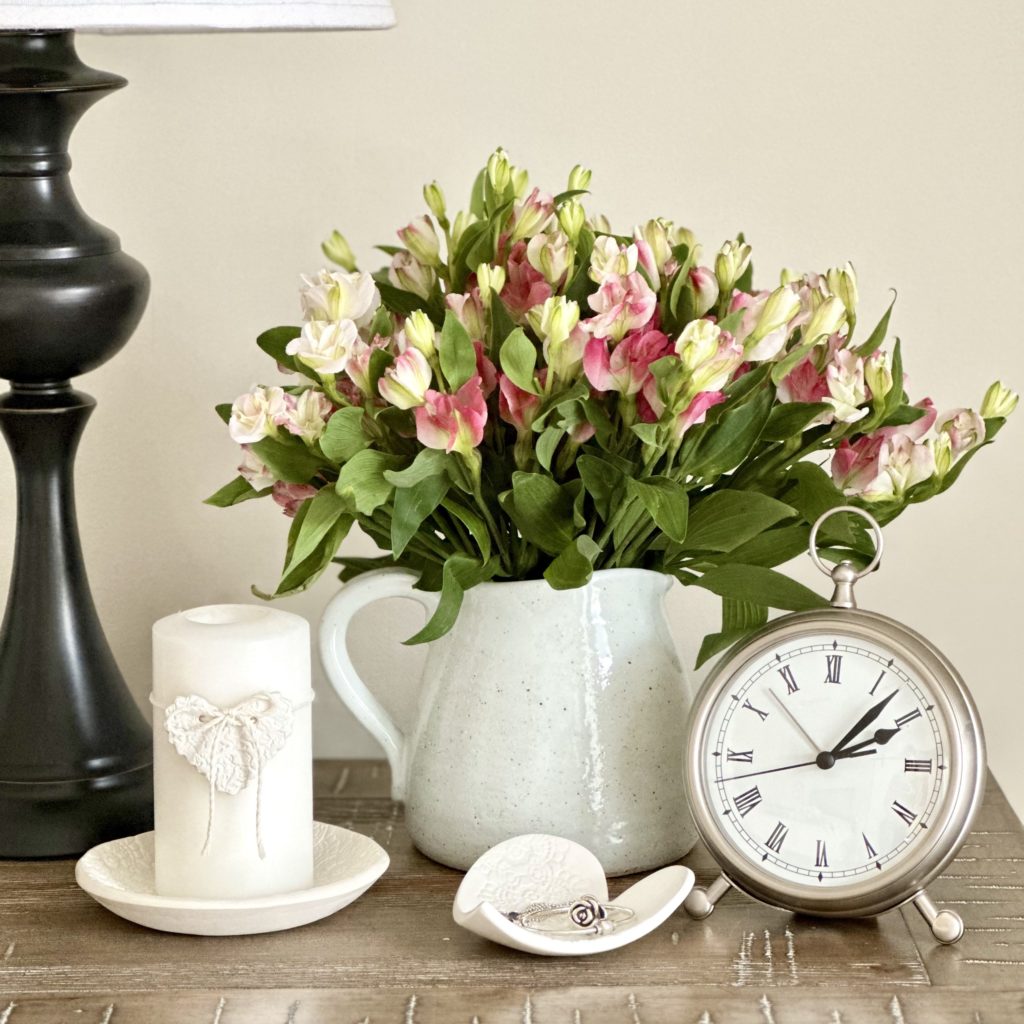
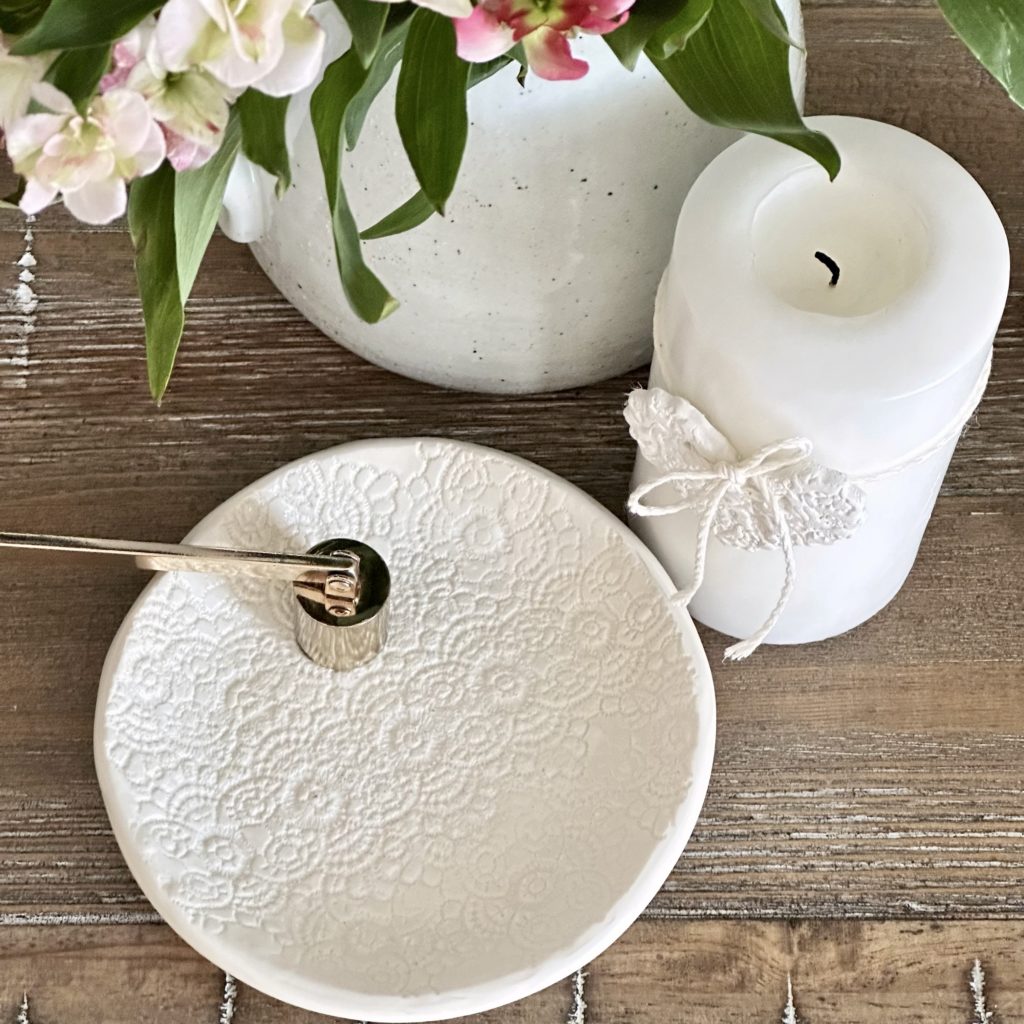
These sweet dishes can also be used to hold more than trinkets. They can also be used to hold things like pillar candles. I made a round dish to use with a candle when I style trays. To do it I turned a six-inch bowl upside down on the clay and traced around it with a pairing knife. Then I placed it inside an eight-inch glass bowl to bake. I made sure to press down the center of the clay circle inside the bowl to ensure that the bottom of the dish would be flat and not wobbly. This is important if you plan to use it to hold a candle. It turned out beautifully!
So Many Reasons to Make A Clay Heart Trinket Dish
Whether you make a dish for yourself or someone you love to give as a gift, there are so many reasons to love this project. It’s incredibly easy. If I can make these adorable dishes anyone can! It’s a quick project. In less than thirty minutes (minus dry time) it’s done. The supplies needed to make these sweet clay heart dishes are relatively inexpensive and easy to find at most craft stores. Finally, they are absolutely beautiful. In my opinion, anything handmade or homemade is better. I love seeing my dishes displayed throughout the farmhouse. What I love even more is seeing the dishes I’ve made and given to loved ones as gifts in their homes. Clay heart trinket dishes look so sweet displayed in a bathroom, on a table or dresser, or in the kitchen.
I hope you enjoy this project as much as I enjoyed creating and sharing it with you. If you are looking for more easy, inexpensive, fun, and beautiful DIYs, you might also enjoy checking these out:
Frosted Glass Heart Candle Holders
Beautiful and Easy Valentine’s Dish Towels
Hearing from you makes my day and your comments mean so much to me! Please join me over on Pinterest and Instagram where I share more home decor sources and tips, DIYs, crafts, delicious recipes, hobby farm life, and more.

I love this idea! Can not wait to try . I will play with this idea. Think I will try for coasters
Thank you, I’m so happy you love the idea, Susan. Have fun creating! Making coasters is a great idea. I actually just made some this week and enjoyed the process very much. They were so easy to make and I think they turned out beautifully! If you are looking for some pointers or ideas, you might enjoy checking the post out: https://caligirlinasouthernworld.com/marbleized-polymer-clay-coasters/.
I’m so excited to try all of your Valentine decor projects with my grandson. I miss you on Instagram. I hope you’re having a blessed day.!
Just found this via Pinterest. Great gifts for my friends…or maybe we’ll have a craft party.
Sounds like a great idea! Enjoy!!