
It’s time to deck the halls here at the farm. Today I am excited to share two of my new favorite DIY Christmas tree ornaments with you. One ornament is quick and easy to make. It’s simple and beautiful. The second ornament is a bit more entailed, but it’s incredibly elegant. Both DIY Christmas tree ornaments are fun and inexpensive to create. They will make gorgeous additions to your Christmas tree this year.

*This post contains some affiliate links for your convenience. Click here to read my full disclosure policy. As always, thank you for supporting my blog.
Deck the Halls
This year I am taking my time and enjoying the process of decking the halls here at the farmhouse. After all, Christmas only comes once a year and I want to relish in every special moment. Before I started decking the halls this year, I took some time to get inspired and get creative.
Every year, I enjoy making a few new Christmas ornaments to add to our tree. Last year, I shared how I make my Baking Soda Dough Christmas Ornaments with you.

These ornaments are always a favorite to make because they are SO easy and inexpensive to make. Using different shapes for the ornaments, beautifully embossed rollers or greenery from nature to create patterns and texture on the ornaments is always fun for the whole family. You can really let your creative juices run wild. They also make great gift tags on packages.
I also made some snowy ball ornaments for our Christmas tree last year using Epsom salt and faux snow.

These ornaments were the perfect addition to our “candy cane” themed tree last year. They also tied in perfectly with the adorable Snowy Jar Candle Holders I had throughout the farmhouse.
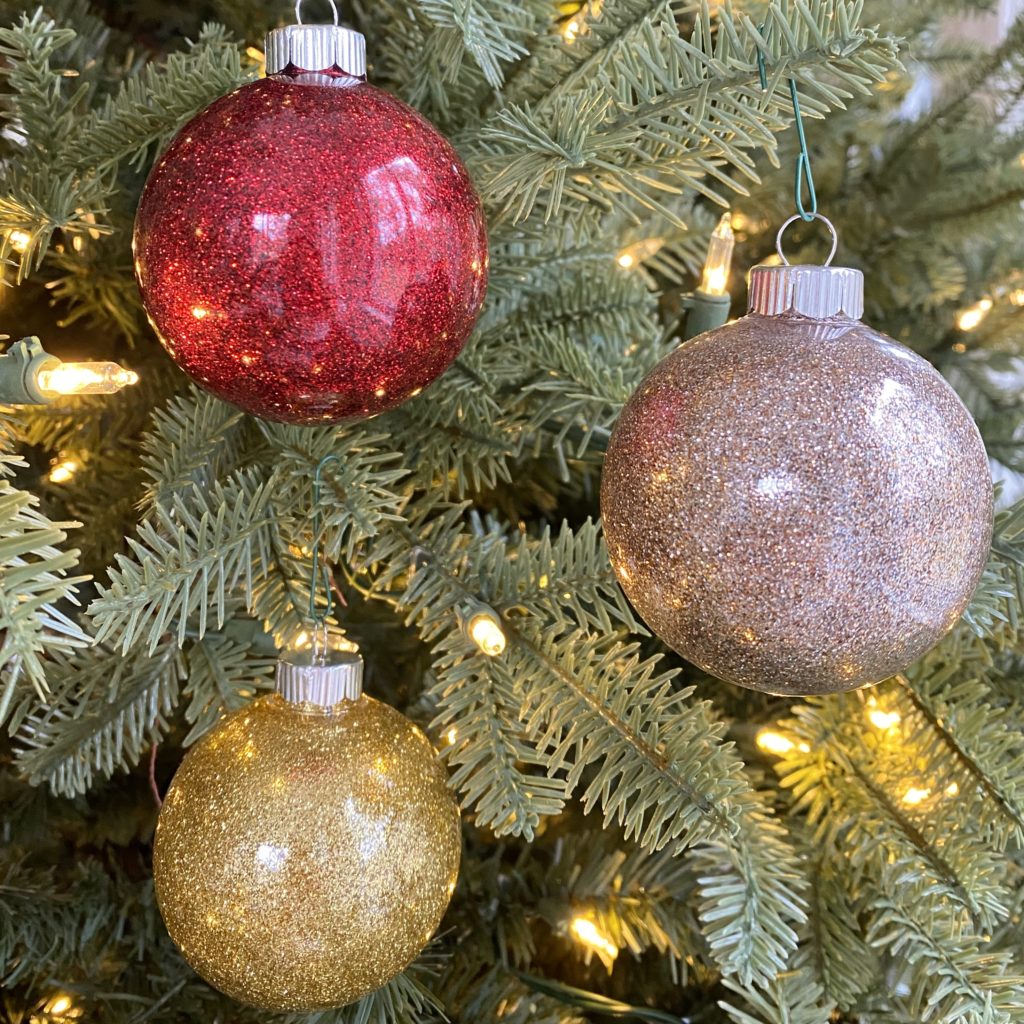
Last week, I shared how to make the most beautiful glitter ornaments. I’ve never been a huge fan of glitter projects, but this one was so easy and virtually mess-free. I was all in on it! They make the most beautiful additions to our Christmas tree this year. I think you’ll love it too!
The More The Merrier
Christmastime is a busy time of the year. Decorating, shopping, wrapping, and spending time with family and friends is important. However, there’s always a little time to squeeze in a couple of quick and easy DIYs too. DIY ornaments are not only great additions to your collection, but they make great gifts for friends and family too.
What I love about holiday DIYs is that they are a great way to express creativity during the season and they are extra special to share with loved ones. Invite some friends over to your home or set a special night aside with the family to make ornaments together. It a fun way to spend time together and everyone walks away with some new ornaments for their Christmas tree. Holiday DIYs, like making ornaments are a wonderful way to share special moments with loved ones during the holiday season.
DIY Christmas Tree Ornaments
That’s what I love about this year’s DIY Christmas tree ornaments, they take less than 30 minutes to make. Along with being quick, these ornaments are inexpensive to make too. Whether your Christmas tree is simple and sweet or shiny and elegant these ornaments are.
Felt Ball Christmas Ornaments

Materials:
Here is what you need to make these simple and sweet ornaments for your Christmas tree this year.
- Wool dryer balls
- 1.5 cm red felt balls
- Faux greenery (of your choice)
- Hot glue gun
- Needle and thread

The greenery I used for this project came from faux stems I had from years past. If you’re anything like me and you have an overabundance of them, this a great way to use some of them. Depending on the number of ornaments you plan on making, you don’t need a lot. I used a mix of green leaves, cedar, and pine. You can use whatever you have or what works best with your decorating style.
Instructions:
1.) Add a loop to hang the ornament using a needle and thread. I used off-white thread to make my loop on the wool dryer ball to hang it from the tree.

If you prefer, you can also add the loop once you’re done making the ornament. It’s up to you.

2.) Next, cut the greenery being used into small pieces. I used about 3-5 green leaves on each ornament. Later, I added a few small sprigs of cedar and pine to add depth and fill in any gaps on each ornament.
3.) Then, use a hot glue gun to glue the green leaves onto the wool ball.

4.) Once the leaves are attached, began attaching the small red wool balls.

I added three red “berries” to each wool ball.

5.) Finally, fill in any gaps around the leaves and “berries” with small sprigs of cedar, pine, or anything else you would like to use.

That’s it! These felt ball ornaments are SO easy to make and they look beautiful on the Christmas tree. I made six of them for less than $3 each!
Gold Leaf Ornaments

Materials:
Here is what you need to make these beautiful and elegant ornaments for your Christmas tree this year.
- Glass ball ornaments (I used white ornaments, but you can use clear or any color you like. Red looks beautiful too!)
- Gold leaf + adhesive
- Paintbrush (Two paintbrushes are ideal.)
- Spray paint or Rub’N Buff (Optional)
- Skewer and a tall glass (Optional)
- Ribbon (Optional)

Instructions:
1.) Remove the top pieces (used to hang the ornaments on the tree) from the ornaments. If you want to change the color of the tops paint them using spray paint or apply some Rub’N Buff. The top pieces of my ornaments were silver and I wanted them to be gold, so I gave them a coat of gold spray paint.
2.) Follow the directions on the gold leaf packaging. Use a clean paintbrush and apply a thin coat of adhesive to the outside of the ornament. Allow it to dry until tacky, about 20-30 minutes.

(I placed my ornaments on a bamboo skewer in a tall glass to dry.) A general rule of thumb is that the glue goes from white when applied, to clear as it dries. However, the glue will remain tacky. Tacky is good.

3.) Next, carefully place a sheet of gold leaf on the ornament over the glue. Wrap it around the ball and press it gently into the adhesive. I like tap to tap the gold leaf lightly with my finger and then put the ornament back on a skewer to allow the gold leaf to set.

4.) Use a dry, clean paintbrush to burnish the gold leaf into the adhesive and to brush off the excess gold leaf flecks.

5.) If you like, you can apply a light coat of sealer over top of the gold leaf (per the manufacturer’s instructions). Allow your entire ornament to dry overnight.

Enjoy Making and Trimming the Tree With Your DIY Christmas Tree Ornaments
I hope you enjoy making some DIY Christmas tree ornaments of your own this holiday season. Whether you trim your tree with them, display them in a bowl, or use them on a tablescape, I know they will be lovely! It was a pleasure sharing these ideas with you. If you are looking for more farmhouse inspiration, easy and beautiful DIYs, delicious recipes, and more follow me on Pinterest and Instagram too. I look forward to seeing you there!
Wishing you a happy holiday season.


