
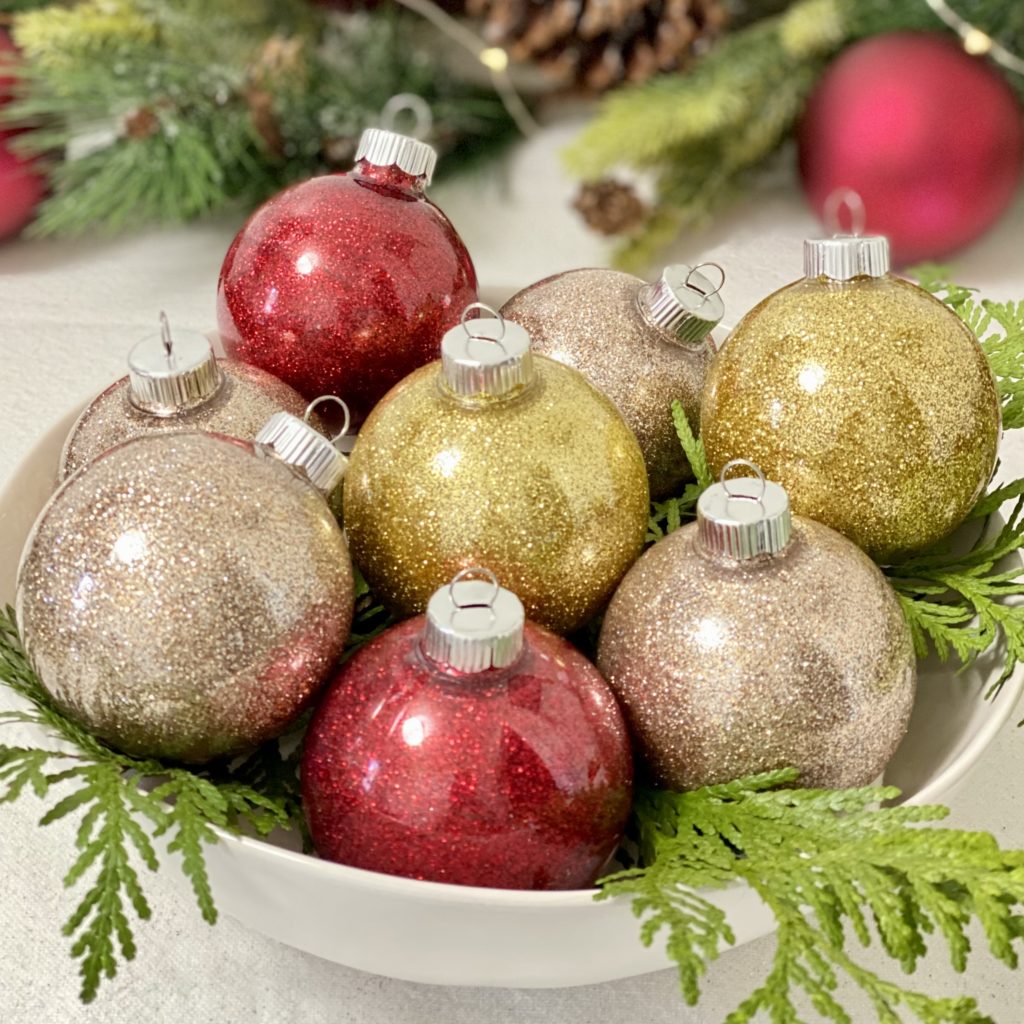
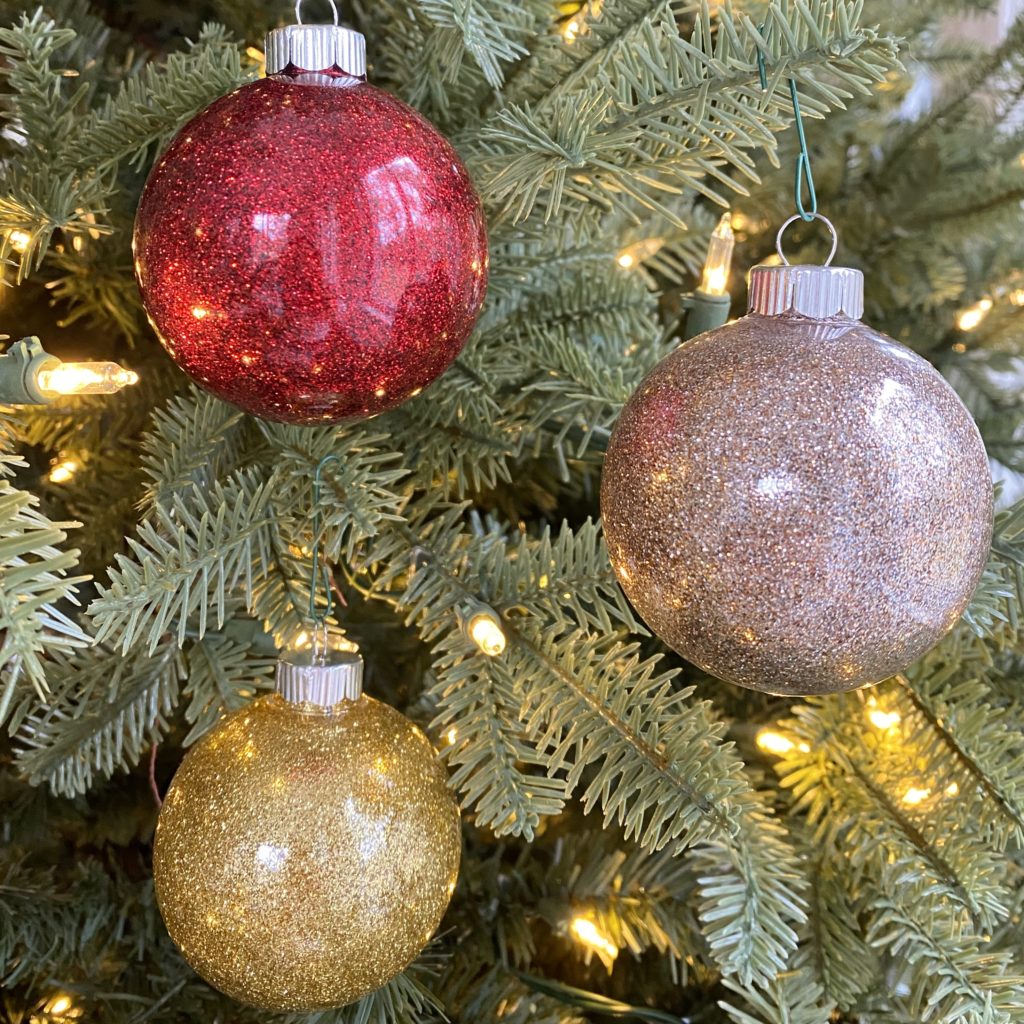
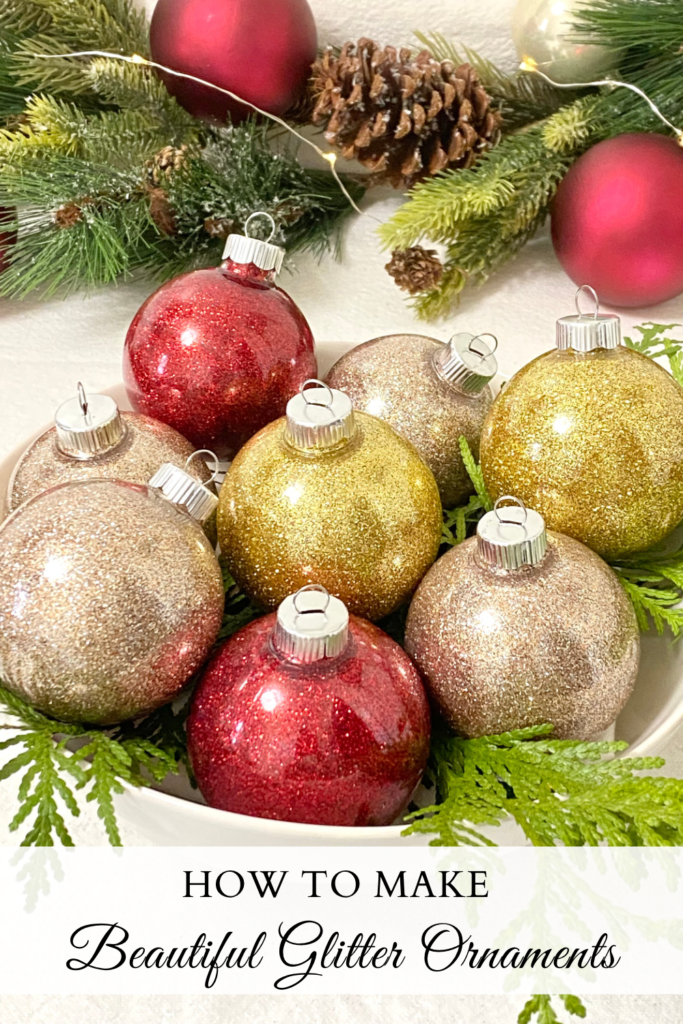
Wait until you see how easy it is to make the most beautiful glitter ornaments you’ve ever seen! They will be the perfect new additions to your Christmas tree this year. It will shock you to find out that they are virtually mess-free to make too. I know, a glitter project with almost no mess!? I promise you’re going to want to try this one!
*This post contains some affiliate links for your convenience. Click here to read my full disclosure policy. As always, thank you for supporting my blog.
A Glitter Project That Doesn’t Make a Big Mess, Trust Me
You might be thinking…”Really, Meeghan, a glitter project?! No thank you, it’s just too messy.” Believe me, I get it. I’m not a huge fan of the mess glitter can make either. I’ll never forget the many Girl Scout gatherings I had in our home where glitter was the highlight of a project. I always dreaded the clean-up because no matter how diligent I was about trying to contain the explosion of glitter, I always lost the battle. I’d find glitter in the nooks and crannies of our house for weeks afterward.
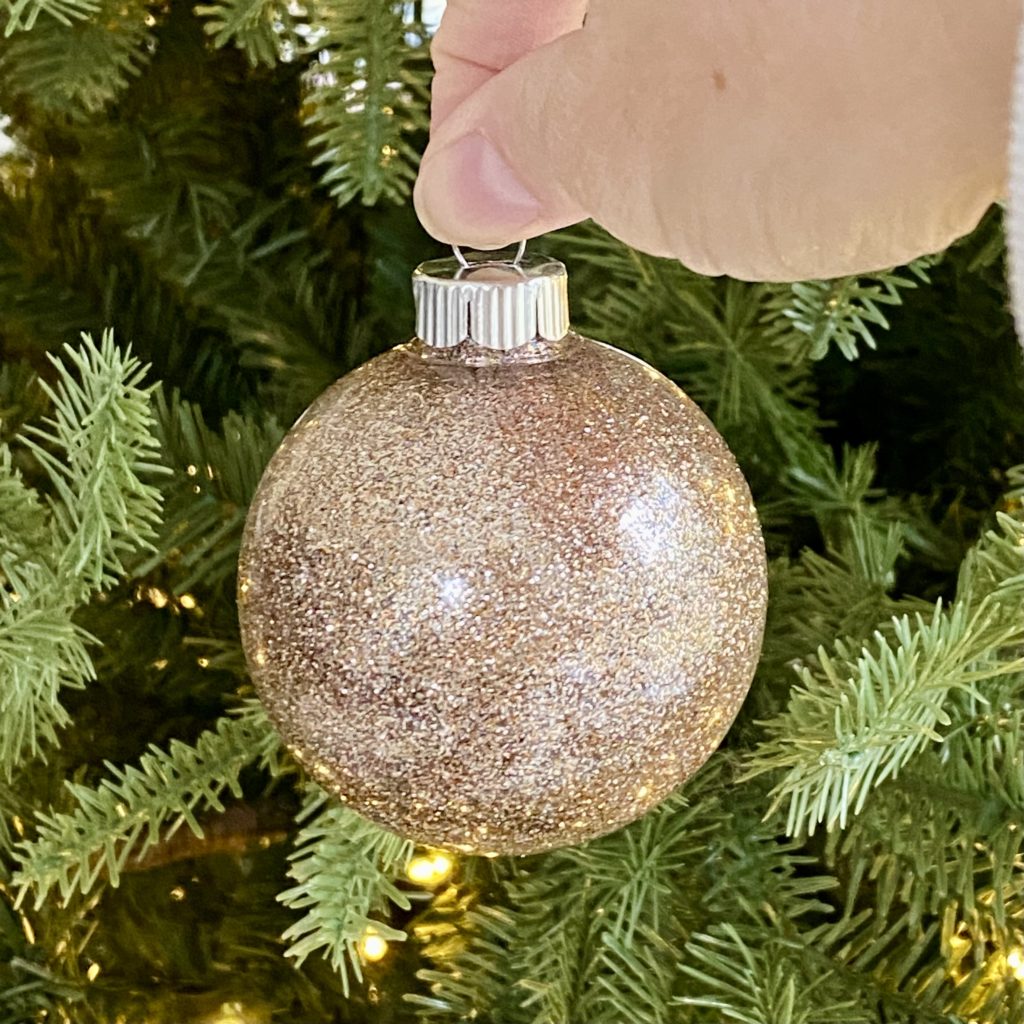
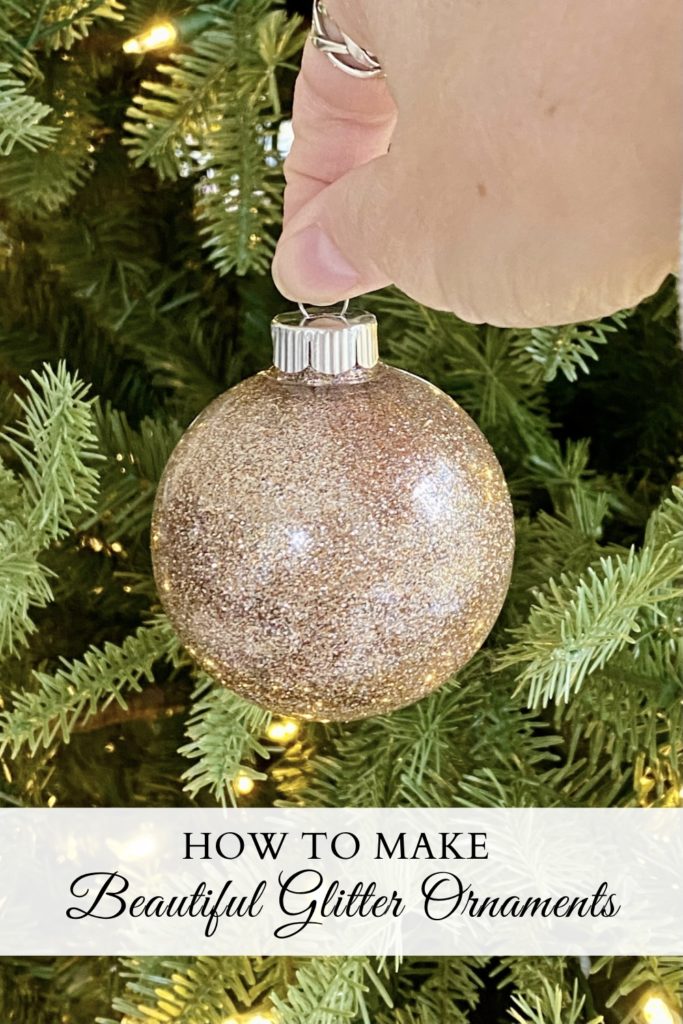
However, what if I told you this glitter project makes very little to no mess? Interested in hearing more? Good! You can have the most beautiful glitter ornaments for your Christmas tree this season with little to no mess using my method. Not only will making them be virtually mess-free, but should one accidentally fall off the tree, there will also be no glitter mess on the floor either. (As long as you use clear plastic ornaments. If you use clear glass ornaments, I think you can imagine the mess.)
What You Need to Make The Most Beautiful Glitter Ornaments

The list of materials needed to make these stunning ornaments is short and the cost is minimal. Win-win in my book!
- Clear plastic or clear glass ornaments
- Pledge wood oil
- Extra fine glitter (I used glitter from Hobby Lobby, but I found this pretty Christmas color pack online that is a great value.)
- Mini funnel (Optional, but highly recommended to help keep the mess to a very minimum. Also, these are the same funnels I use for my Homemade Vanilla Extract recipe, so you may already have them.)
- Mini plastic cups (Optional) or cupcake paper liners.

How to Make The Most Beautiful Glitter Ornaments
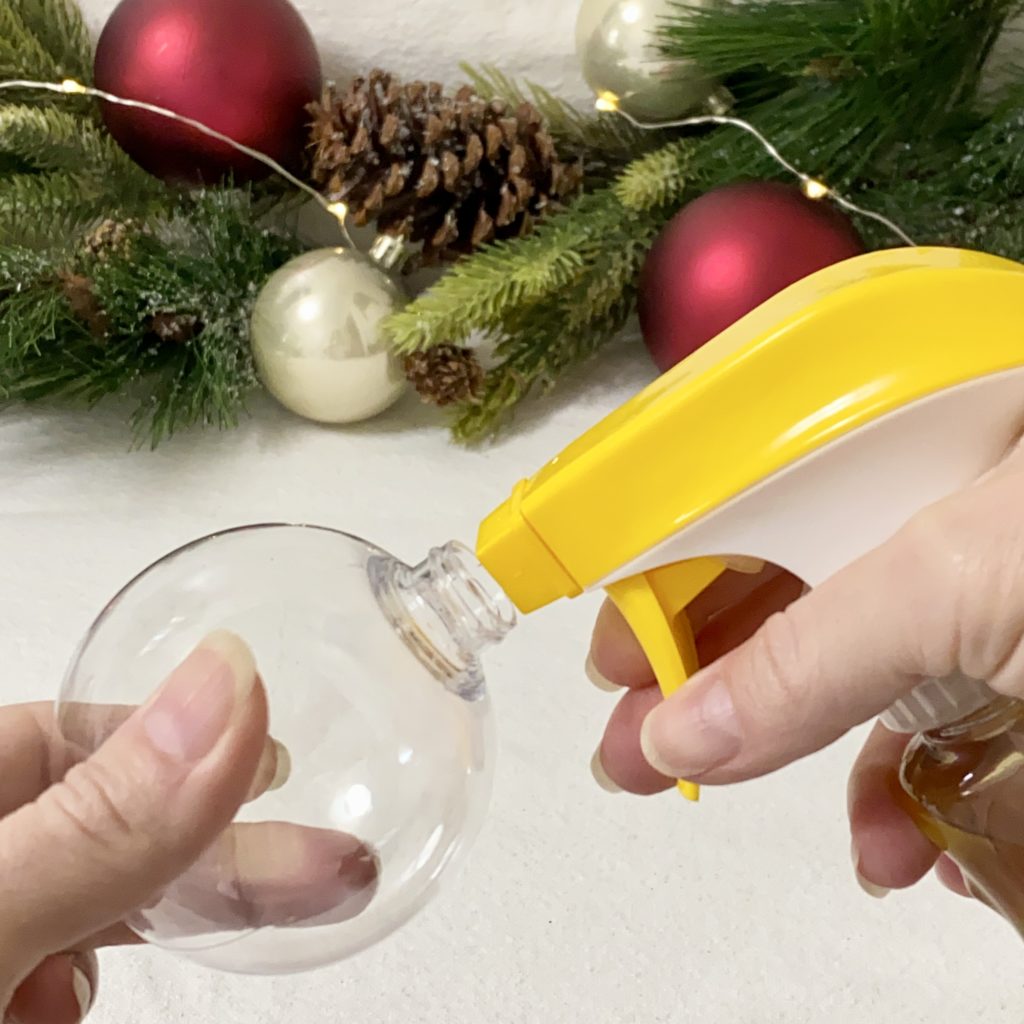
1.) Remove the top hanger piece of the ornament. Point the nozzle of the wood oil bottle into the ornament and spray inside about 5-7 times.
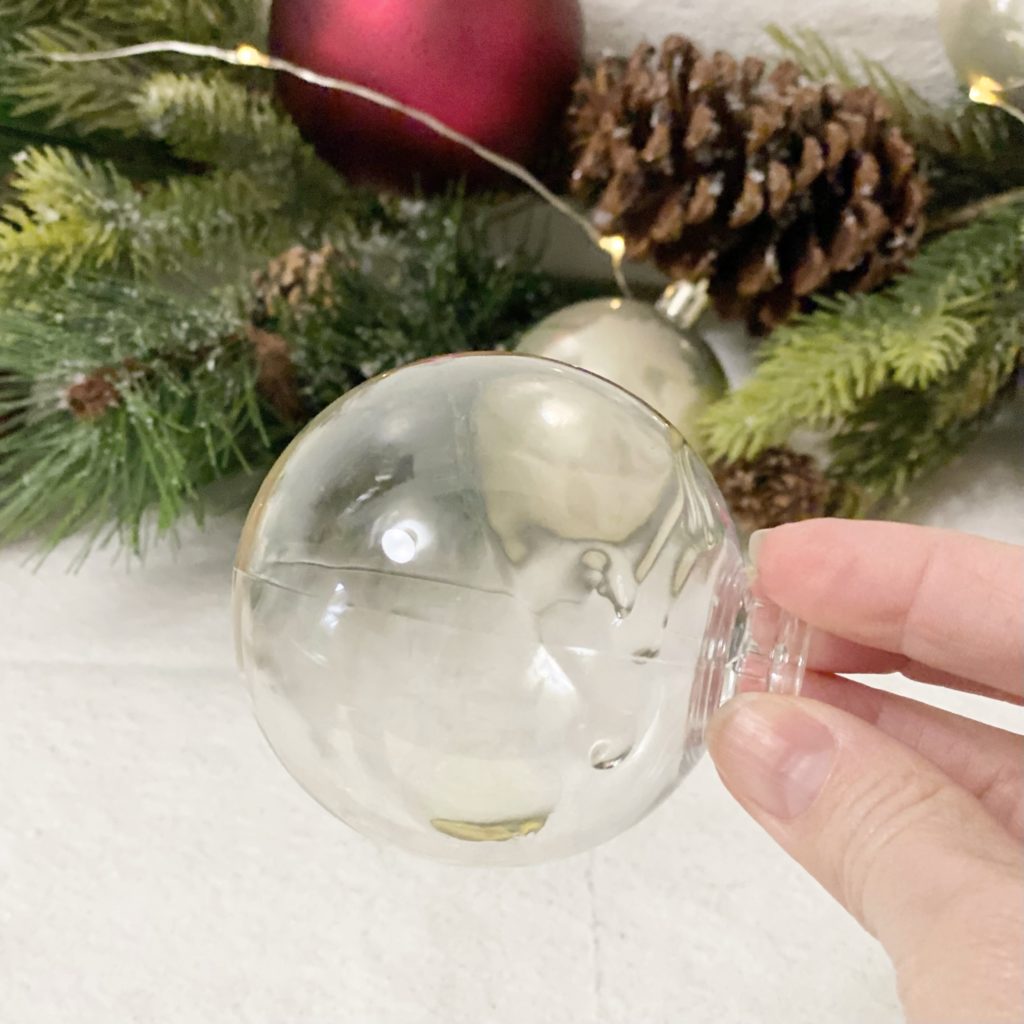
2.) Swirl the liquid around the inside of the ornament until it’s completely coated. Then, turn over the ornament and let the excess liquid drain out. I used paper cupcake liners for the liquid to drain into.
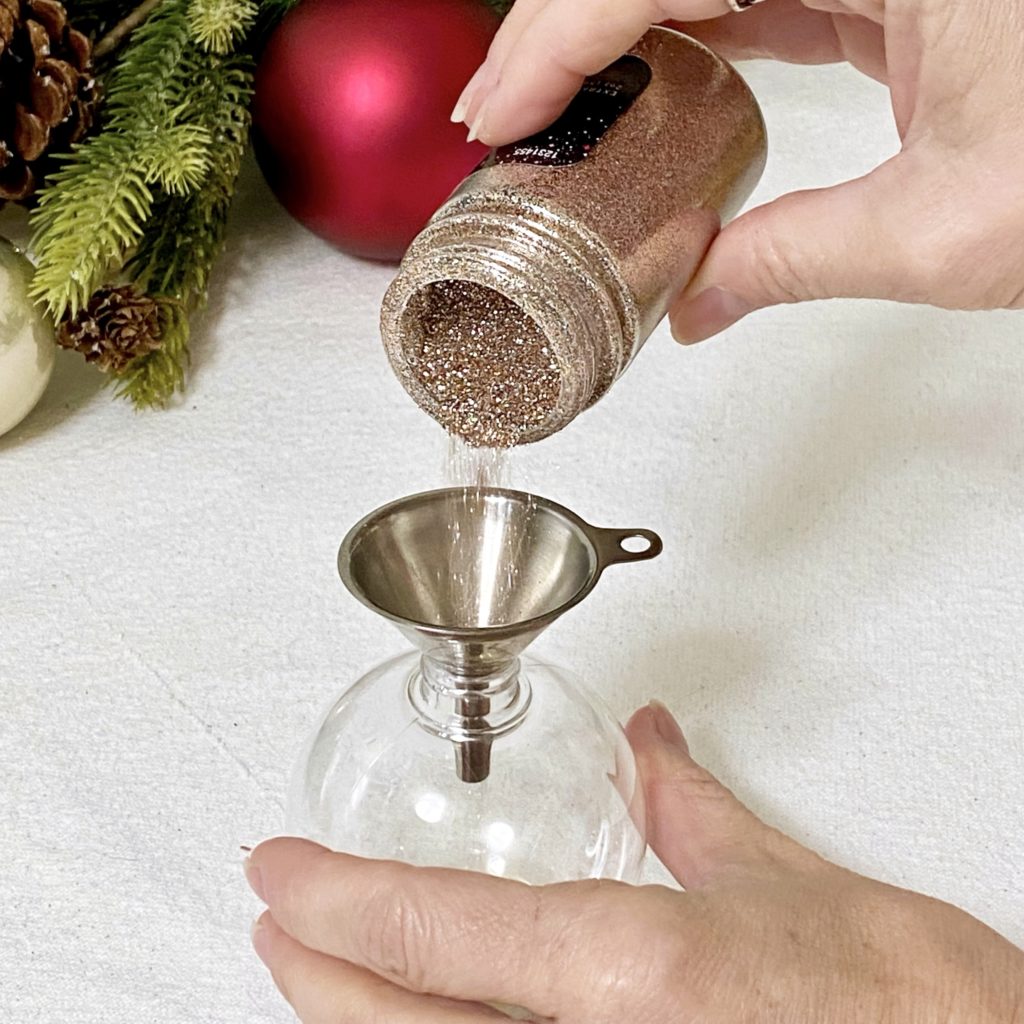
3.) Pour the glitter into the ornament. I used a funnel and about 1 tablespoon worth of glitter. You can pour the glitter directly into the ornament from its container, but some container openings are larger than others and it could get a little messy. The funnel ensures that the glitter gets right inside the ornament and helps prevent a mess.
4.) Swirl the glitter around the inside of the ornament to completely coat it. Add more glitter if you don’t get full coverage throughout the inside.
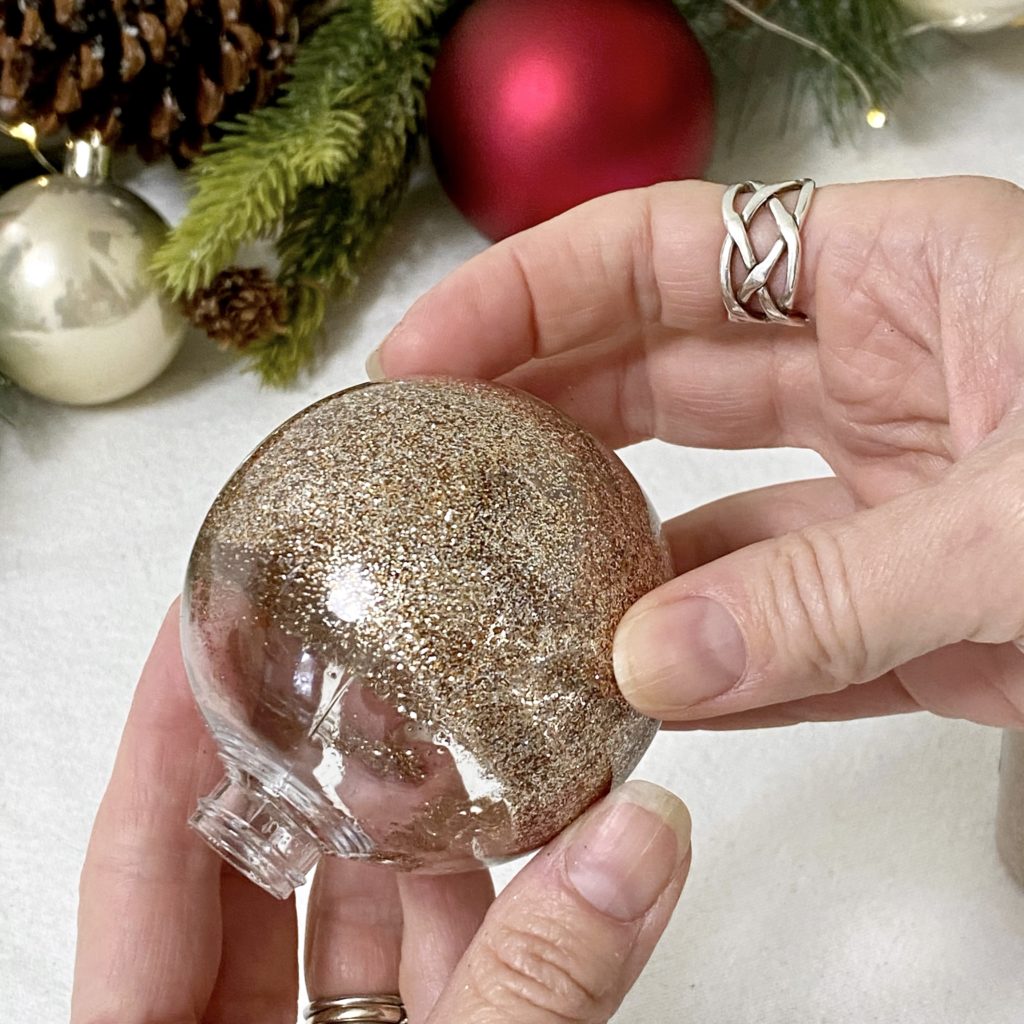
5.) To get the last little bit of the top covered take a piece of paper or paper towel and place it over the top. Give the ornament a few shakes. (Or, you can use your thumb like I do and then just wash your hands. It’s easier, I think!)
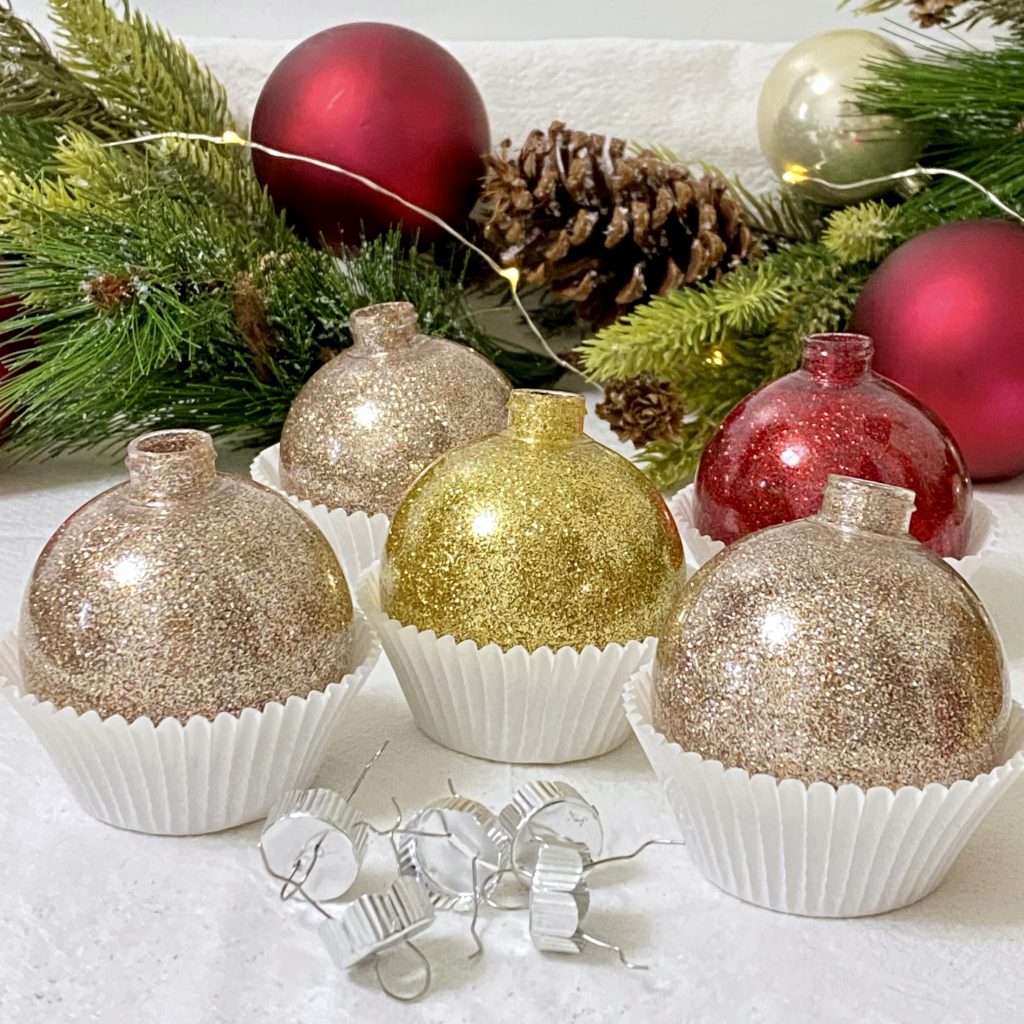
6.) Allow the ornaments to sit and dry for about 30 minutes (I used the paper cupcake liners to hold them upright and in place.) Then put the top hanger piece back on the ornament.
Helpful Hints
Wood oil vs. Polycrylic
Although I have seen these fabulous ornaments made with Polycrylic, in my opinion, the wood oil works just as well. Wood oil is also less expensive, about a third of the cost of Polycrylic. Wood oil is easier to use too. The spray nozzle allows you to spray 4-5 squirts right into the ornament. With the Polycrylic you will need an eye dropper or some type of syringe to get it inside the ornament.
Plastic Ornaments vs. Glass Ornaments
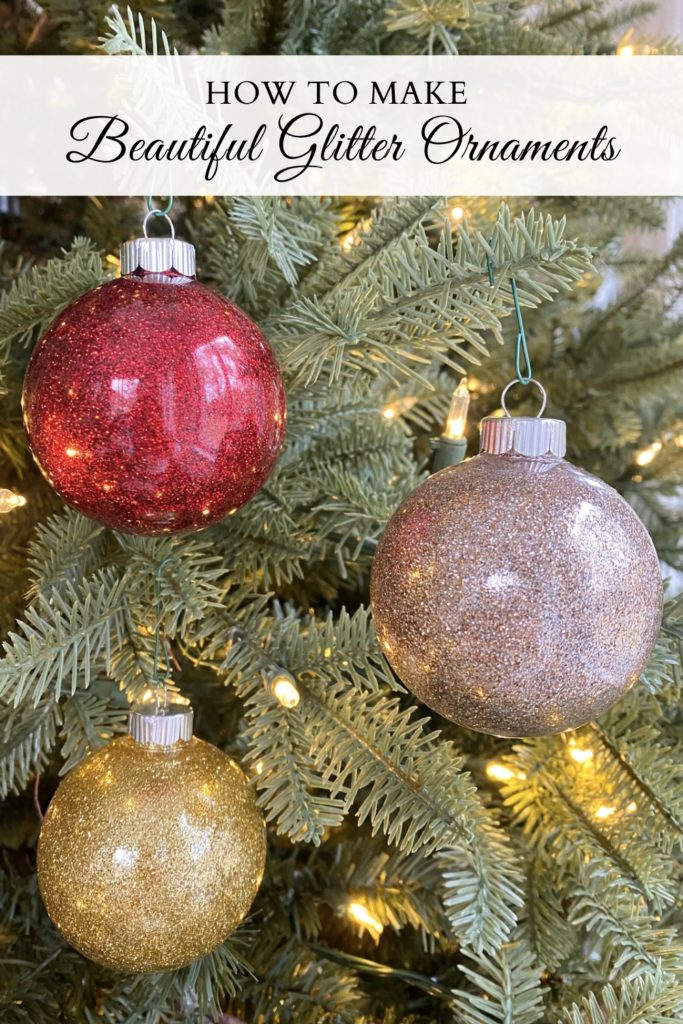
I made these beautiful glitter ornaments in both versions, plastic, and glass. The results were exactly the same, they were equally gorgeous. Of course, with plastic ornaments, you don’t need to worry about breakage. With glass, there is the potential of an ornament falling off the tree and breaking. Thankfully, (so far) none of my beautiful glitter ornaments made with glass have broken.
Simple vs. Detailed
These beautiful glitter ornaments are show-stoppers as is! However, if you want to get more creative you can use paint pens to add designs, words, names, and more on the outside them. As I always say, make any DIY or craft your own. Get creative and have fun!
This is a wonderful Christmas craft for all ages. I hope you enjoy making the most beautiful glitter ornaments for your Christmas tree this year. Happy holidays!
For more fun, easy, and beautiful DIYs, delicious recipes, and farmhouse inspiration join me on Pinterest and Instagram too. I look forward to sharing more with you there!
Pin to Save and Make Later!


[…] I can’t wait for you to see how Meeghan made these lovely Christmas ornaments. […]