
Installing a DIY plank wall (also known as, shiplap) is a wonderful way to add texture, visual interest, personality, and charm to your home.
I love the clean, crisp look of whiteboards perfectly aligned with one another. If I won the lottery and I had the chance to build the house of my dreams, I would definitely install real shiplap throughout it. Sadly, I am still waiting for that ship to come in. However, that doesn’t mean I have to wait to get a similar look in the farmhouse right now.
A DIY Plank Wall is Easier to Install Than You May Think
I get tons of messages from people after seeing the shiplap in our home that says they’ve always wanted to install it, but that they are afraid to try because they think it’s too difficult. I’ve said it before and I’ll say it again, “If I can do it, so can you!” I have zero experience when it comes to carpentry and tools. Luckily, I have a husband who loves to work with his hands, problem solve, and take on a good challenge. Together, we have discovered we are capable of more DIY projects than we ever thought, installing shiplap included. You never know if you can do it until you try.
Real Shiplap Vs. Faux Shiplap
Before I get started, I want to be clear. This blog post is a tutorial on how to install a DIY plank wall, also known as faux shiplap. It’s important (in my opinion) to point out the difference between real shiplap and faux. Real shiplap boards have a specific type of edge to them that makes them fit together with the next board as they overlap one another. It’s gorgeous and sadly, expensive. Faux shiplap is a beautiful and affordable way to get a similar look in your home. I love a faux shiplap feature wall in any room. It adds a bright, clean, vintage, and textured look to any space.
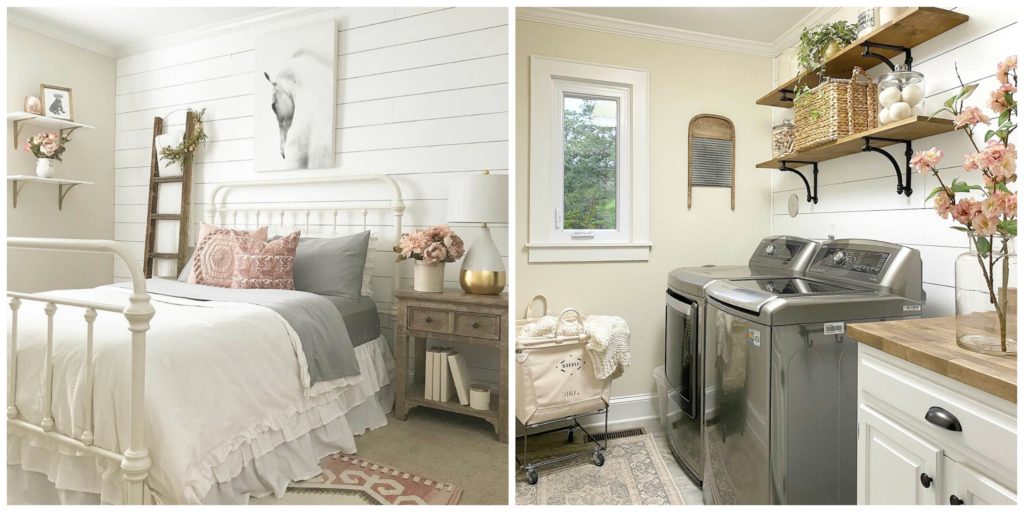
For those of you who are like me, and are still waiting for those winning lotto numbers to hit, today I am going to share with you how we added shiplap to the farmhouse without breaking the bank. Each of these shiplap accent walls cost less than $100 and only took a weekend to install.
Materials needed to install faux shiplap include the following:
- 1/5″ Underlayment in 4X8′ sheets*
- Circular saw
- Palm Sander
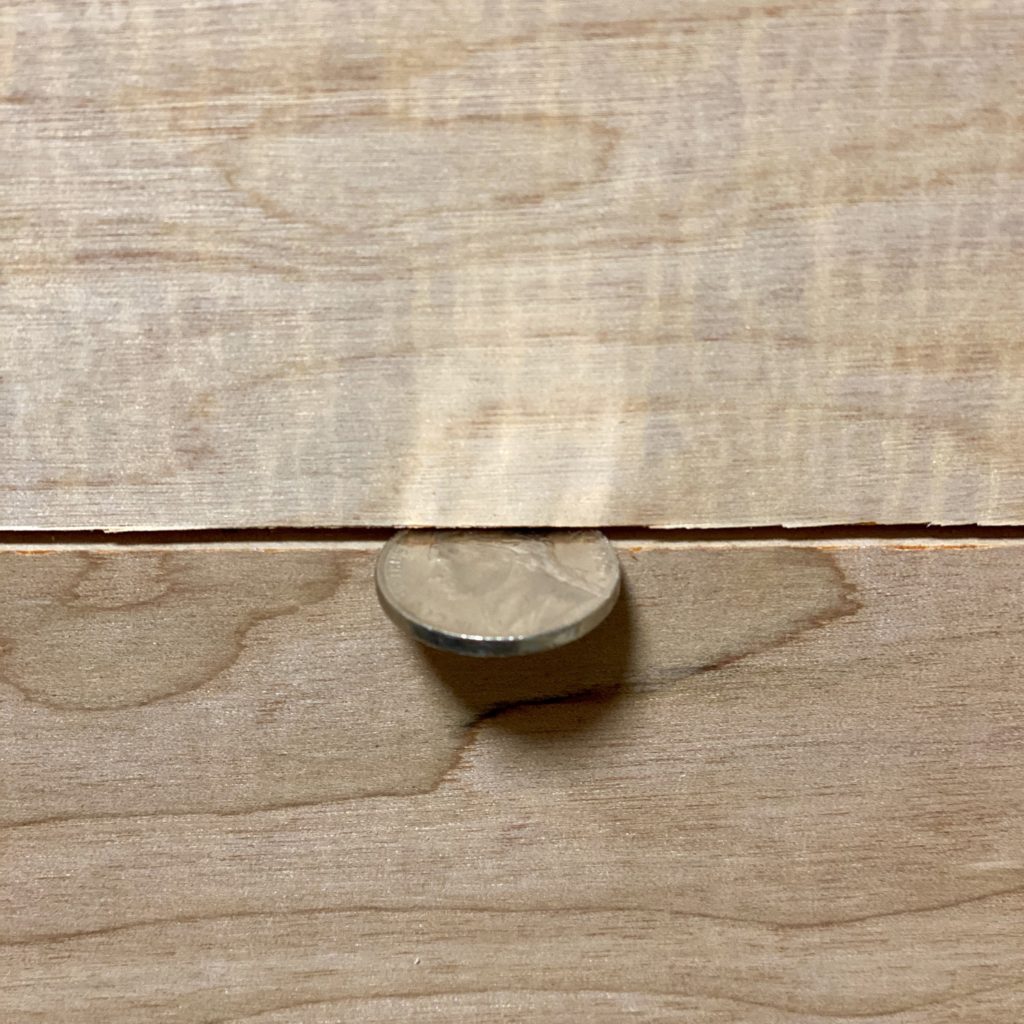
- Nickels (Sounds funny I know, but I’ll explain why in the process below.)
- Air compressor and finish nailer
- Jigsaw
- Quarter round (optional)
- Painter’s putty
- Painting supplies (roller, tray, paint, and brush)
*Home Depot will rip the underlayment in 6″ strips for you. Don’t be afraid to ask. It’s a tremendous time saver!
How to Install a DIY Plank Wall (Faux Shiplap)
Now that you’ve got your materials, it’s time to start planking!
- Gently sand the edges of your planks. (Sometimes Home Depot leaves some pretty rough edges, so be careful!)

- It’s up to you to determine “the look” you want for your faux shiplap. You can choose to use whole boards and just run them across the wall while trimming any excess off the board that doesn’t fit. Or you can come up with a “pattern.” I think the vertical seams give the wall a more authentic and vintage look, so I like to do a pattern that I vary on each row. The pattern I use is usually is a rotation of three varying lengths of boards for every row that I restart every third row. One row always includes a full board to help ease the number of cuts you have to make.
- Once you’ve measured the length of your wall and determined the “pattern” you want your boards to have you can begin cutting your boards. I go one row at a time when cutting because inevitably there are always imperfections in the walls and sometimes you need an extra quarter inch or you need to trim off half an inch on any particular row. If you make all your cuts ahead of time, you will likely regret it and may have to go back for an entirely new sheet of wood just to fix one or two rows.
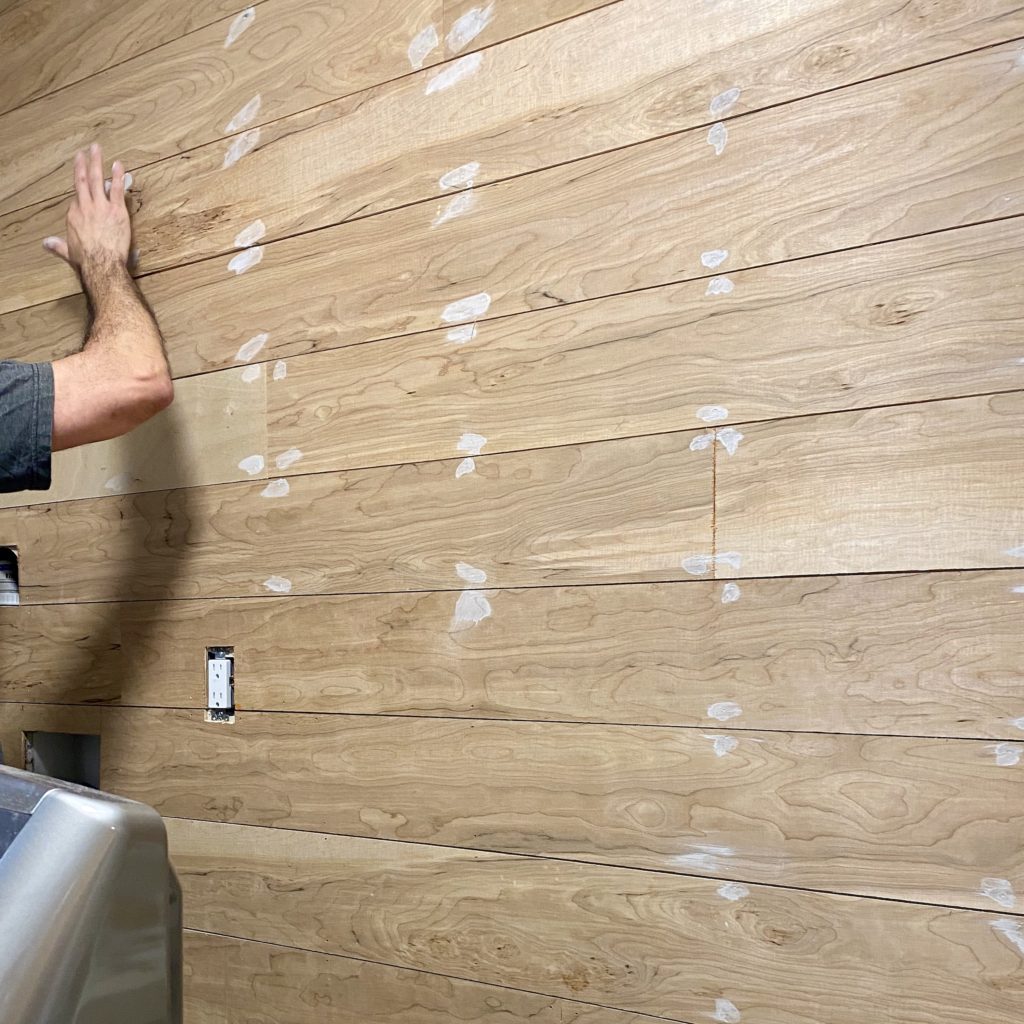
- Begin installing your first row from the top and complete the entire row. Use your air compressor to attach the boards to the wall using a nail every 16 inches or so.
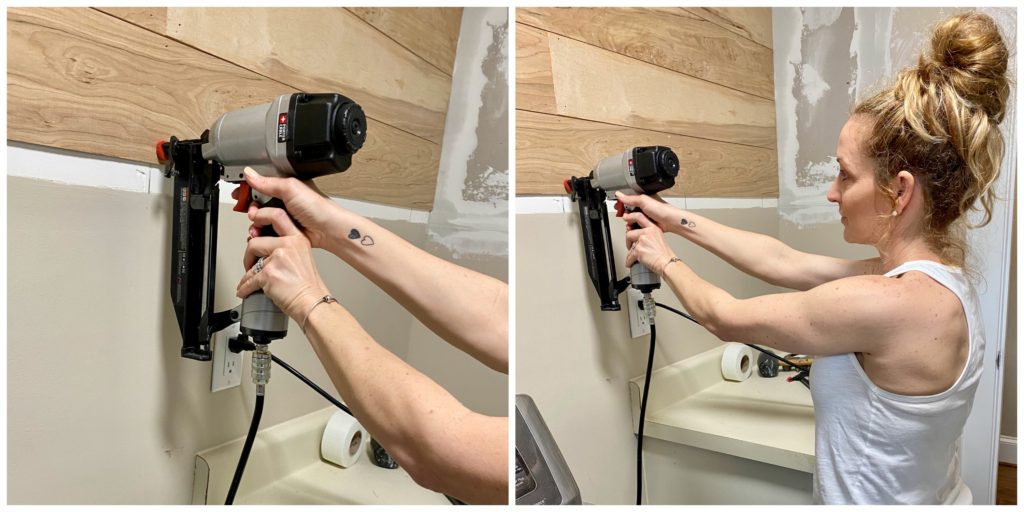
- As you work your way down the wall, use the nickels as spacers between each row. This will ensure that you have the same amount of space between each board for a more uniform look. Don’t worry if in some spots there is a slightly larger or smaller gap, that adds to the charm, character, and uniqueness of a shiplap wall.
- Work your way down the wall, row by row. When you get to the bottom, you may need to rip the boards depending on the height needed.
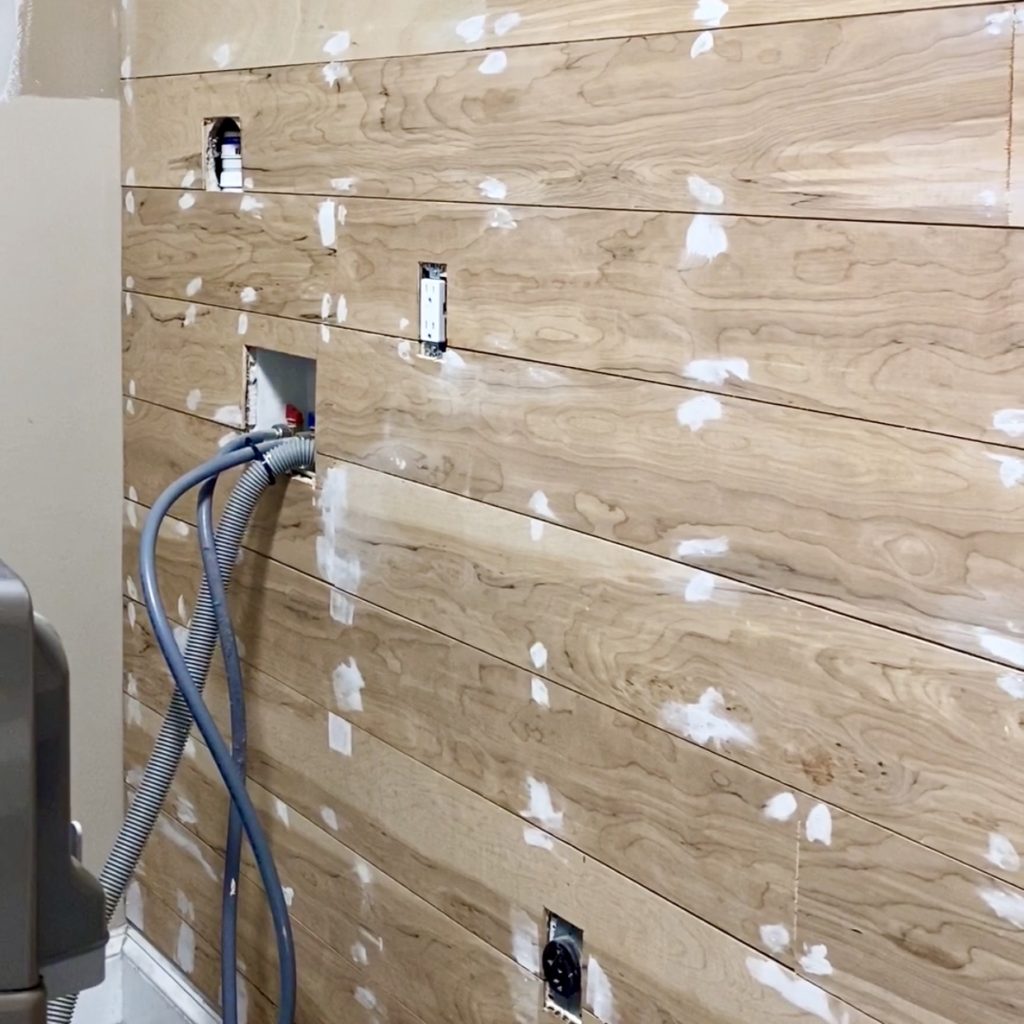
- When you get to an outlet, be sure to measure the hole the best you can use a pencil to mark where the cuts should be. Using your jigsaw make careful cuts so that you can fit the outlet cover over the plank without a gap.
- For a more finished look, you can install quarter round on either side of the wall where the planks meet the adjoining walls. Some people opt for a more rustic look and keep the edges raw.
- Using painter’s putty, cover nail holes. This is an optional step. Again, for a more rustic look, many don’t cover the nail holes. Personally, I like to cover them.
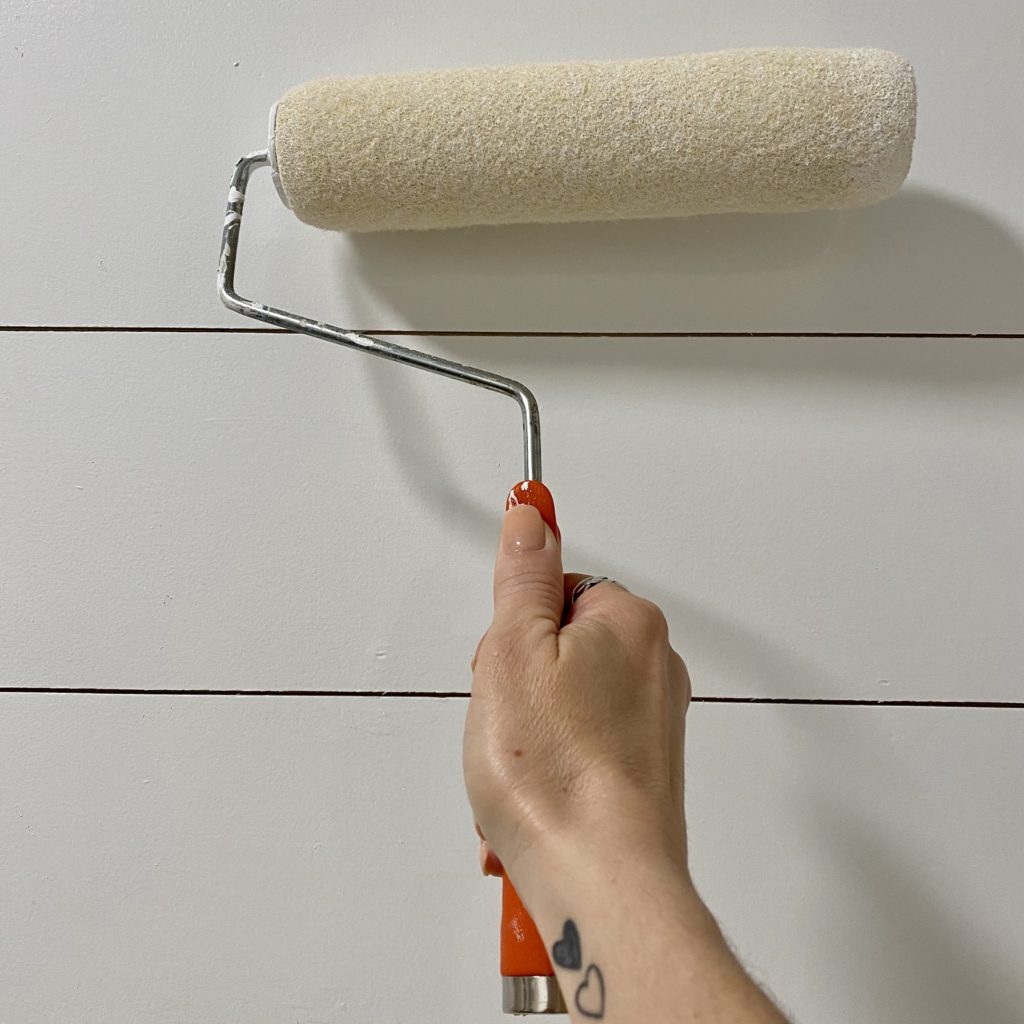
- Finally, it’s time to paint. I always paint my shiplap with Sherwin Williams, Pure White. Side note: You may notice in other tutorials that there are some that paint their boards after sanding before installation. You can certainly do this, however, I feel like painting the planks first is doing double duty. After the installation, you’re covering the nail holes with putty and you’re going to have to do a lot of touch-up paint. Why not just do two coats at once when the installation is complete!? That’s just my two cents.
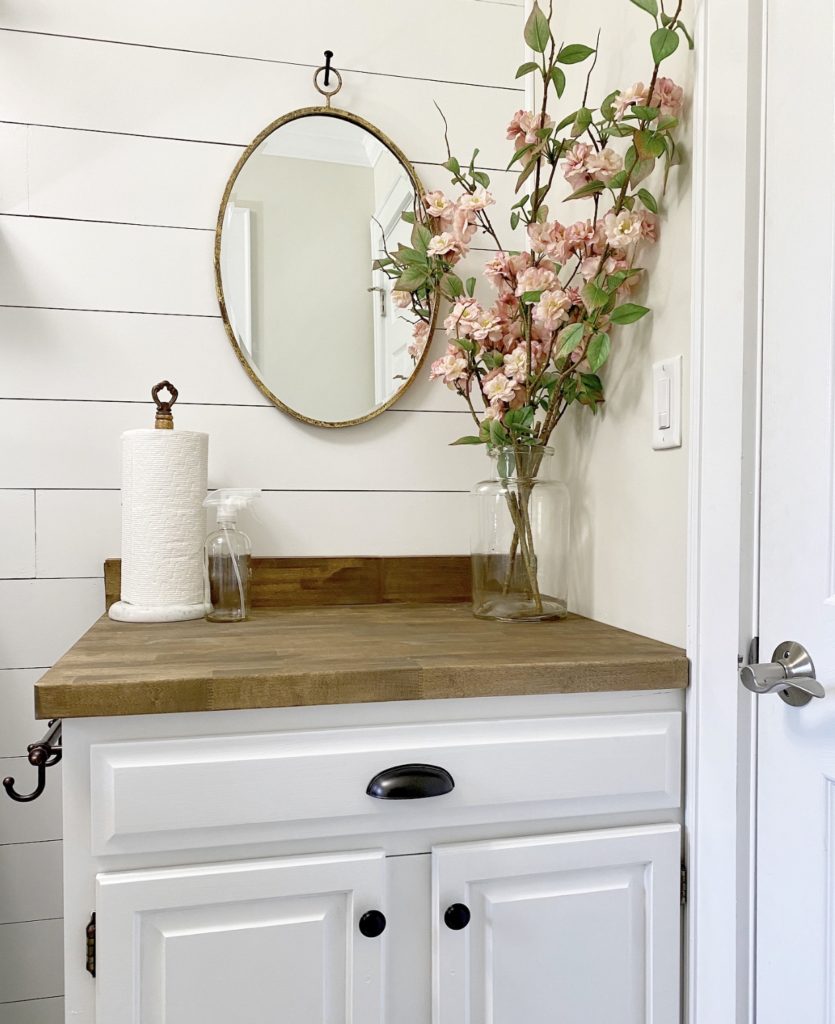
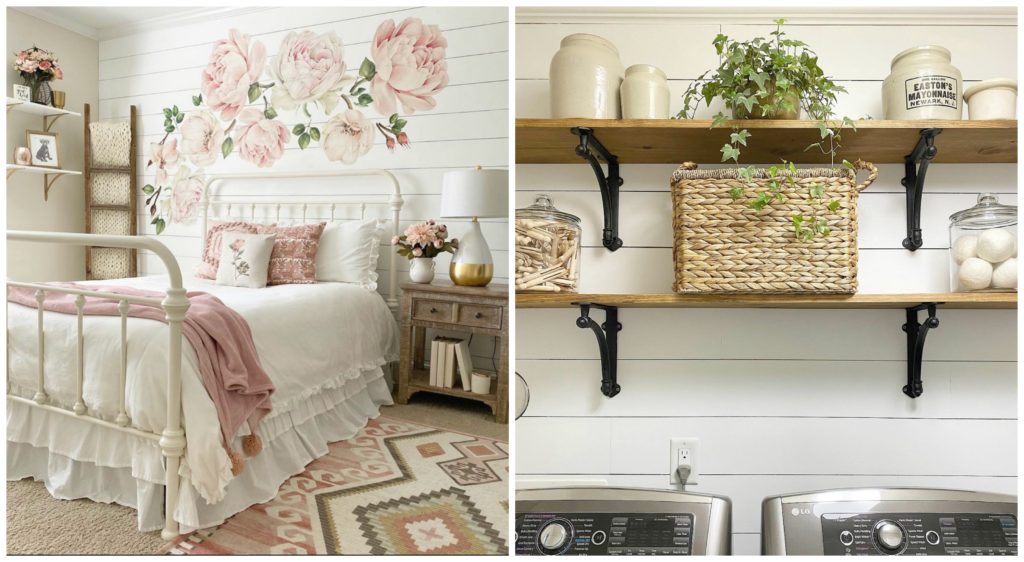
Finishing Touches
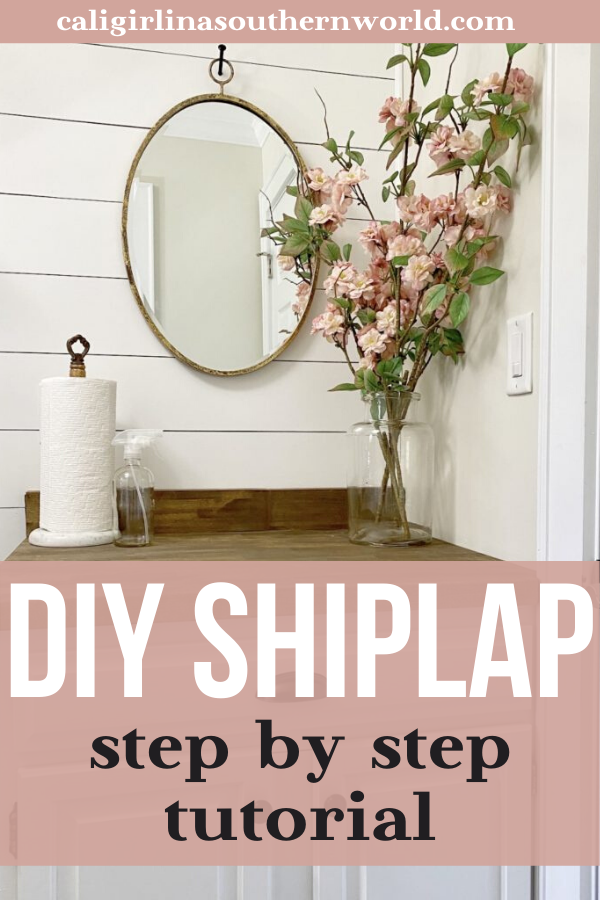
Once your faux shiplap wall is finished, you can hang pictures, mirrors, wall art, apply decals, or put shelves on it. The sky’s the limit! I recommend trying to hang things on the wall using the spaces in between the planks for hanger and nail placement. This way you don’t damage the boards in case you decide to switch things up at a future date.
I hope this tutorial helps give you the information and encouragement you need to install faux shiplap in your home too. Accent walls are a wonderful way to add personality and charm to a room. If it’s always been something you wanted to do, but you were afraid to try it, remember, if I can do it, you can too!! Have fun trying something new and remember to enjoy the process. I’d love to see it when you’re done!


[…] finally Meeghan at caligirlinasouthernworld.com shares her budget friendly DIY faux shiplap plank wall on her […]